Create a assessed activity in Kita
Fiona MacNeill | 36 steps | 10 minutes
15 June 2026
This tutorial explain how to create your assessed activity. This allows you to accept submissions for an activity and use the marking and assessment tools available in Kita.
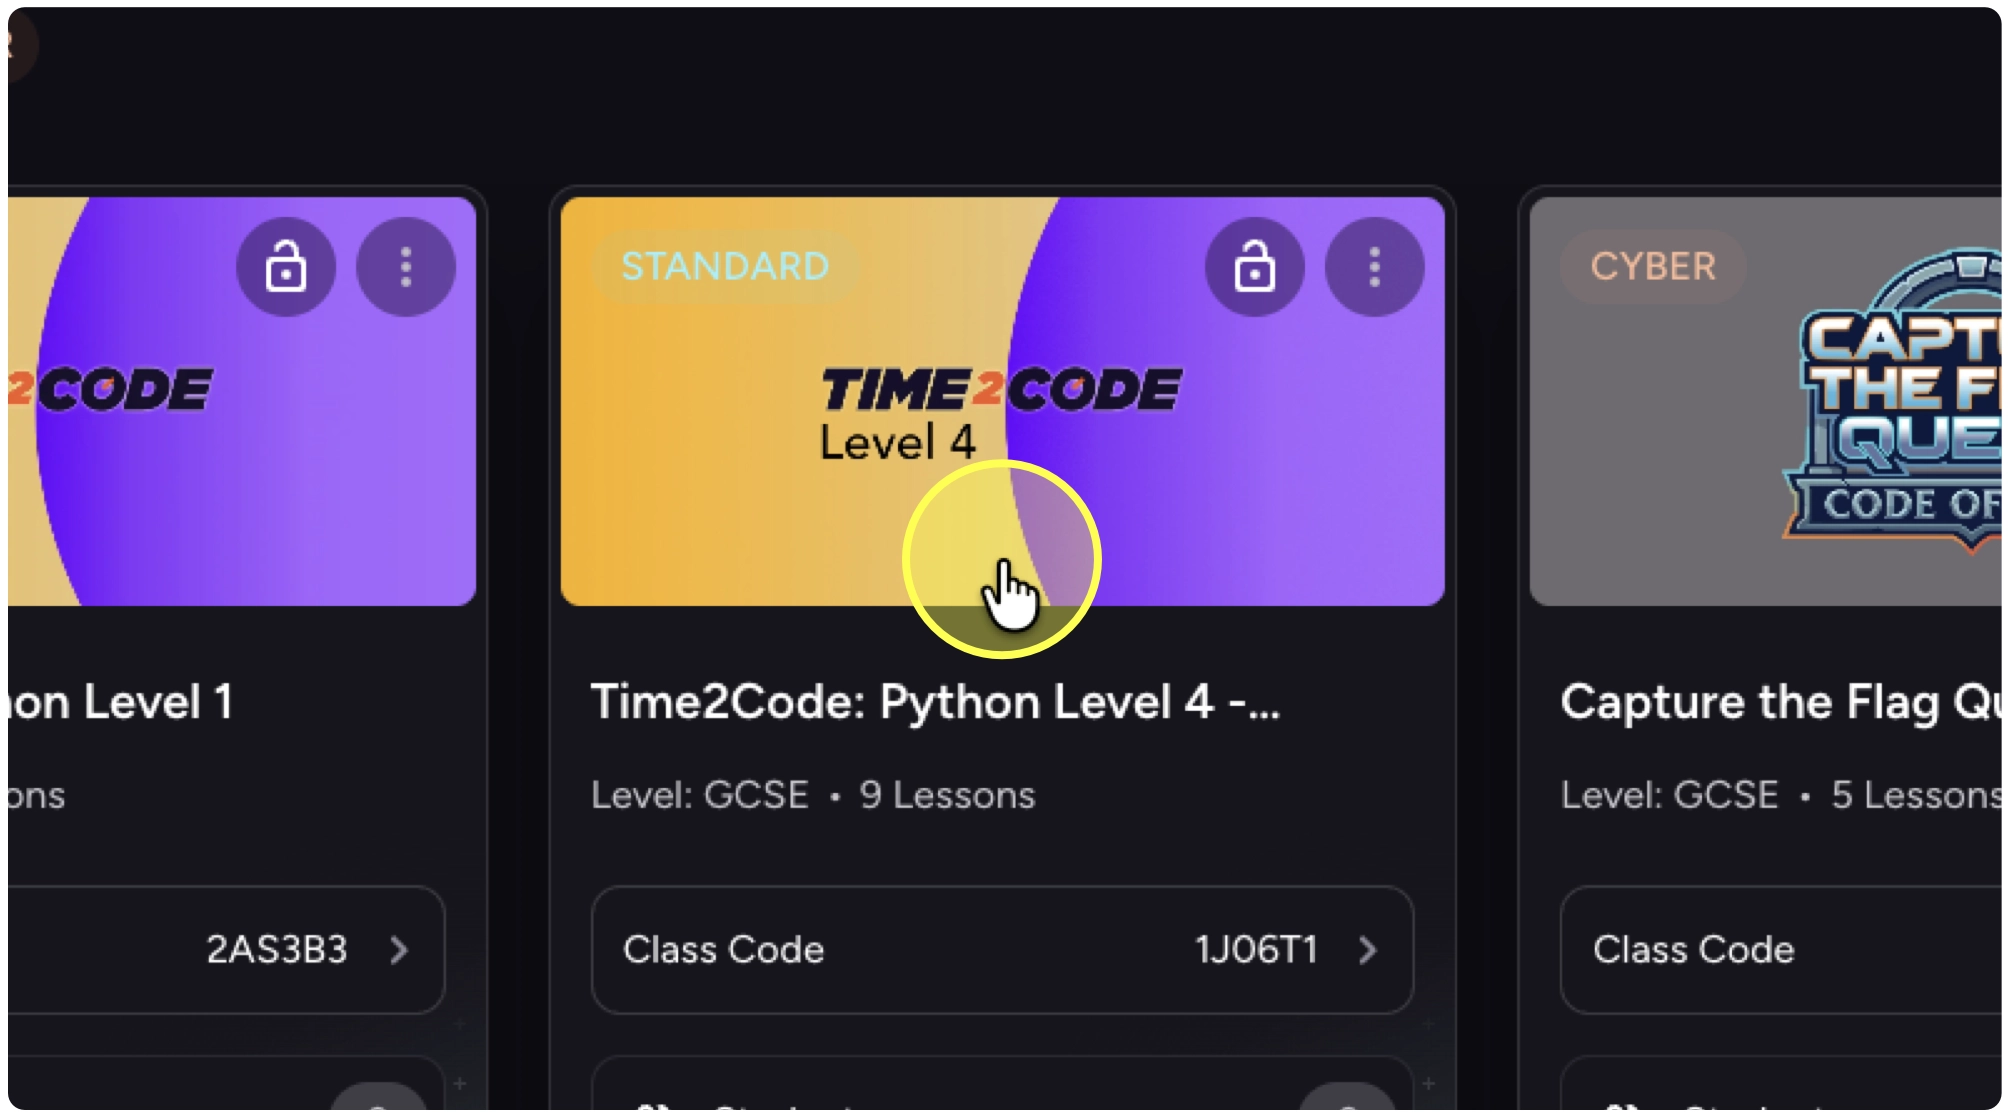
1. Select the course where you would like to create the assignment.
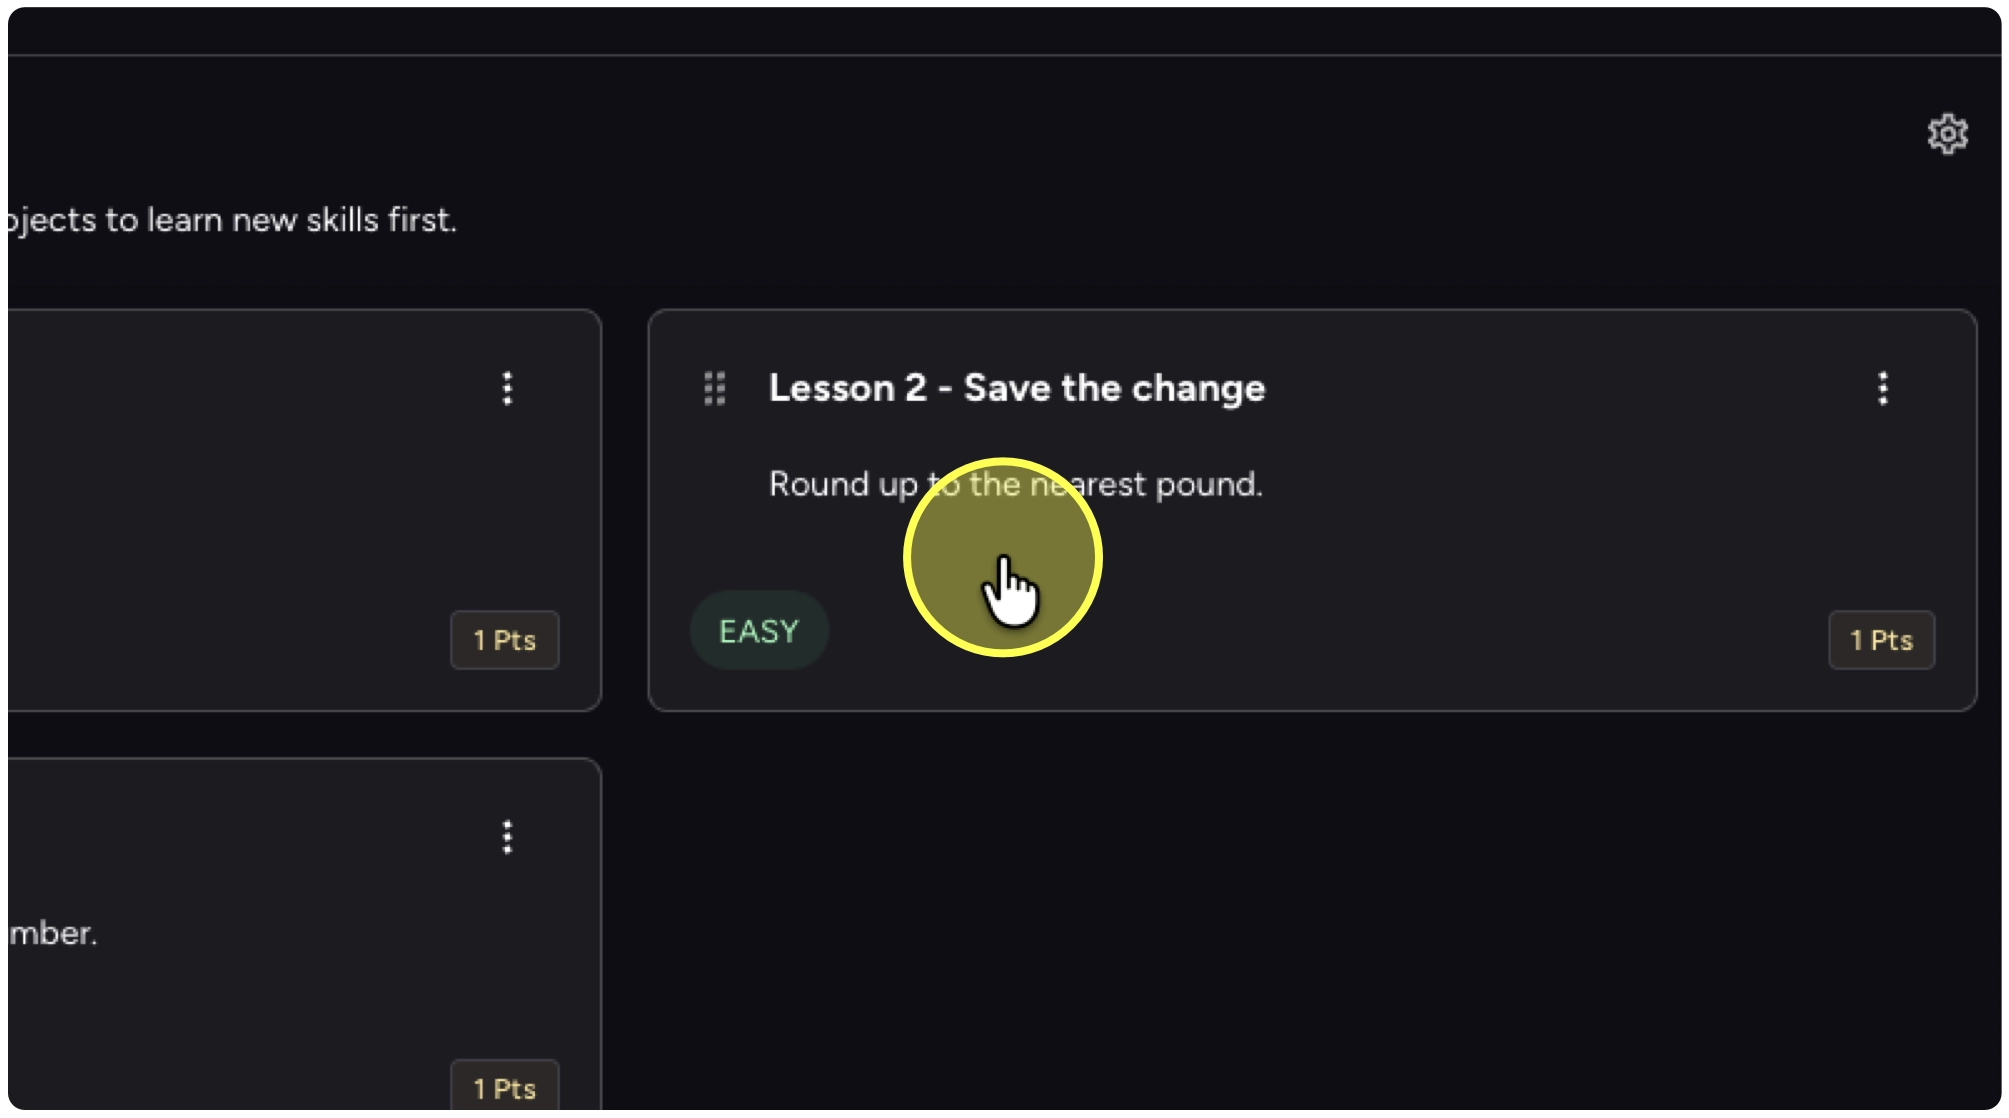
2. Select the lesson.
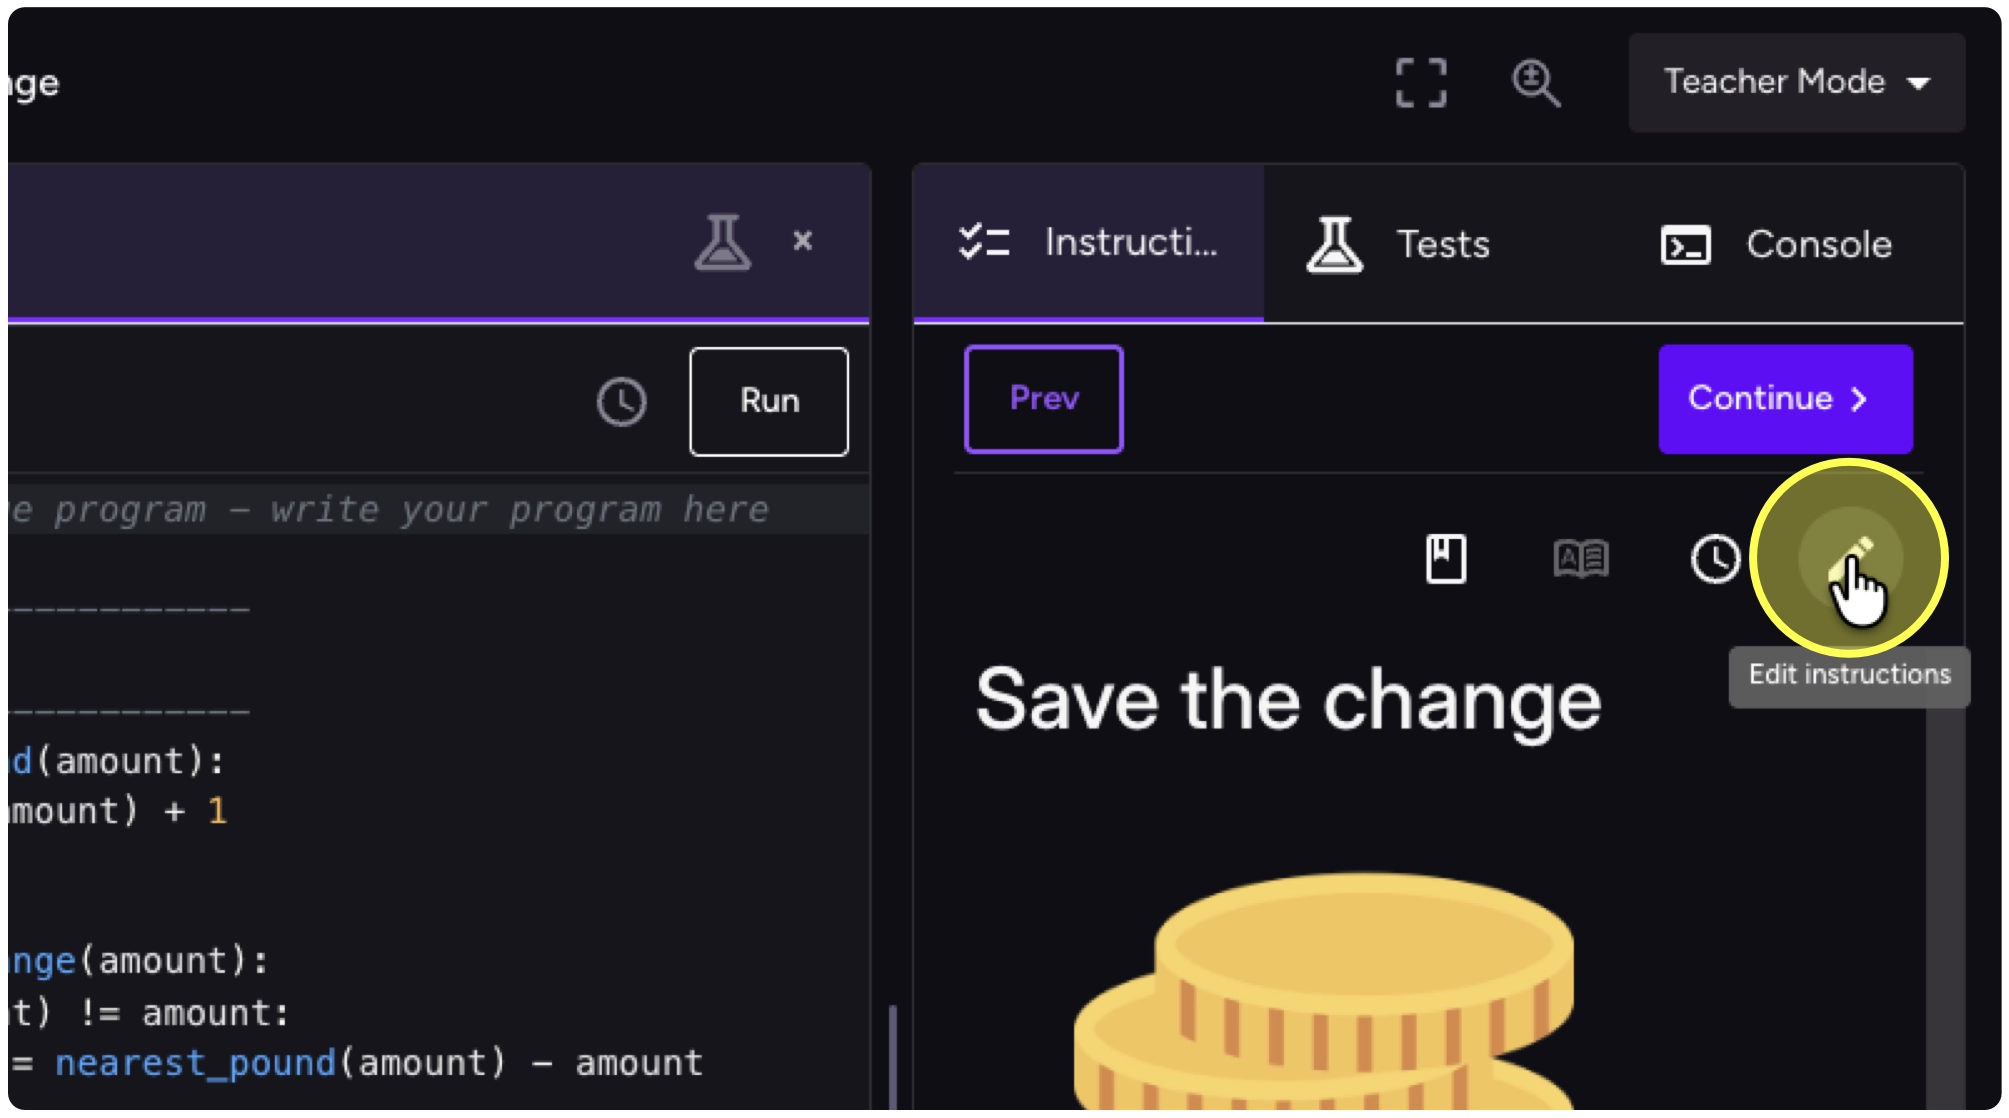
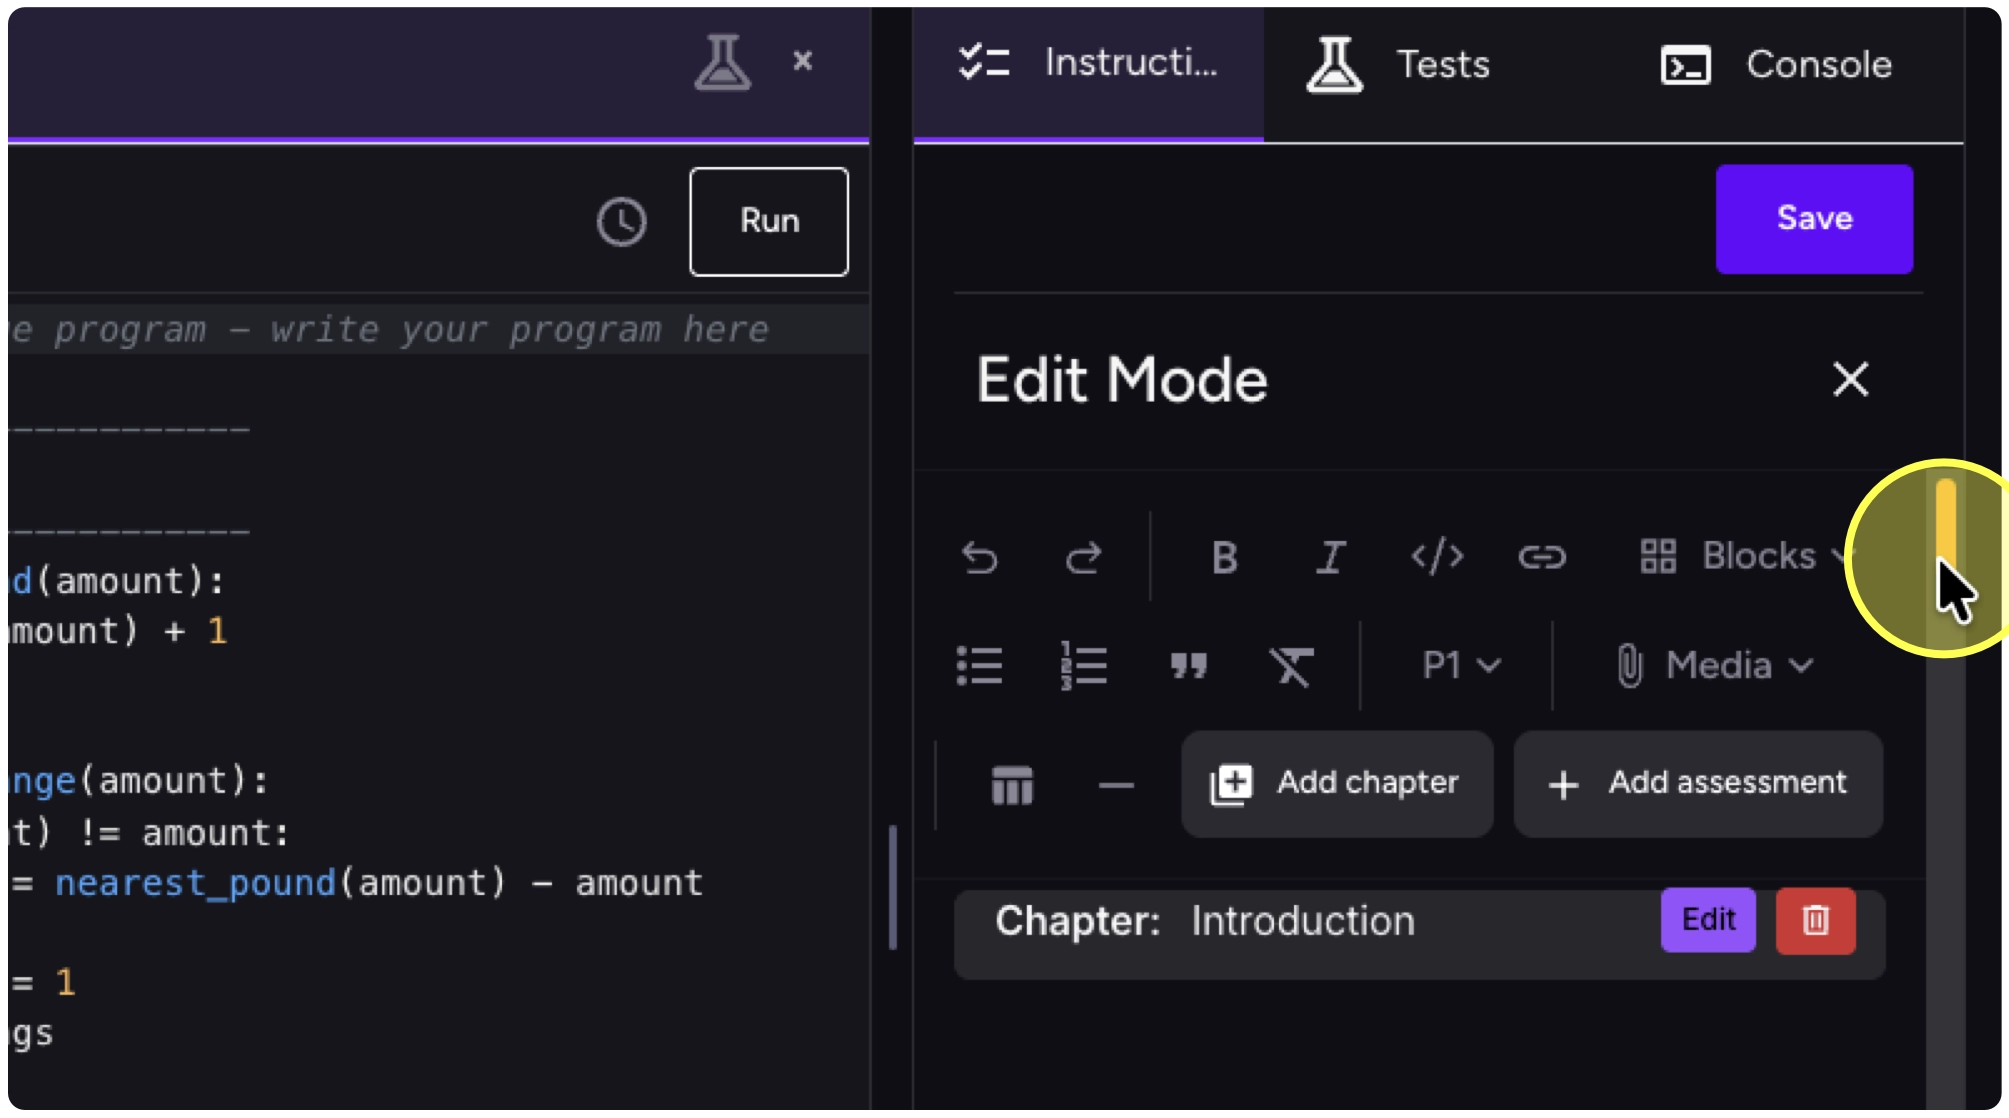
3. Click on the Edit instructions button.
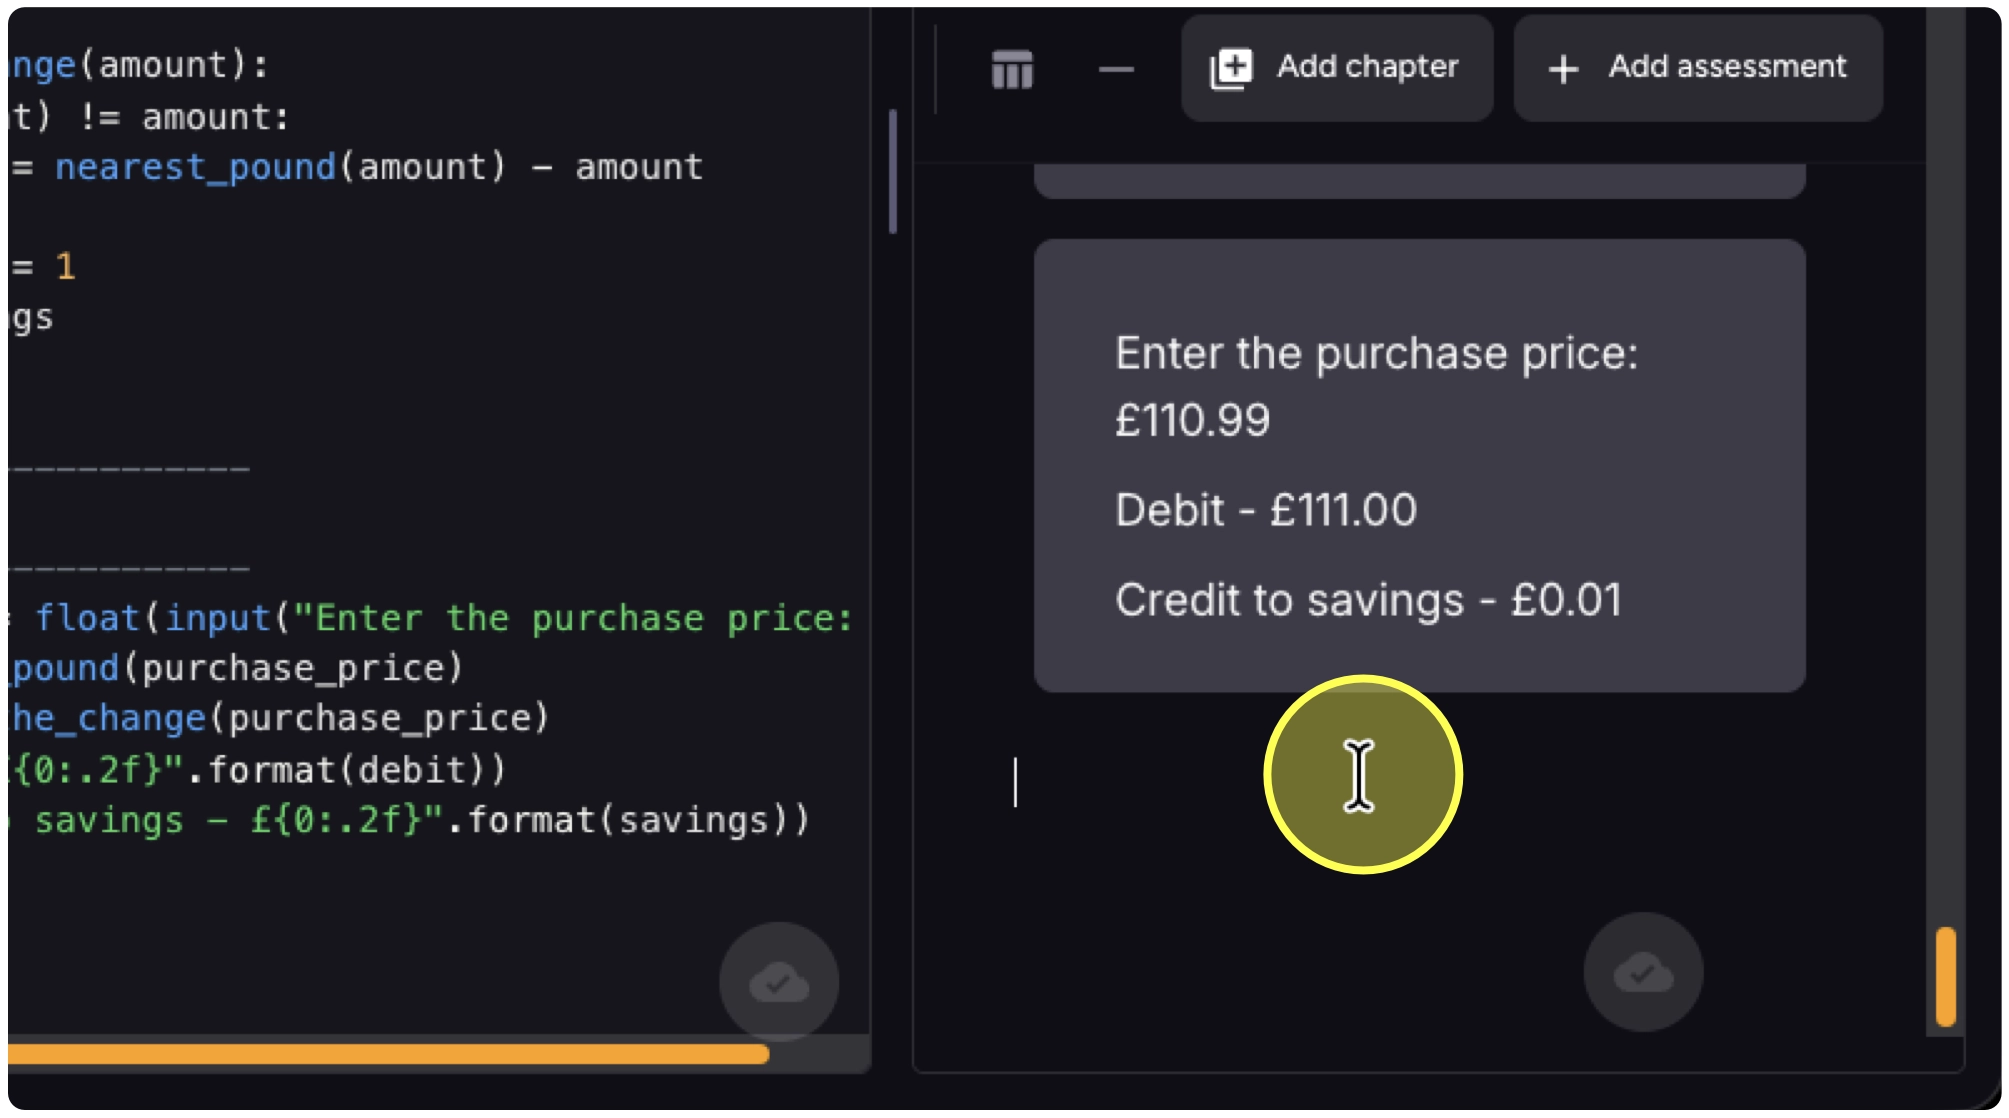
4. Scroll down to where the spot where you would like the assessed activity.
5. The Evaluate section of a Time2Code lesson is a good spot after the expected outputs. Put your cursor where you would like the assignment.
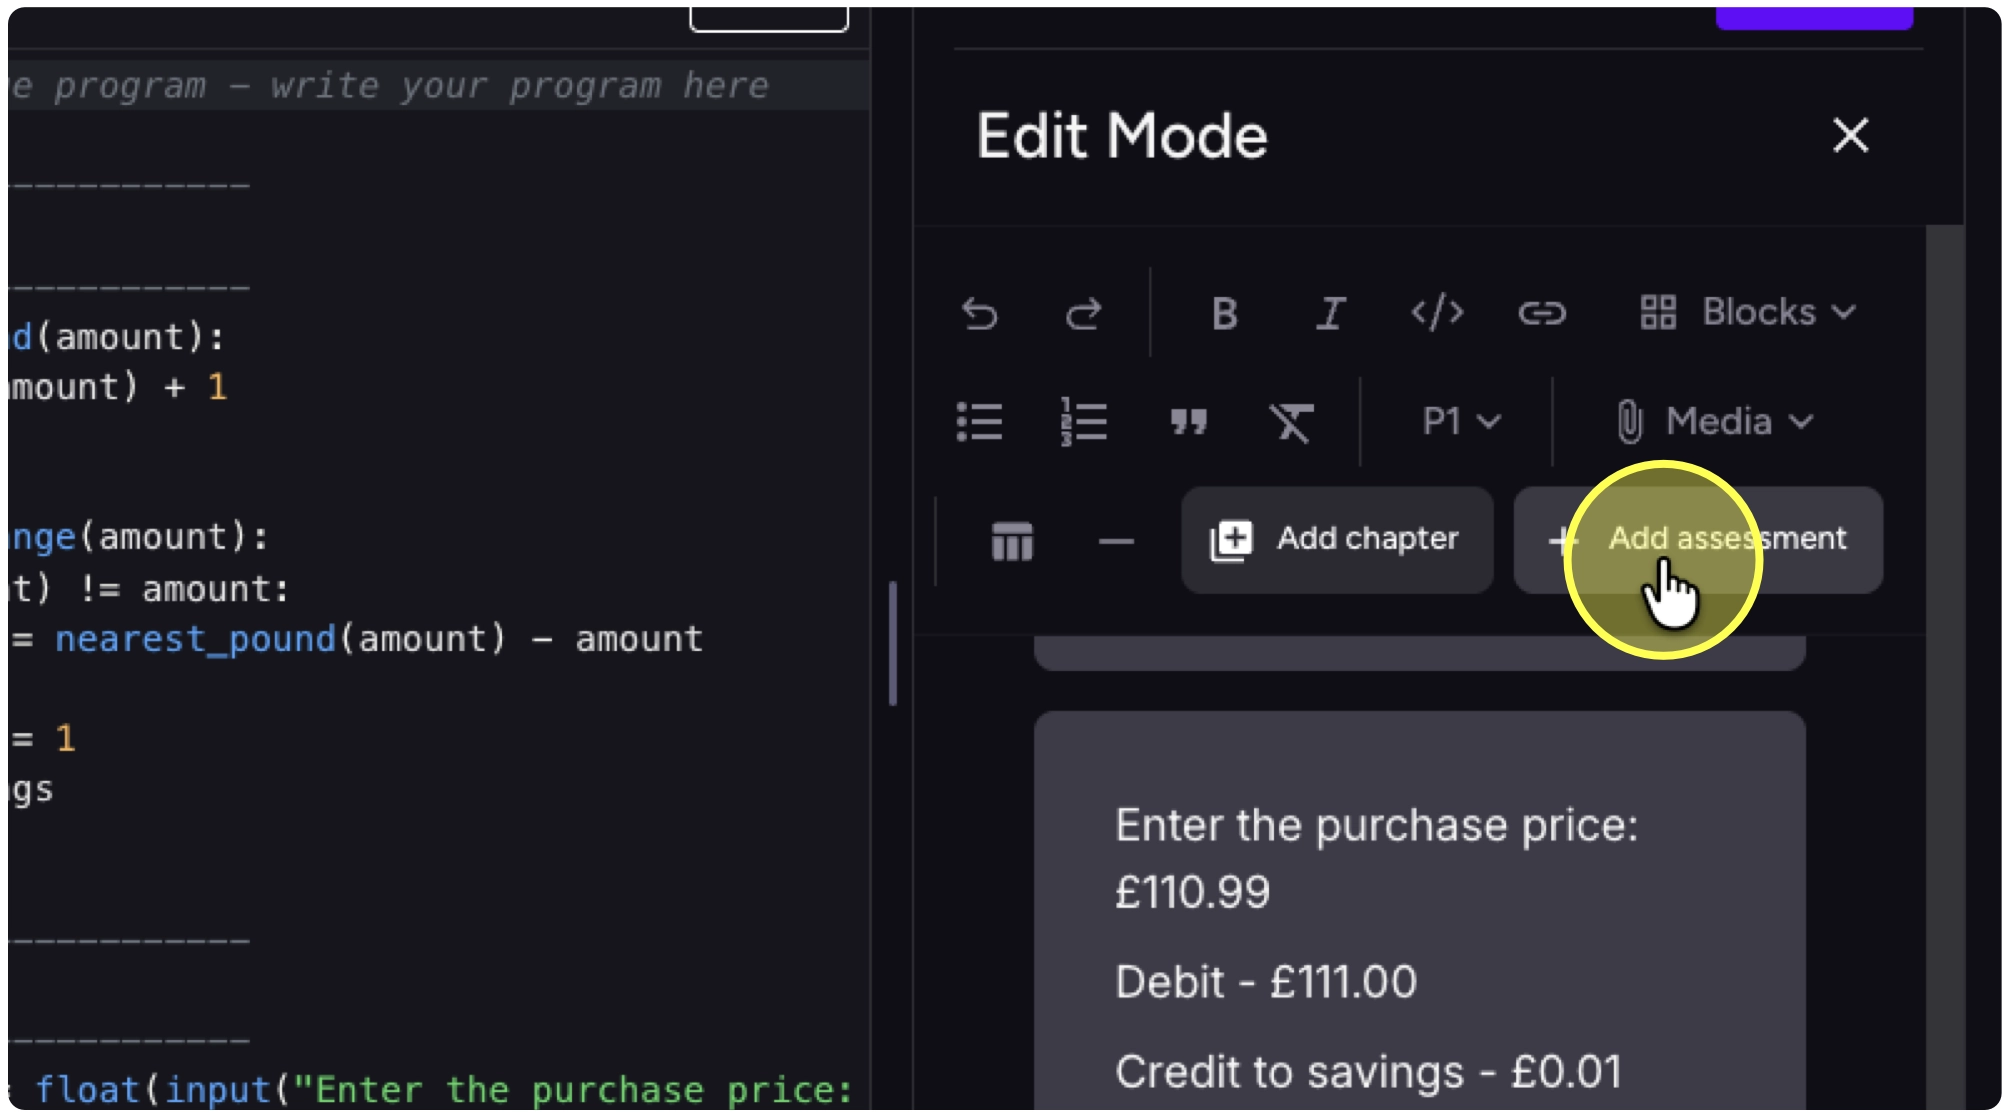
6. Click on “+ Add assessment” in the tool palette.
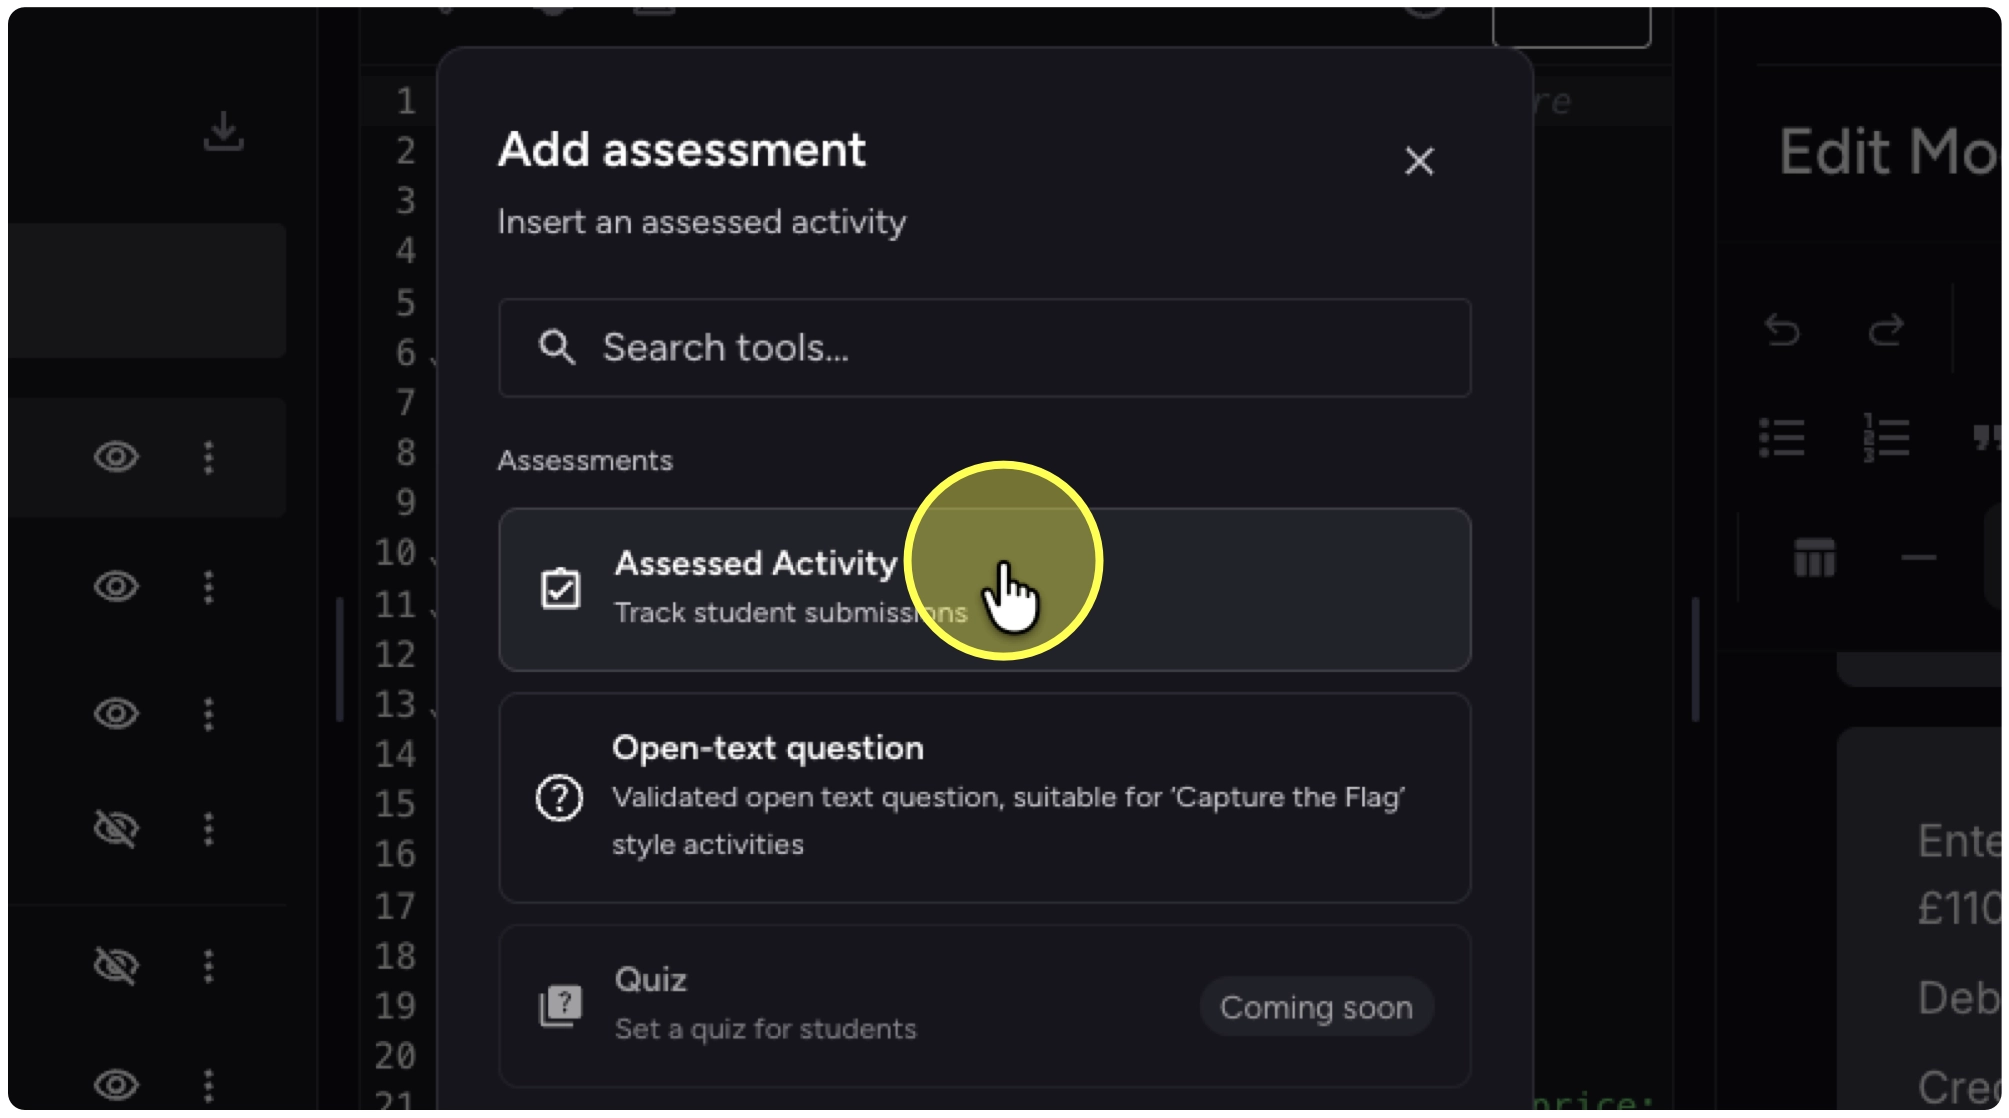
7. Click on Assessed Activity.
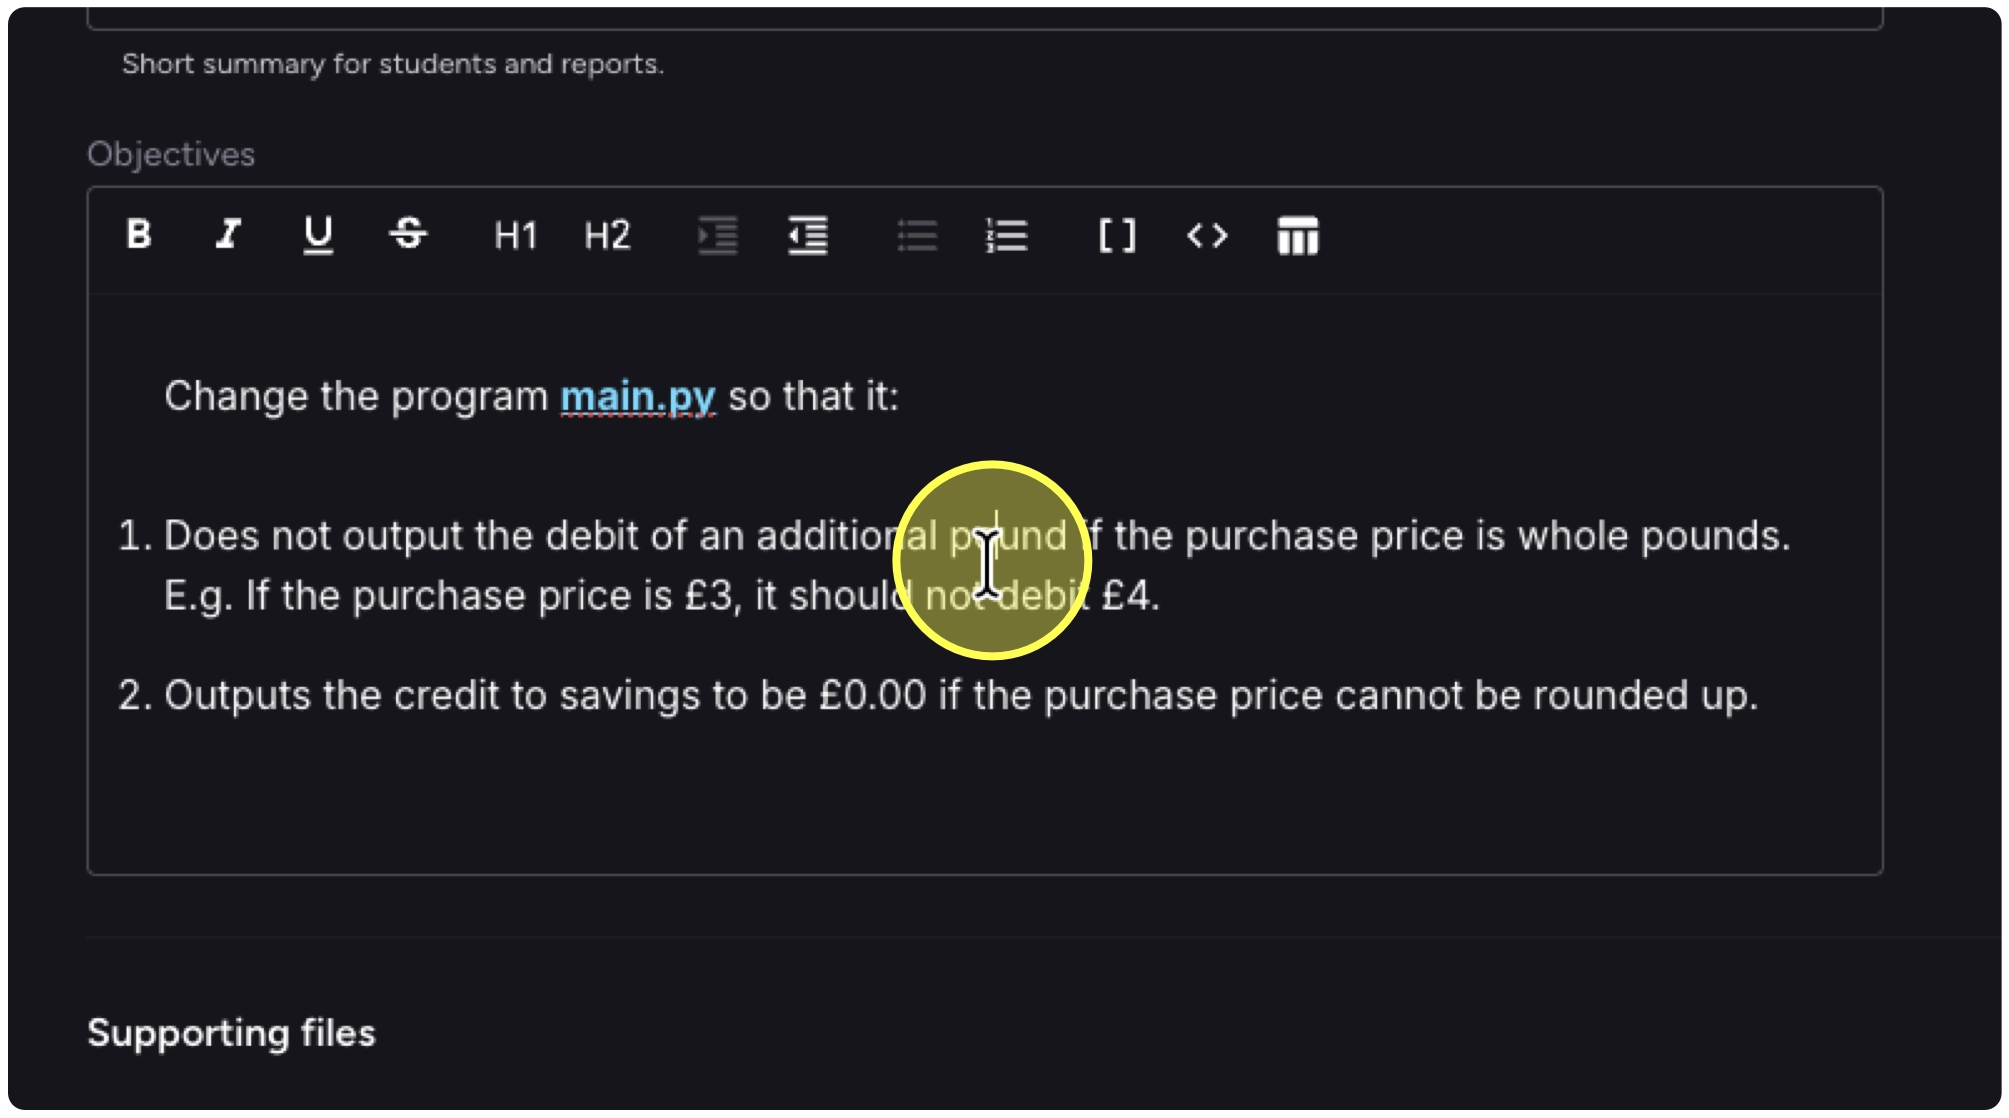
8. The title and description are picked up automatically and may not need to be edited. We recommend adding your success criteria or learning outcomes/objectives.
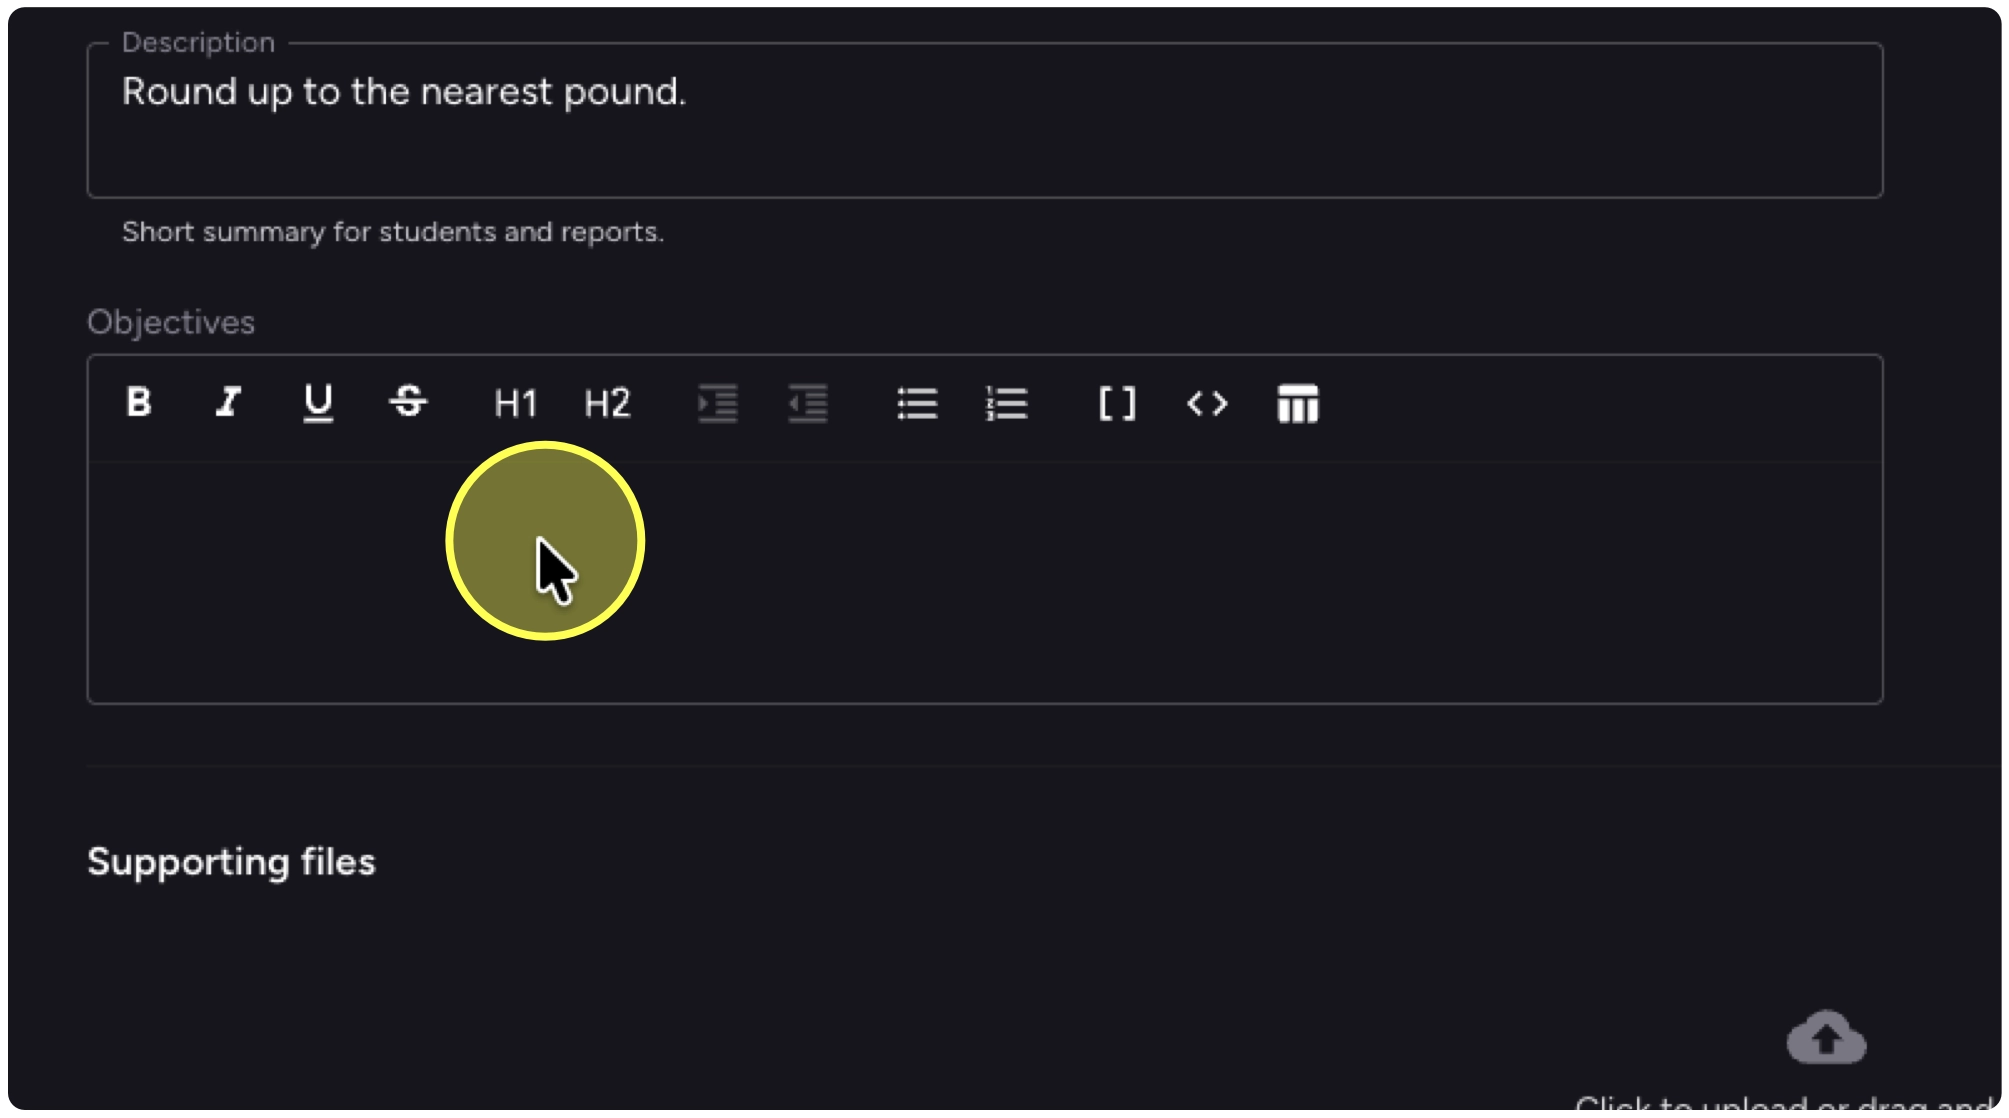
9. Use the text edit tools to style your objectives as needed.
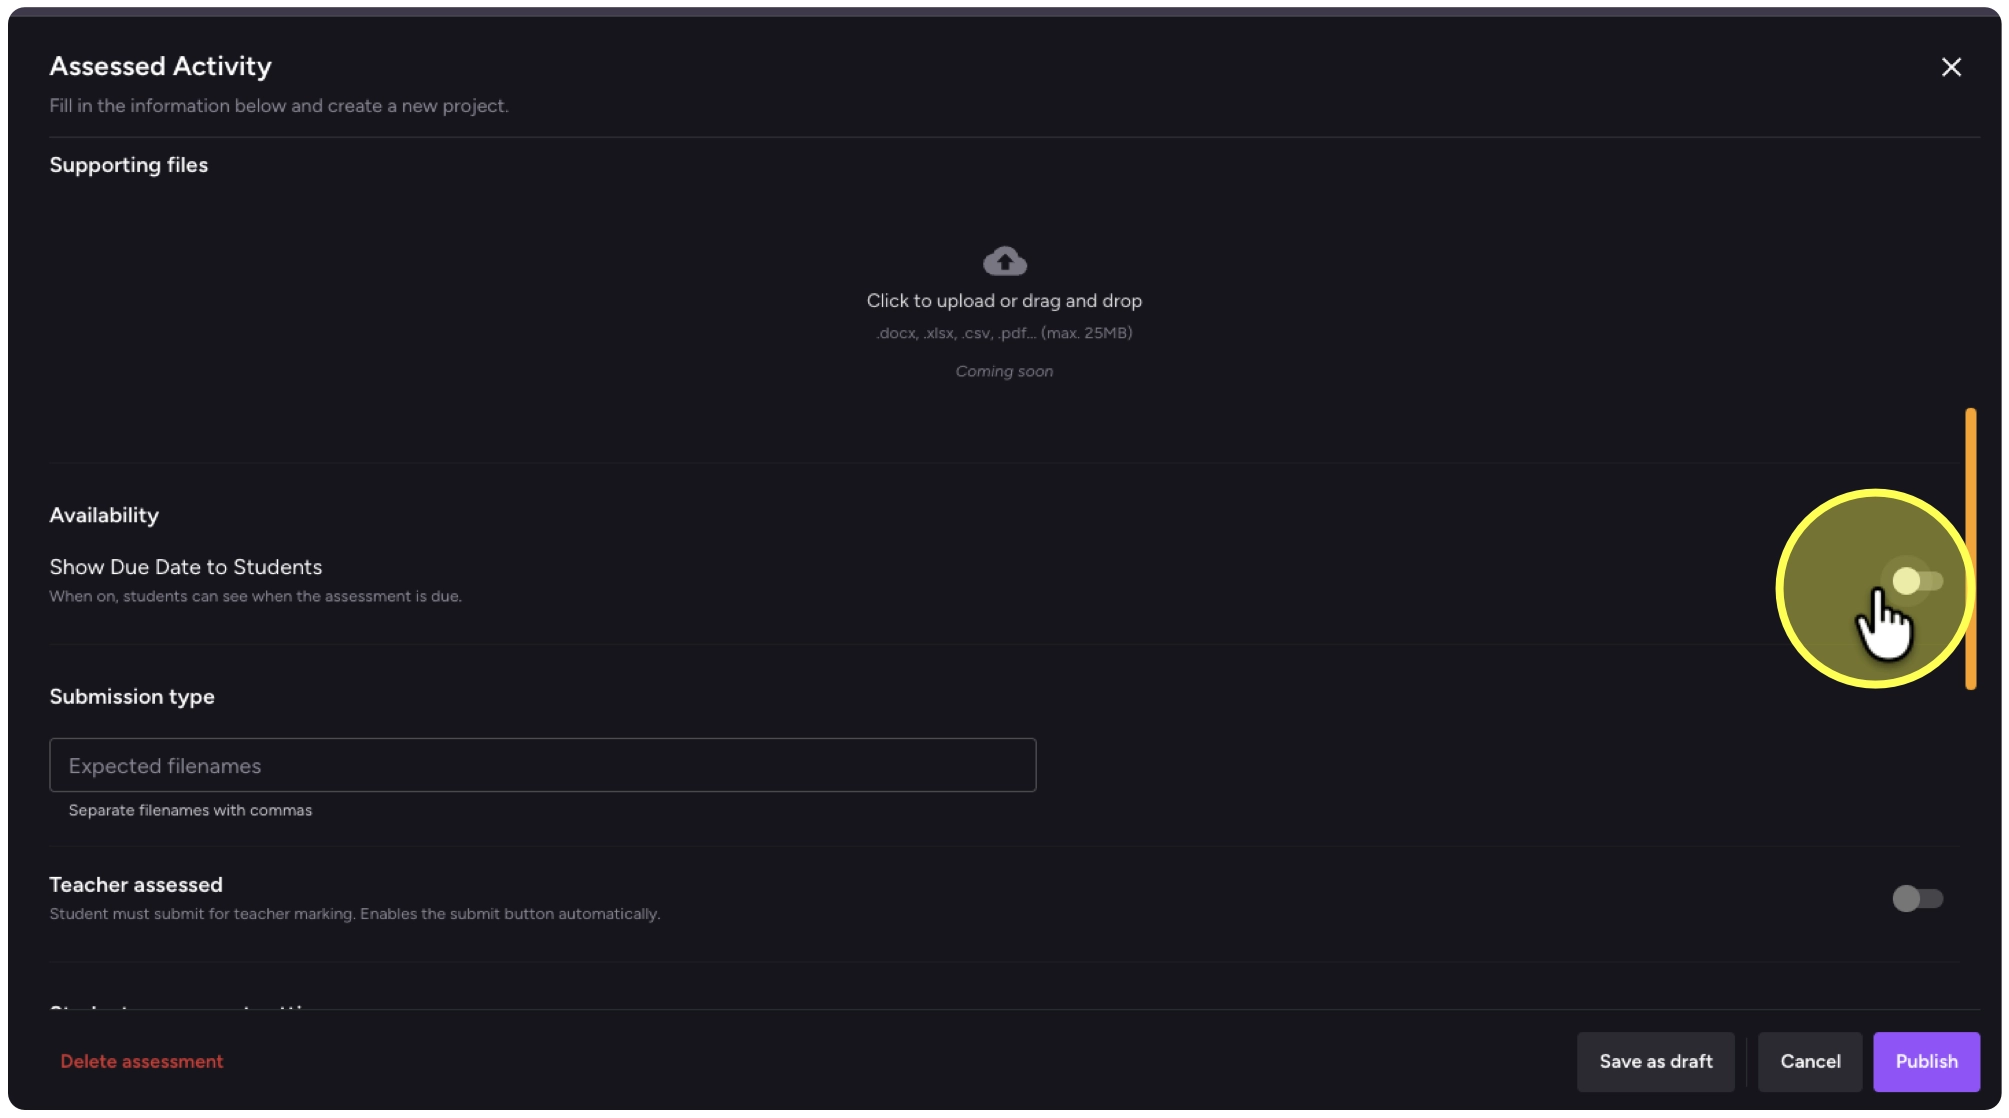
10. Click on the Show Due Date to Students toggle to enable a due date.
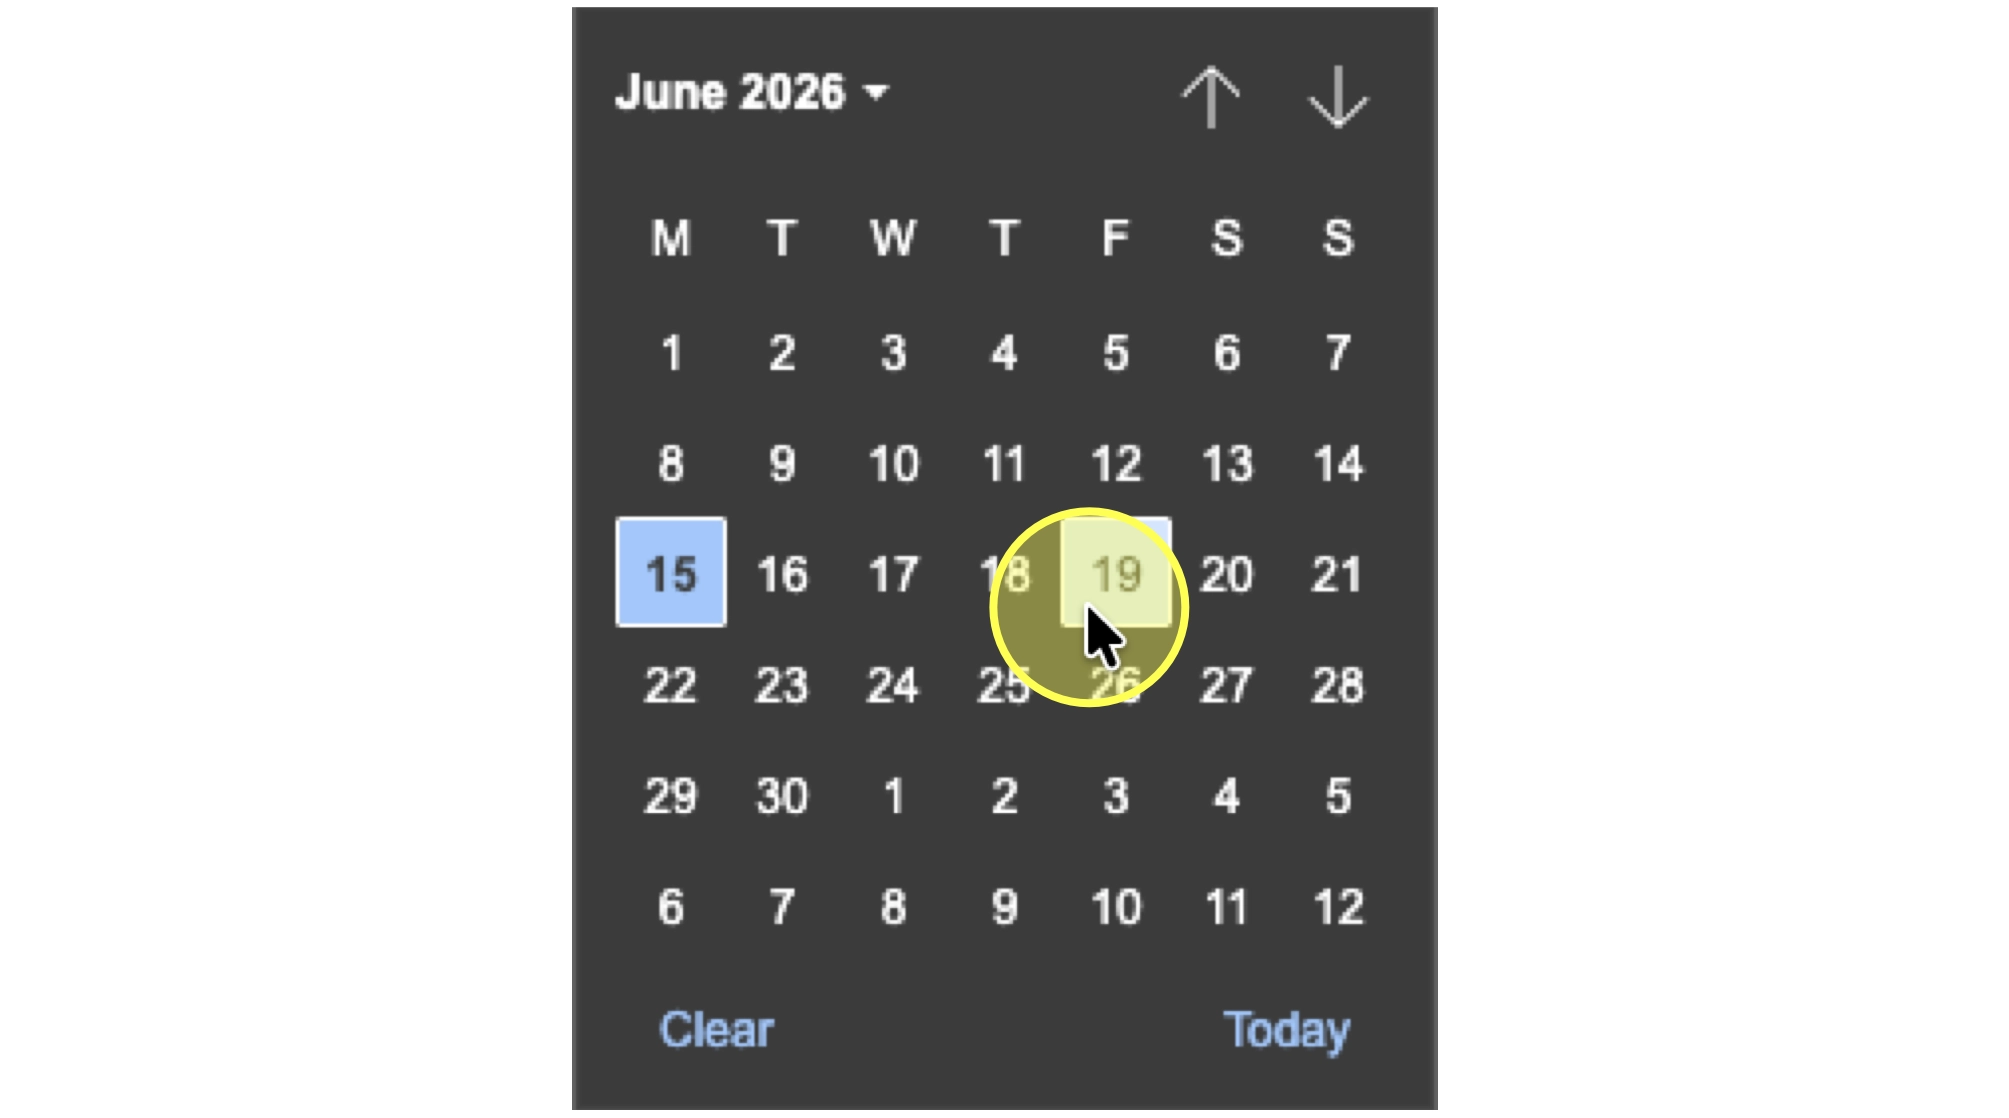
11. Click on the date field to set the due date.
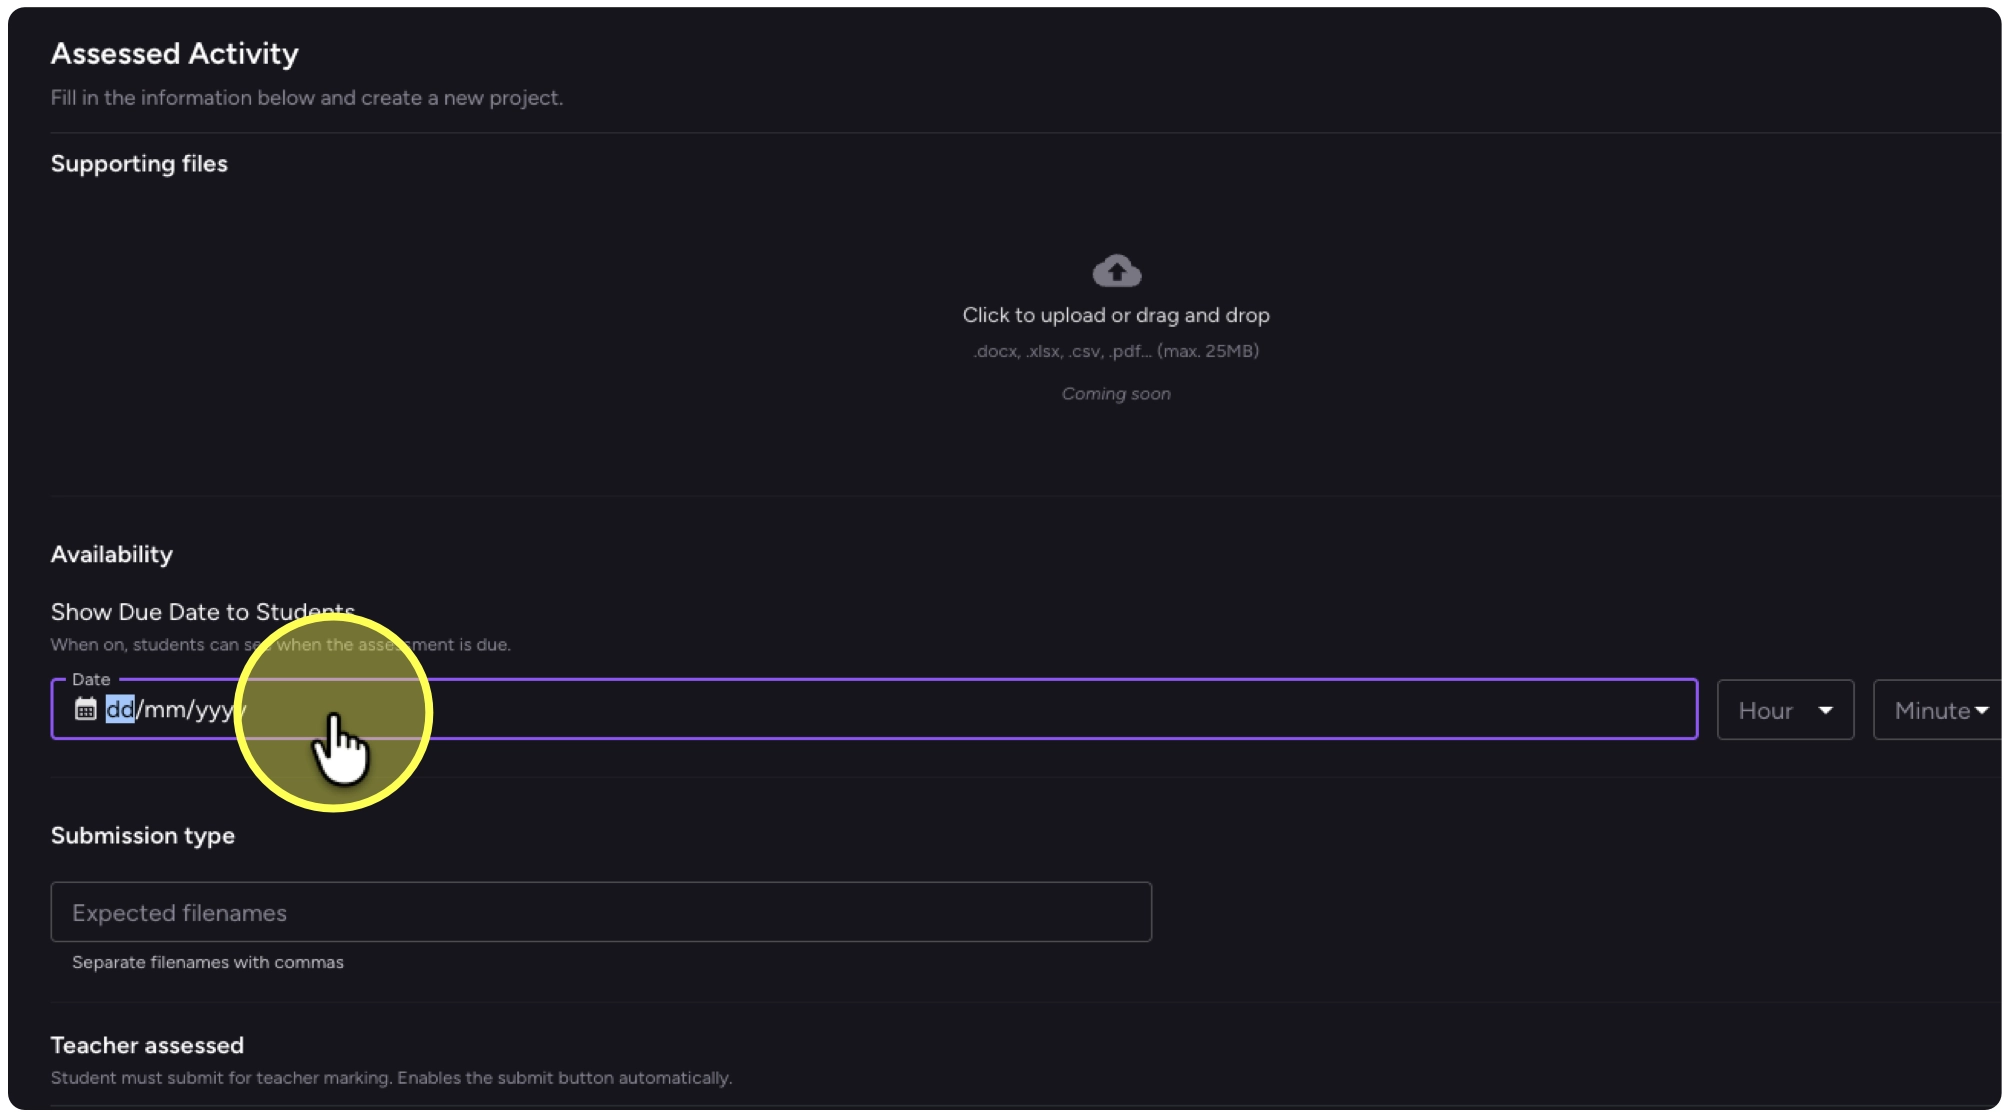
12. Select the due date from the calendar.
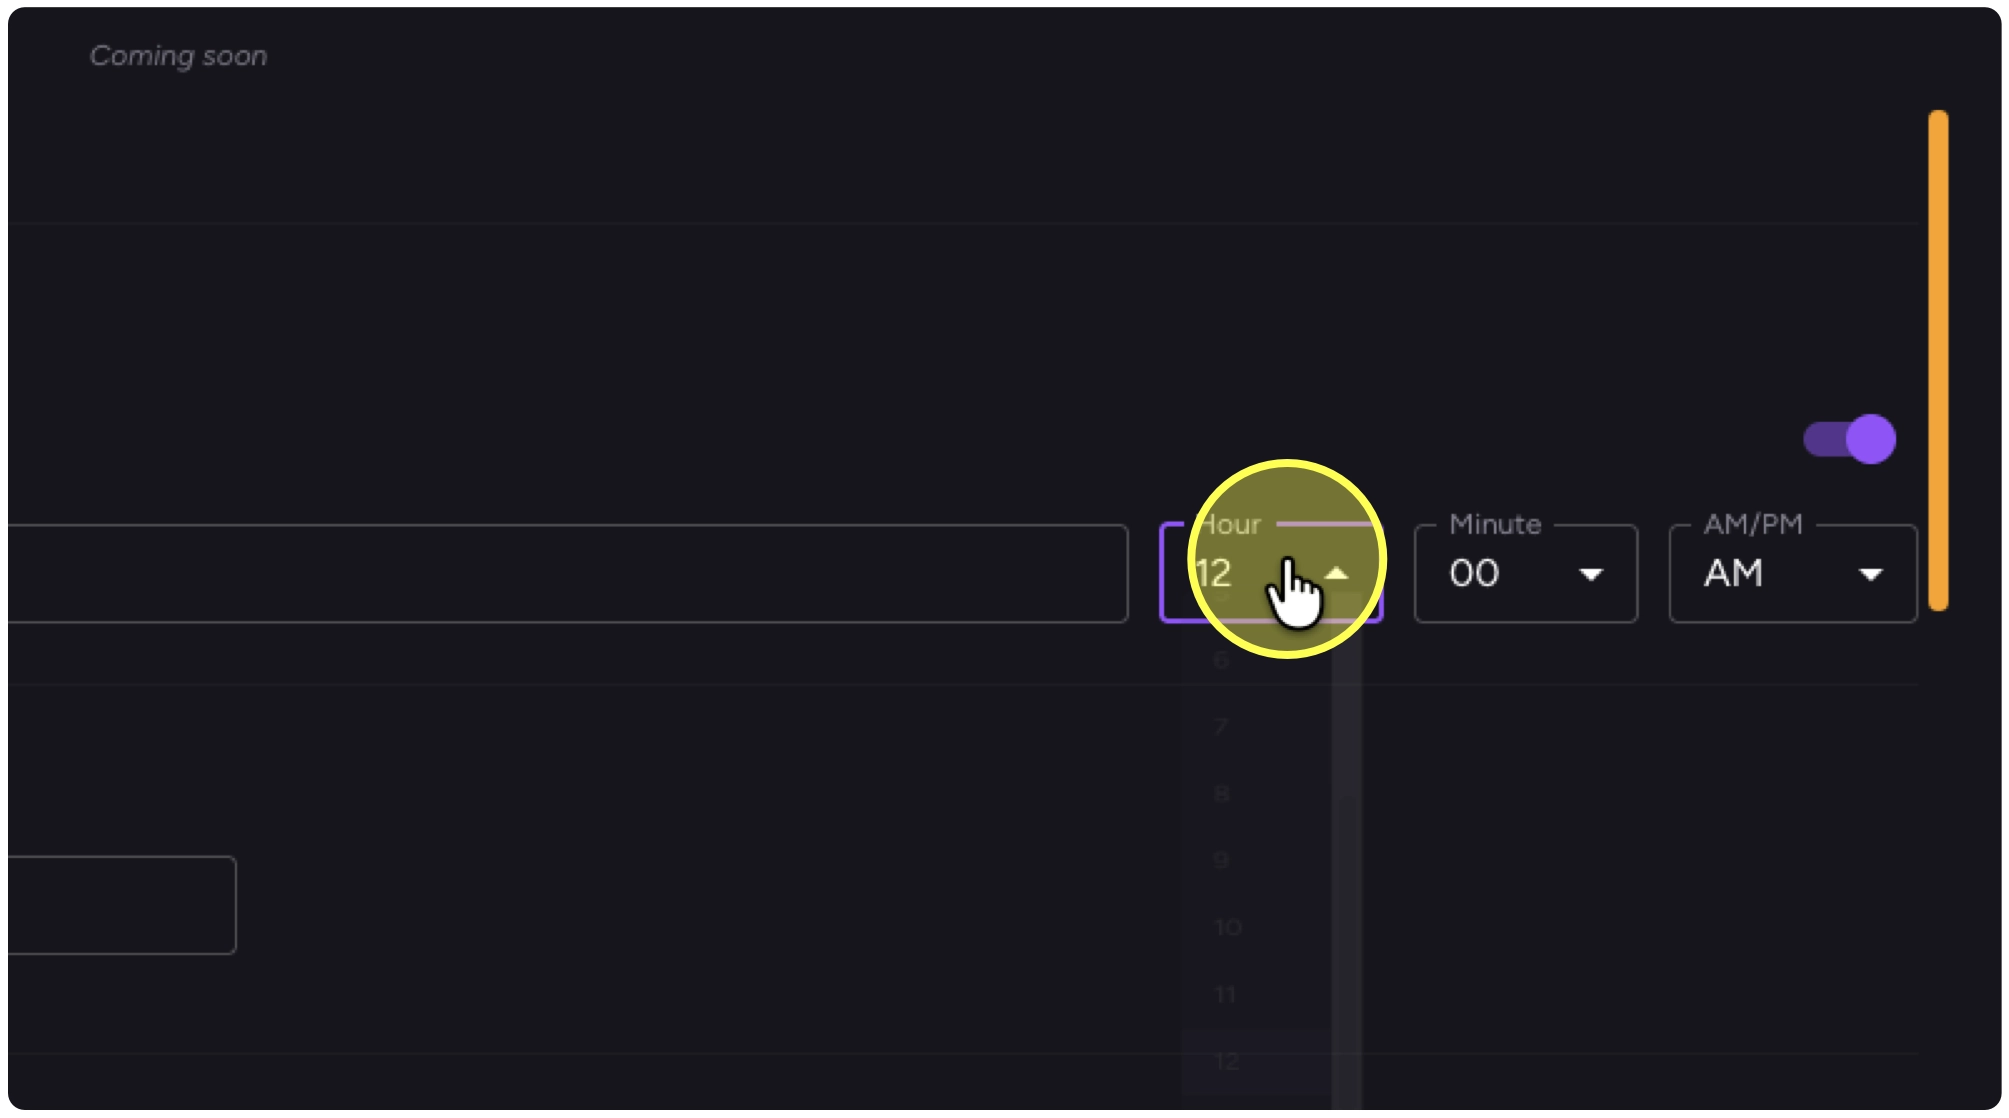
13. Then specify the time.
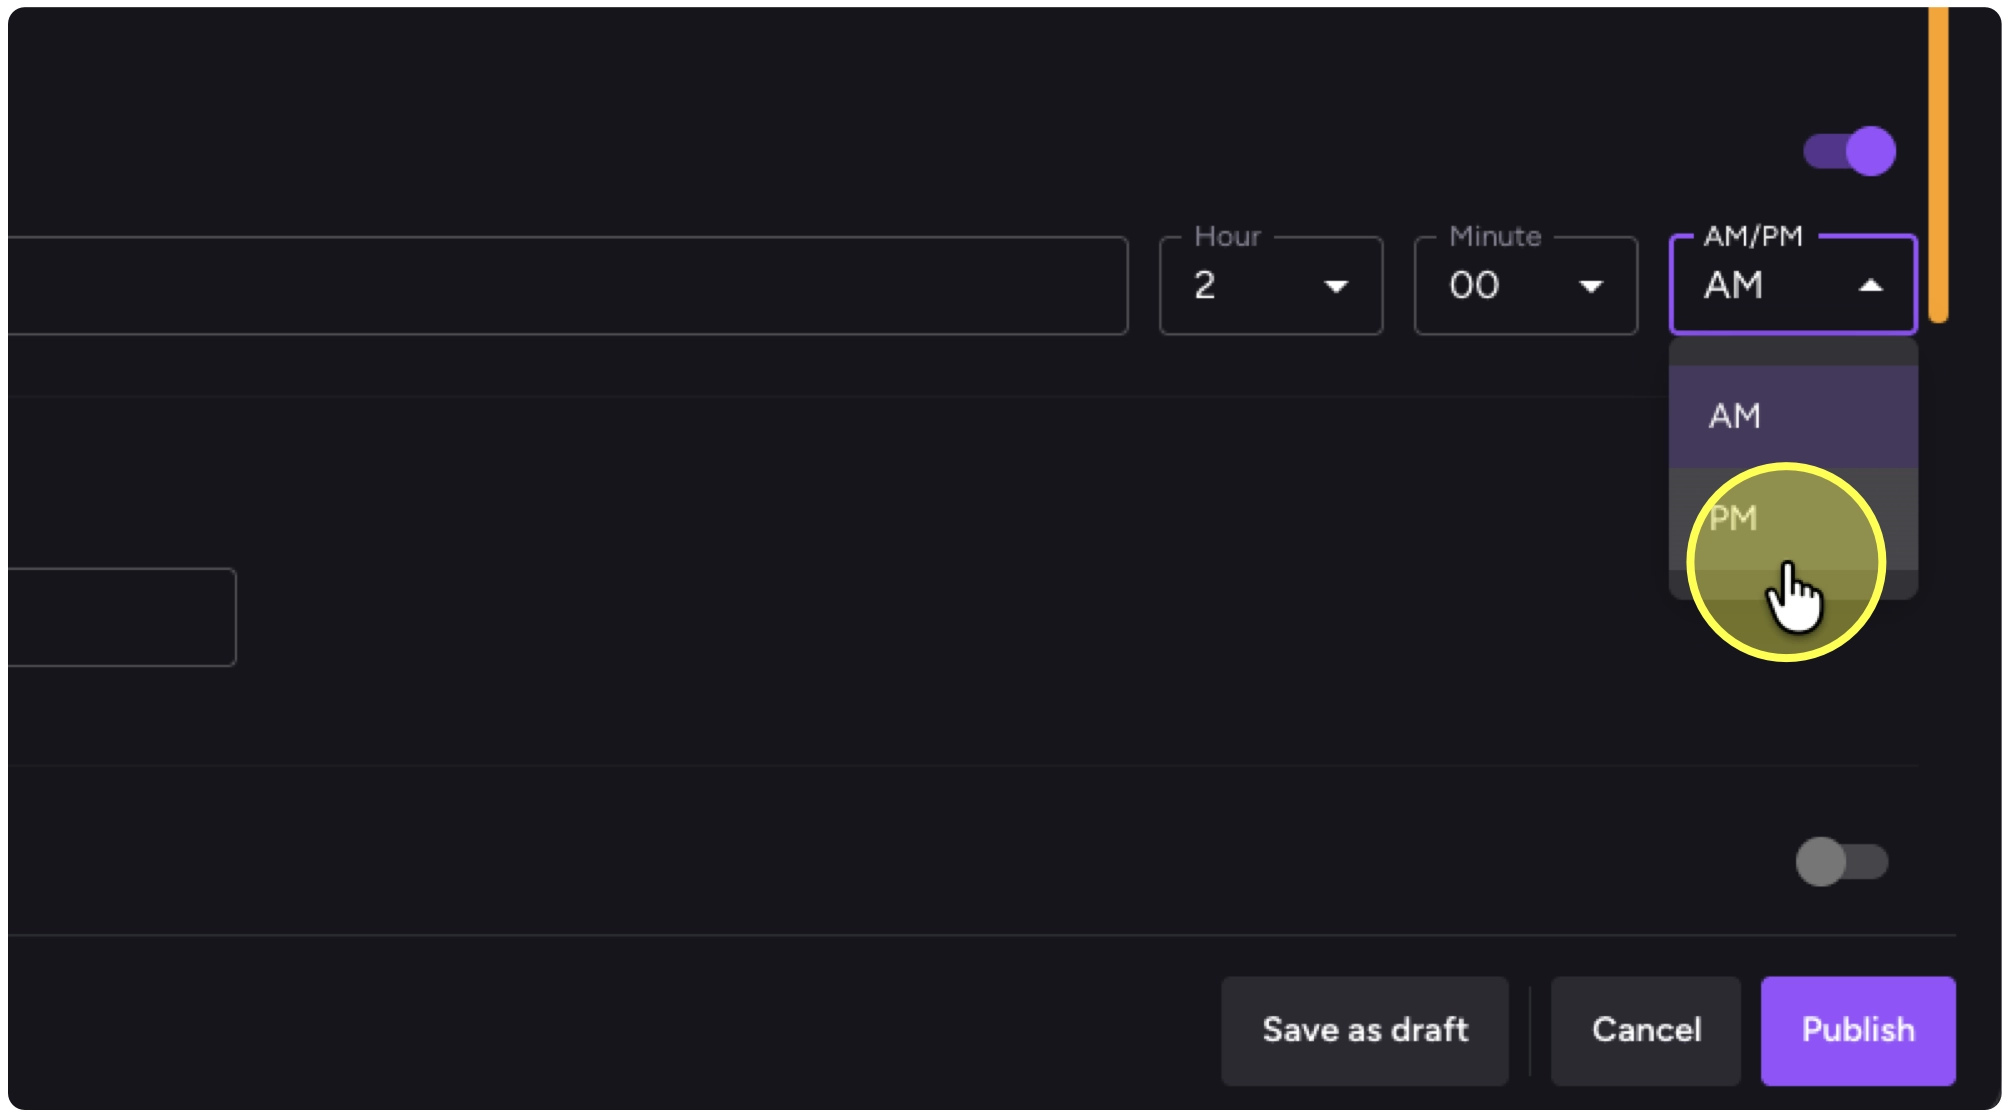
14. Be sure to specify if the due date is in the morning (AM) or afternoon (PM).
15. Click on “Expected filenames” and type in the name of the file you expect.
To note main.py is typical for Time2Code and you can ask for multiple files.
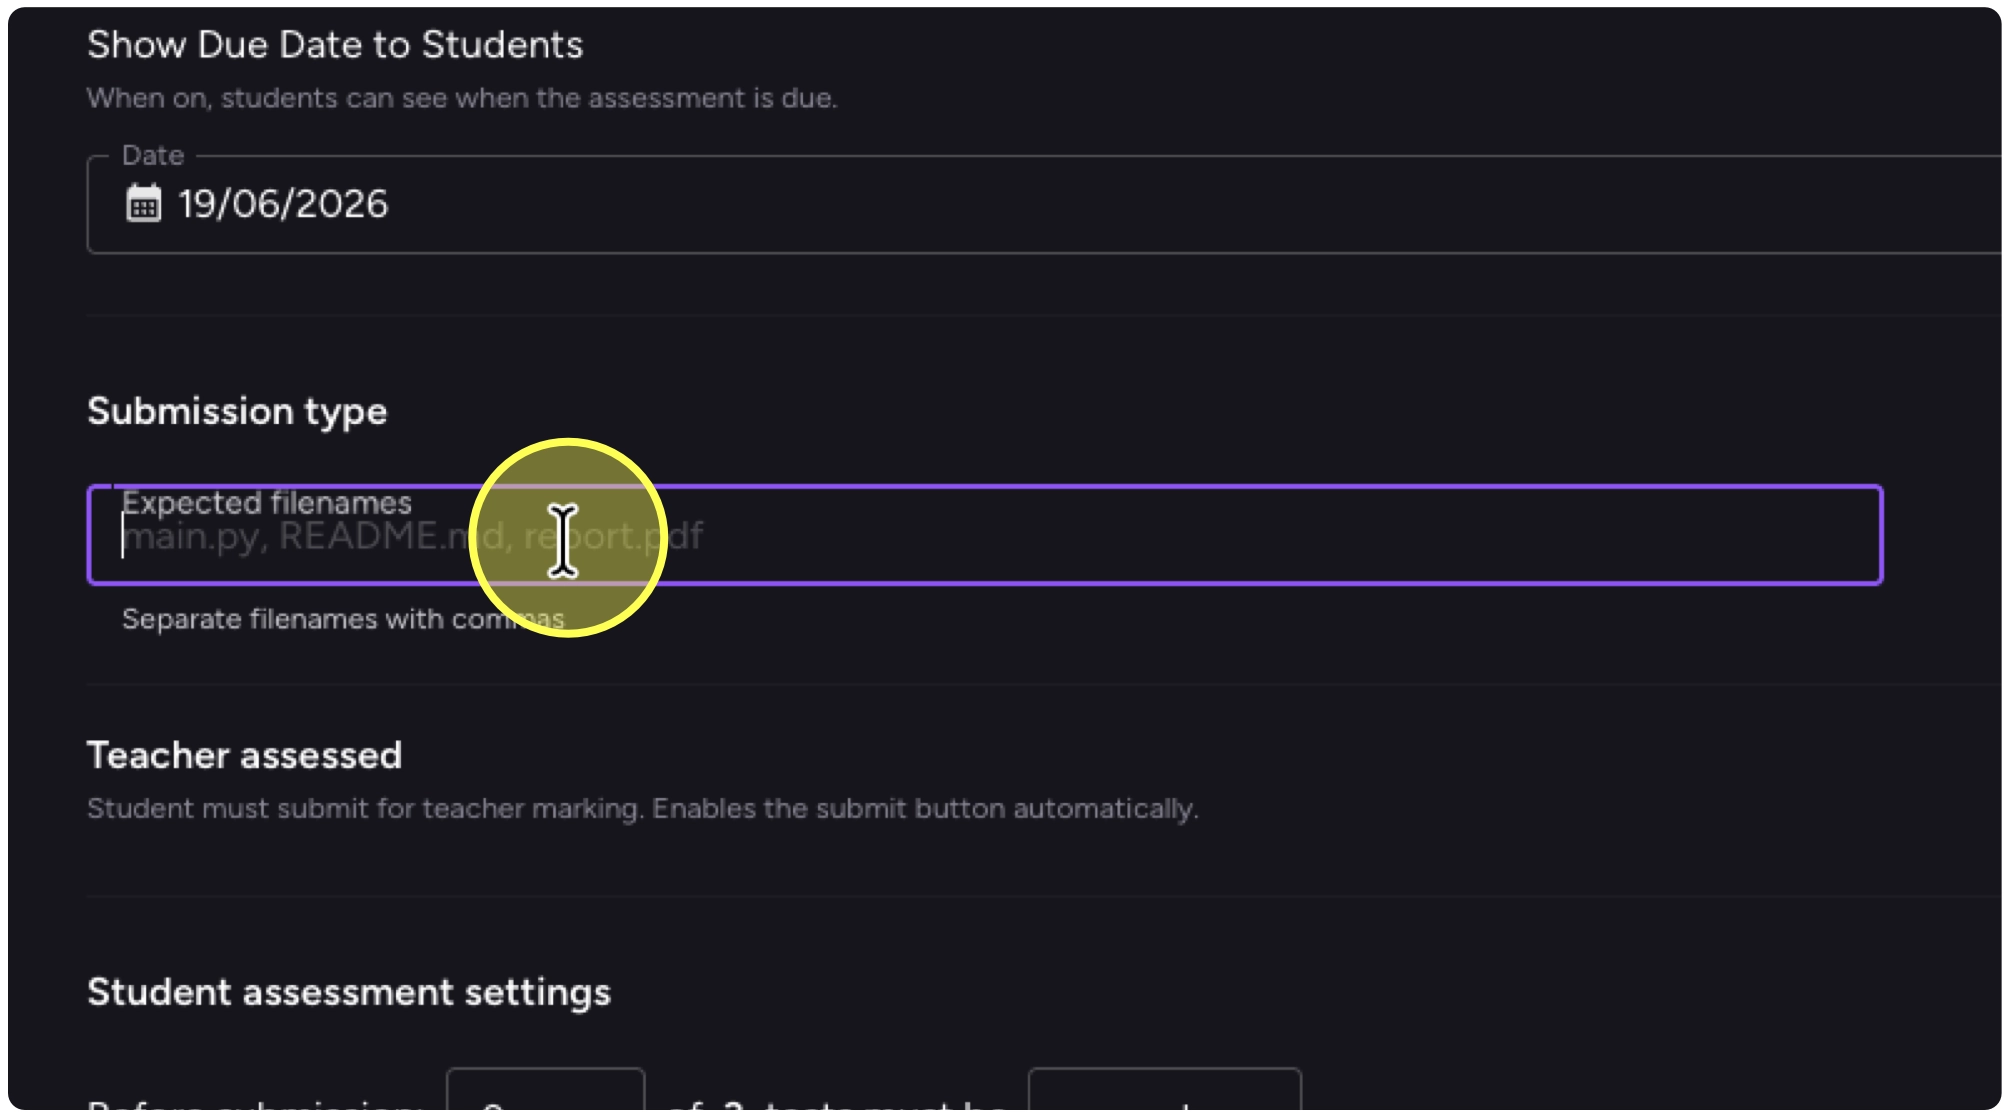
As additional note here. These filenames are a guide to help you keep things organised. If students submit a file with a different filename it will still be accepted. Also if students submit the wrong file, they can submit another alternative file. You can also ‘unsubmit’ to return a file back to a student.
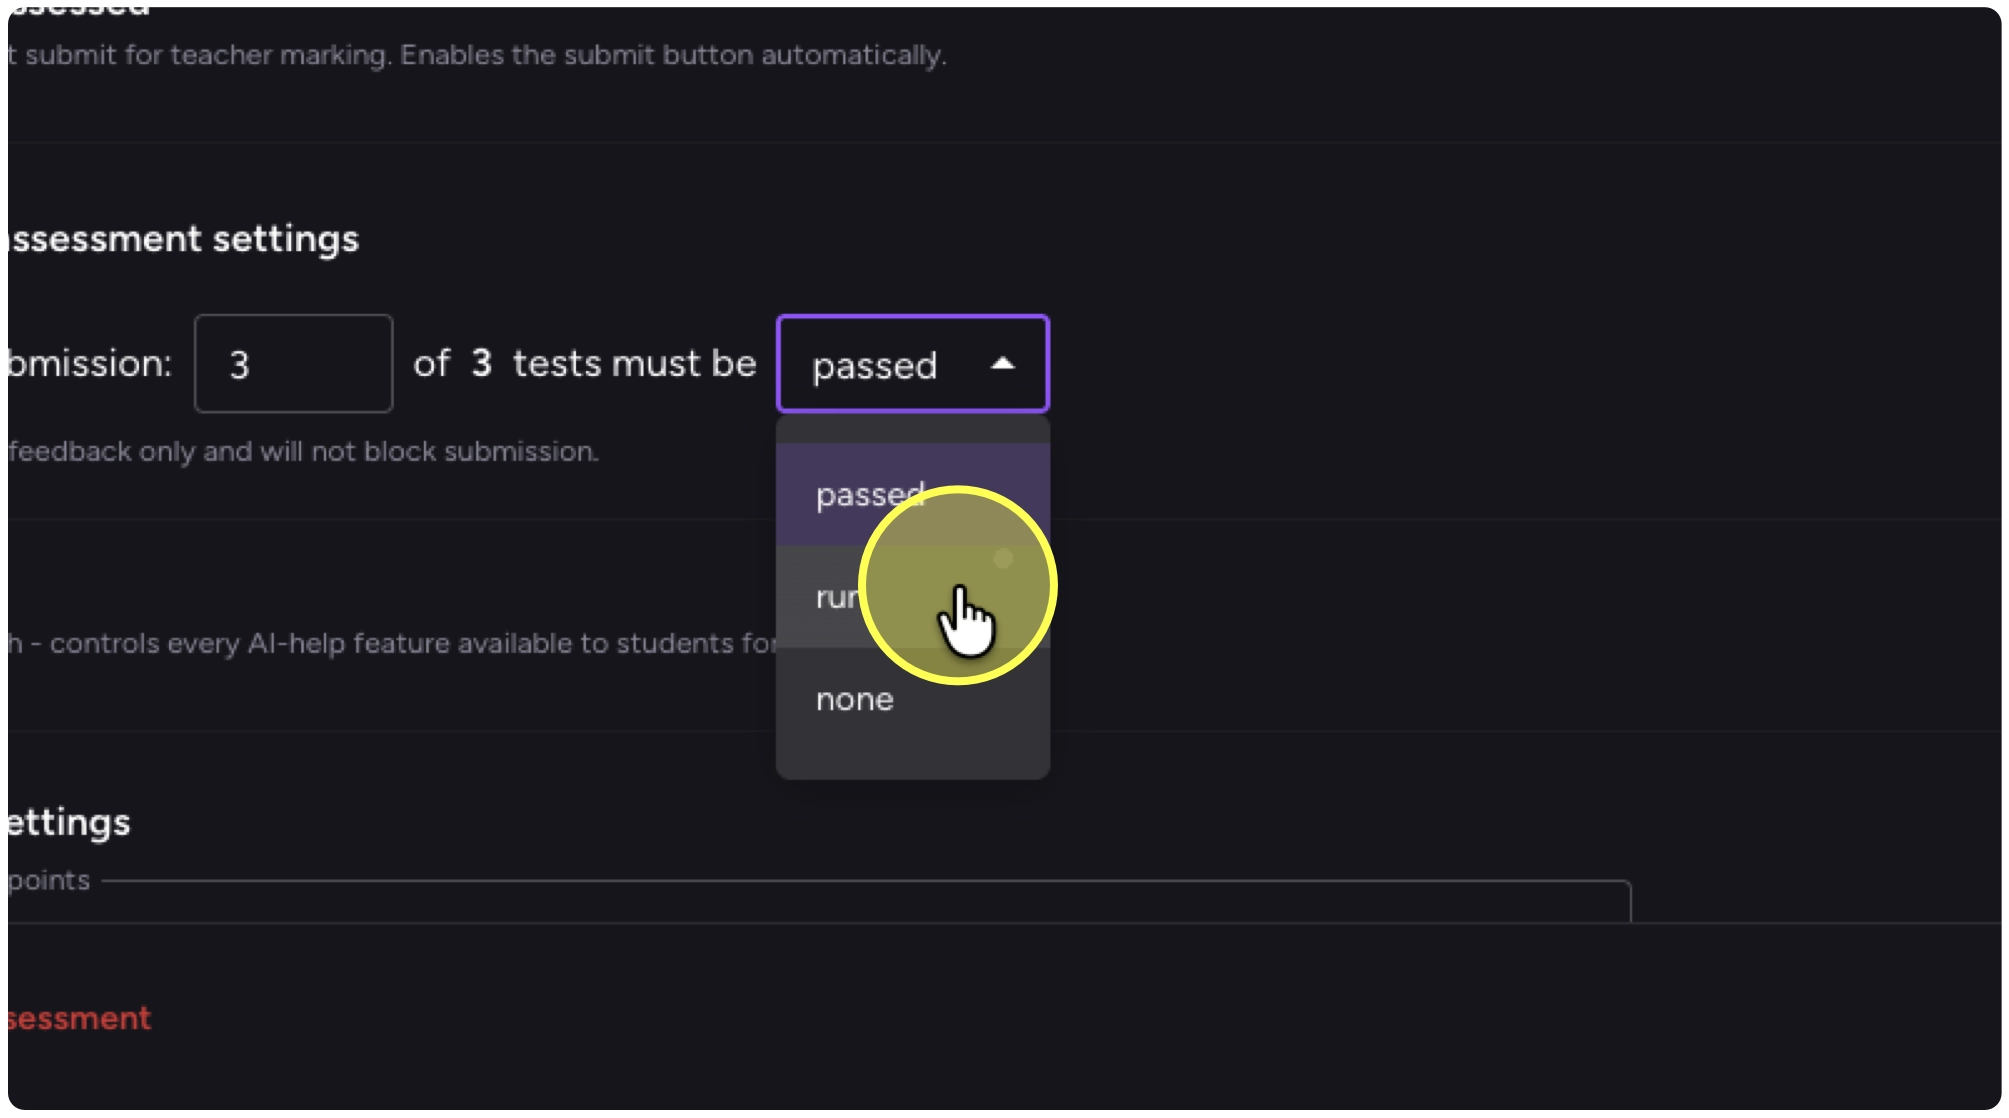
16. To set requirements related to the input/output tests select the number of tests and decide if they need to be run or passed prior to submission.
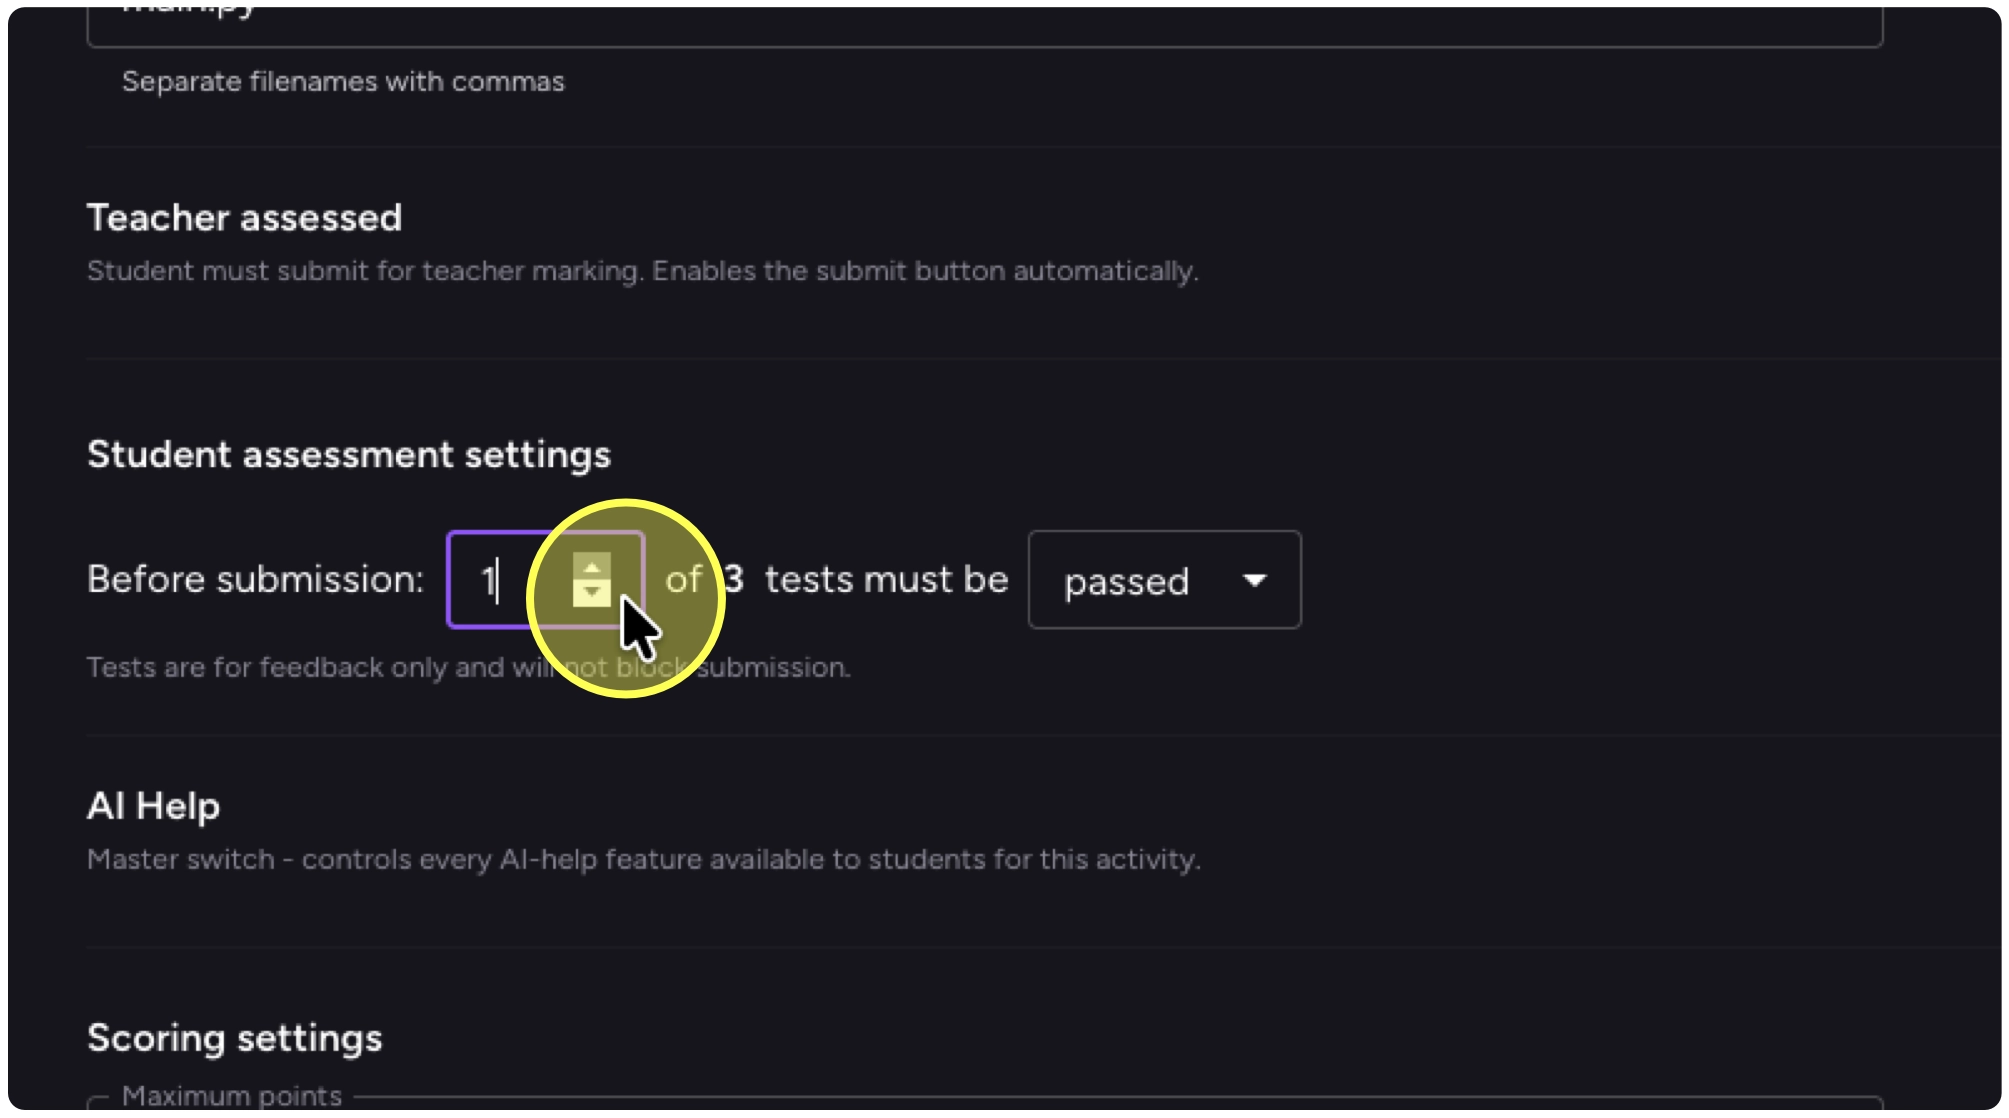
17. In my example, I’ve decided that they just need to be run and not passed before the student submits.
18. If you want to use a quantitative rubric or to provide a score add maximum possible score for the activity.
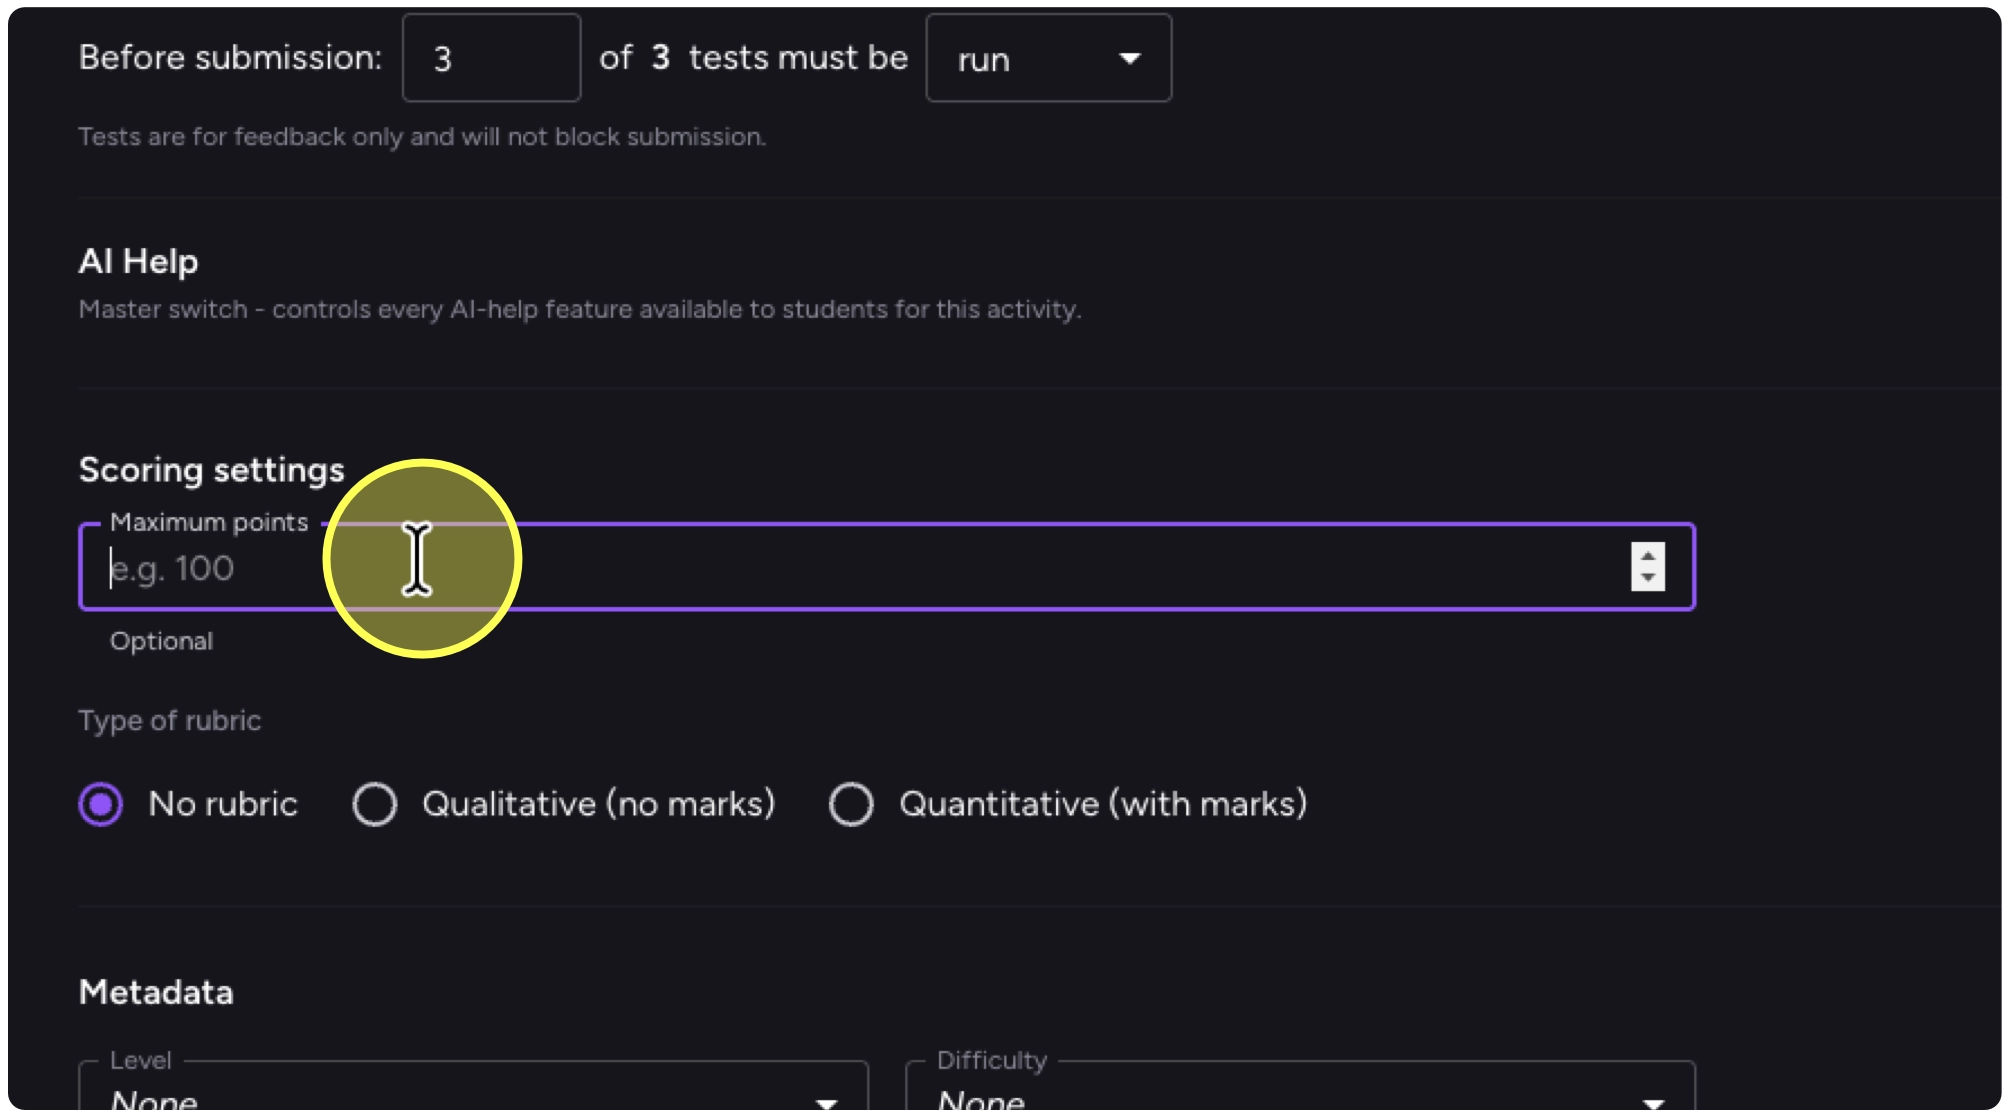
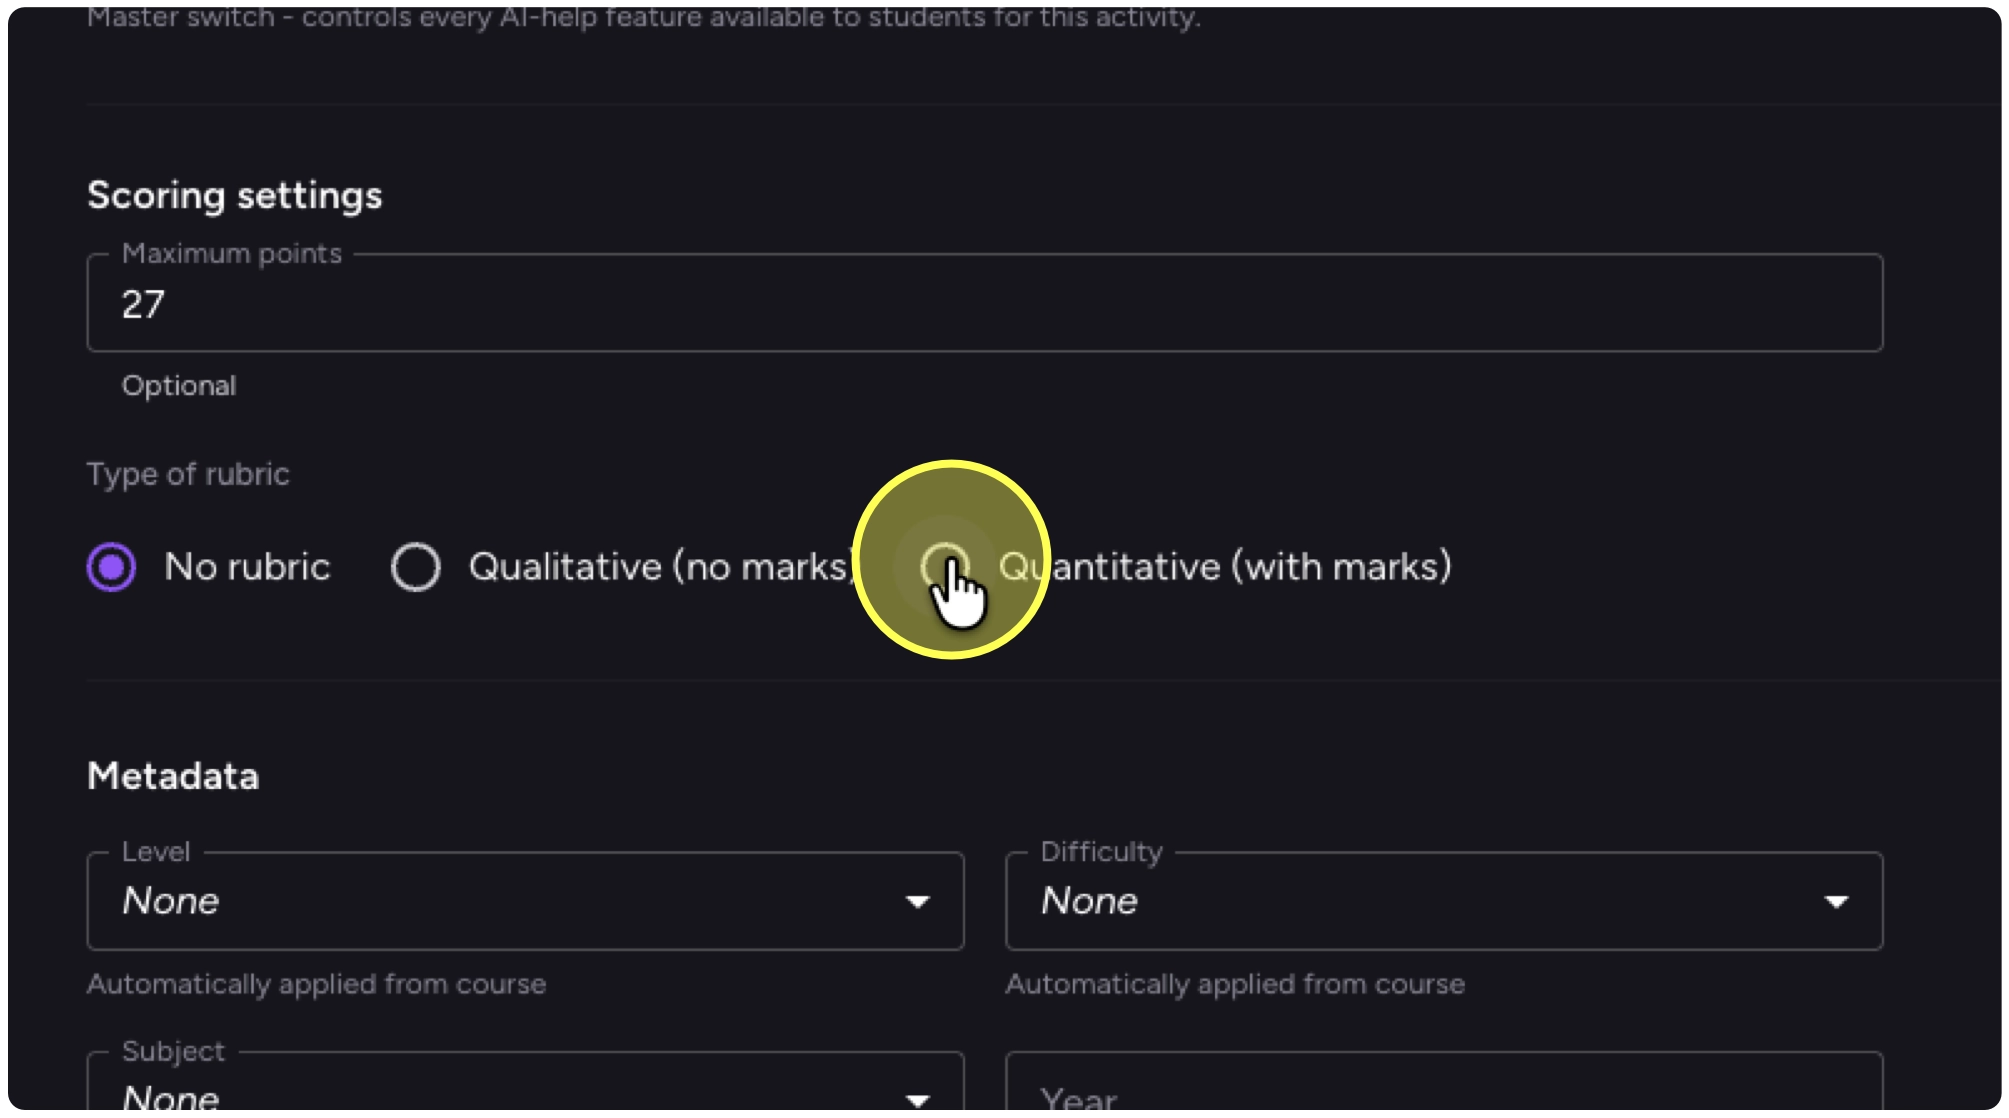
19. In my example each my three criteria are worth 9 points, so I am marking out of 27.

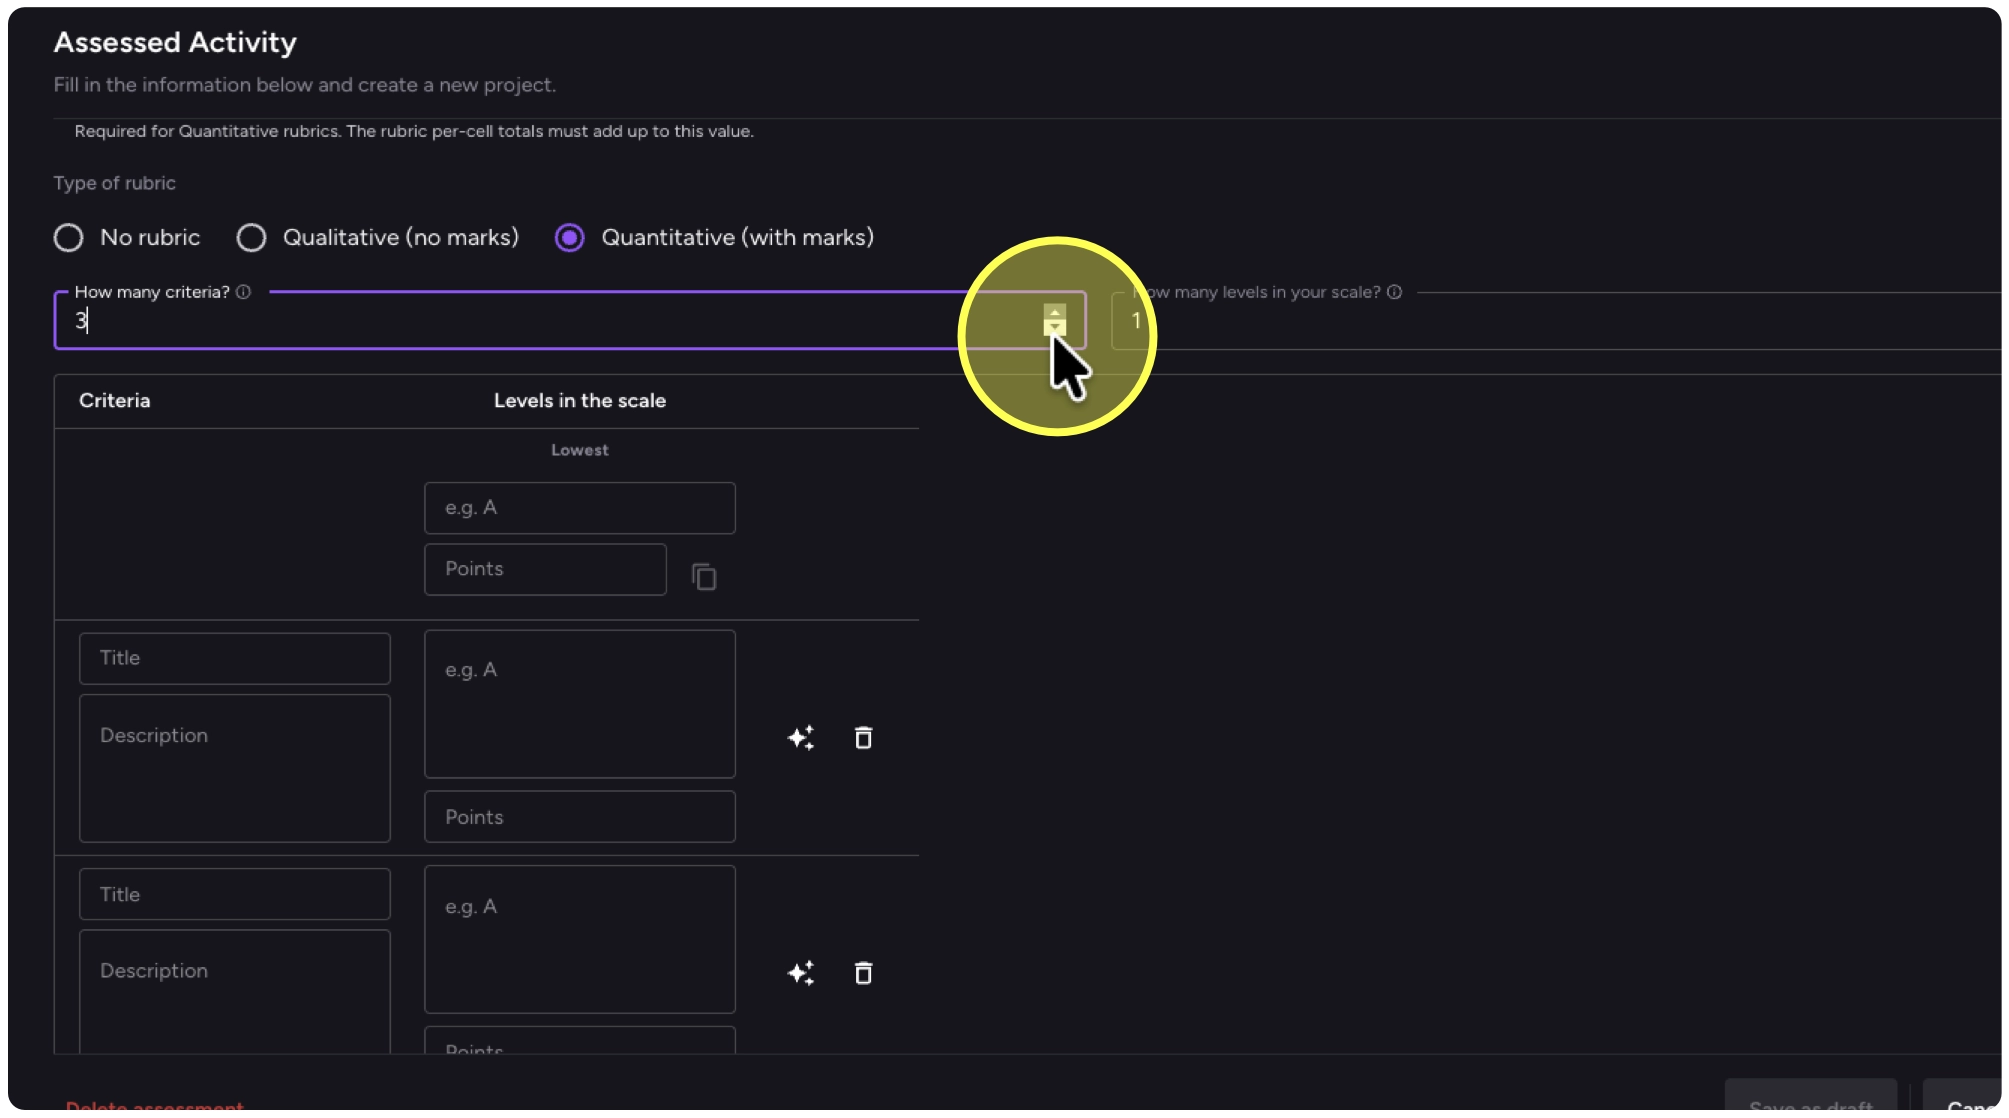
20. Click on the rubric option: ”Quantitative (with marks)"
21. Add the number of Criteria - in my example I have three.
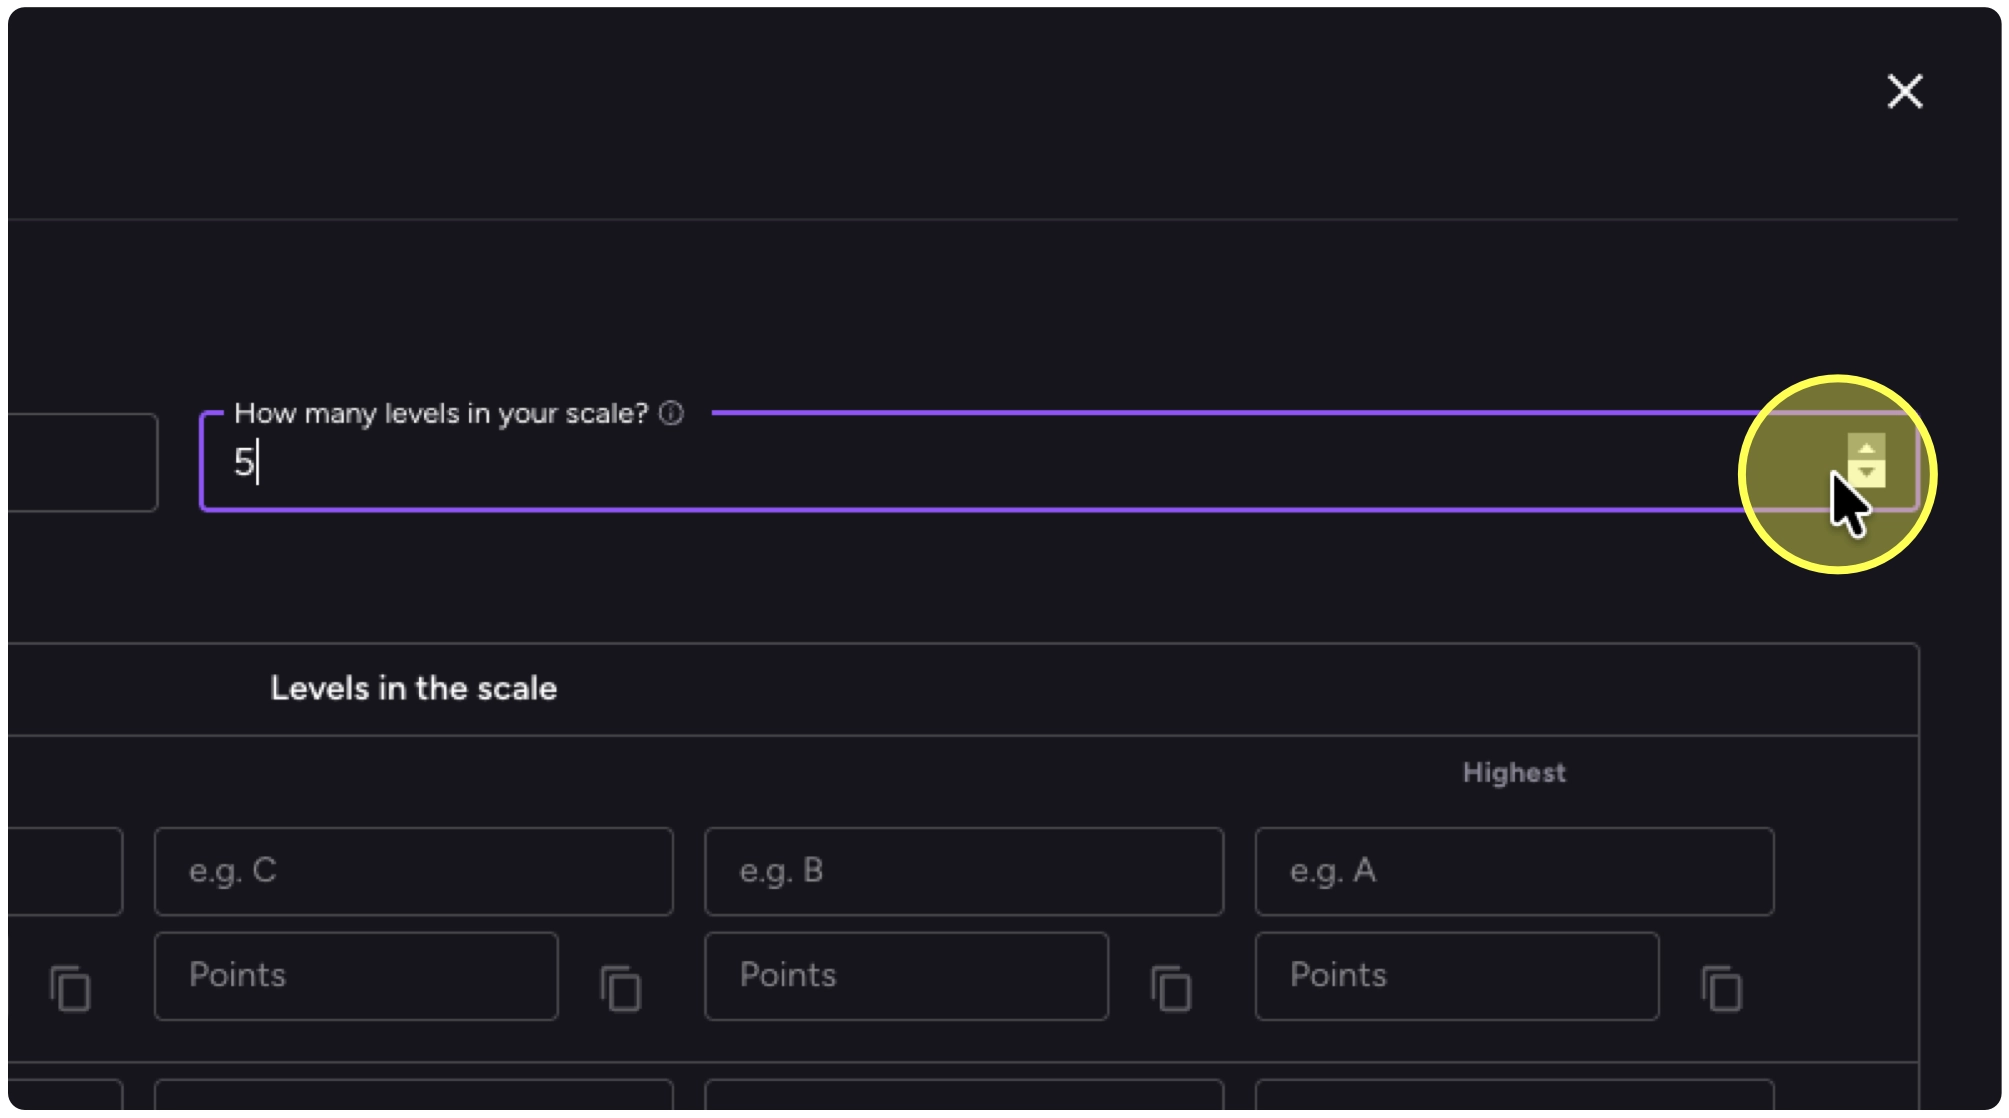
22. Then add the number of levels in your scale, e.g., A, B, C, D, E would be 5 levels.
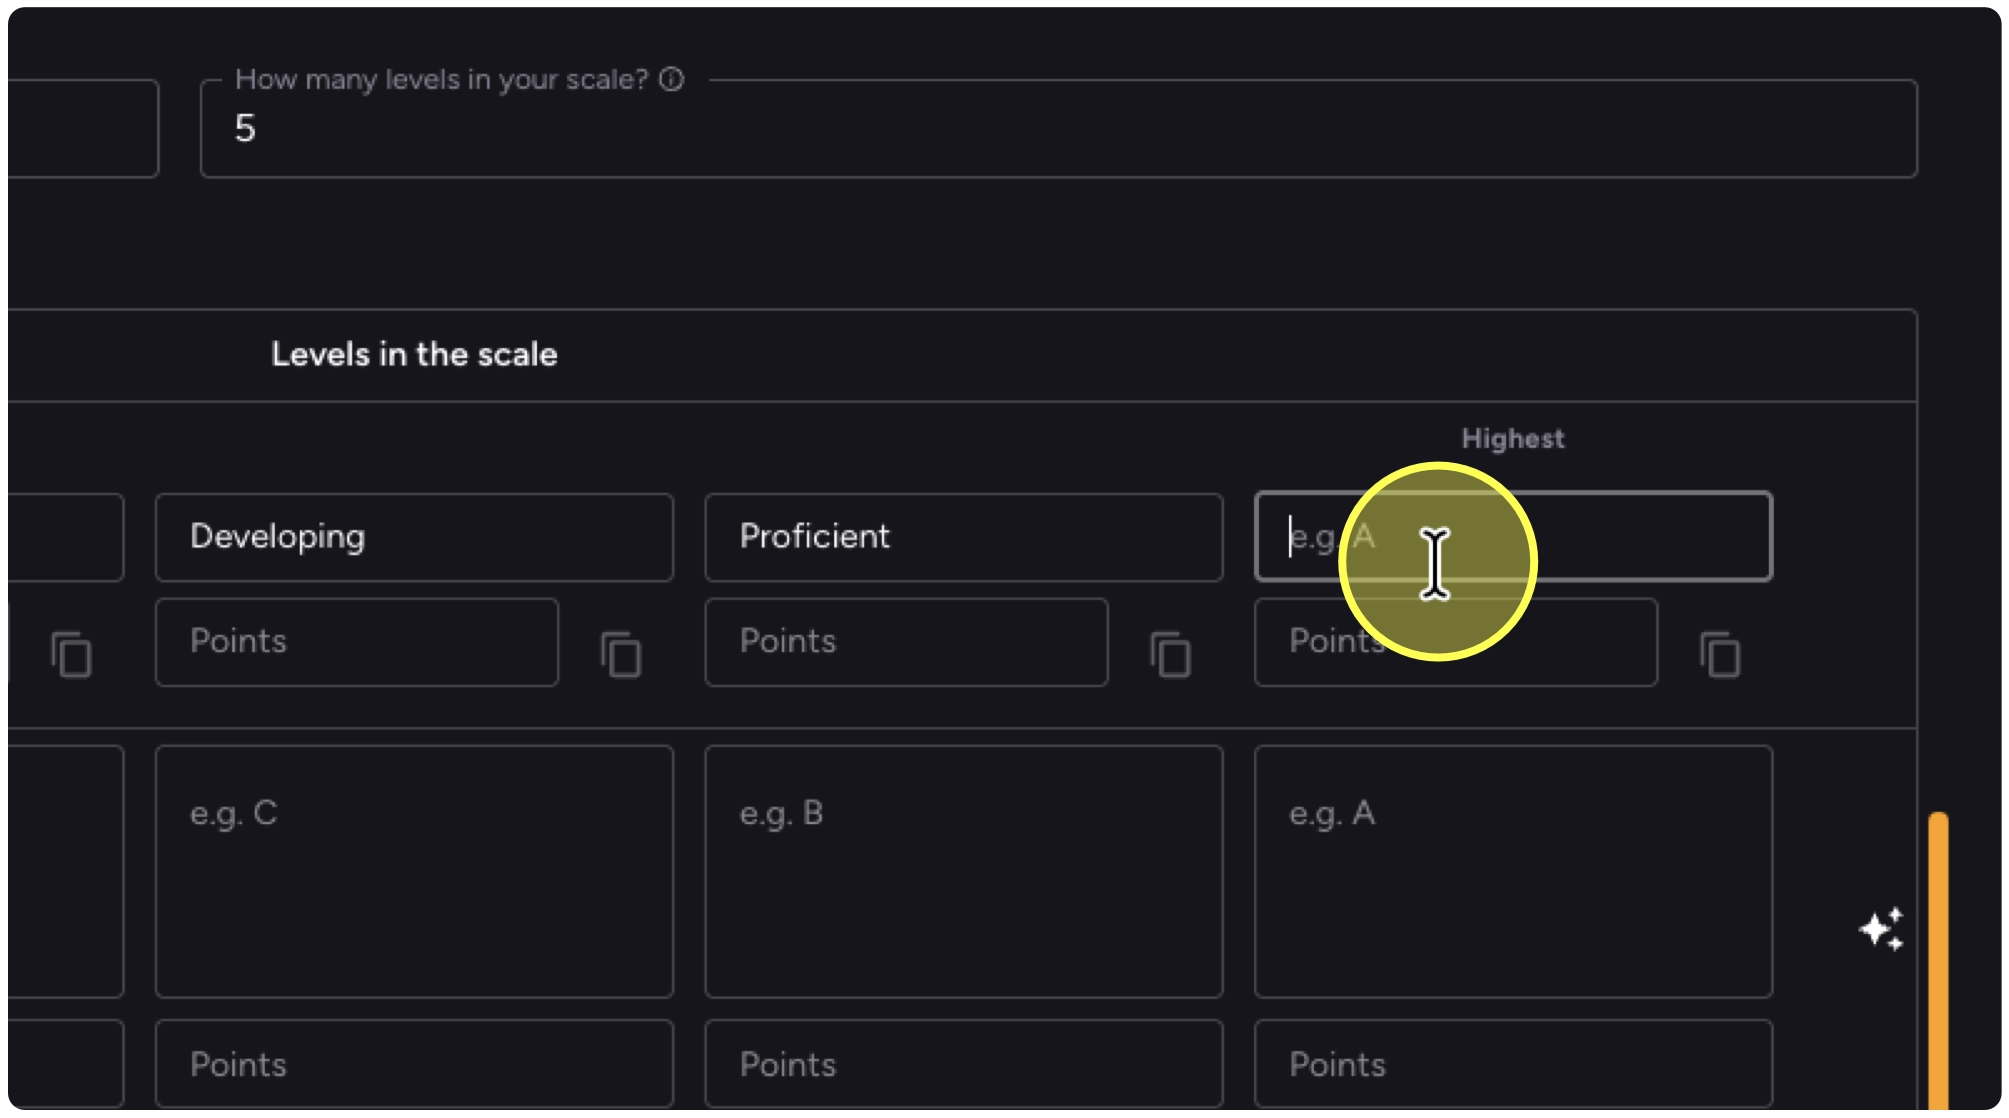
23. Paste in your scale from lowest to highest. In my example I’m using:
Incomplete, Beginning, Developing, Proficient, Mastery.
Inc

24. I’ve completed the whole row and will now move on to the criteria.
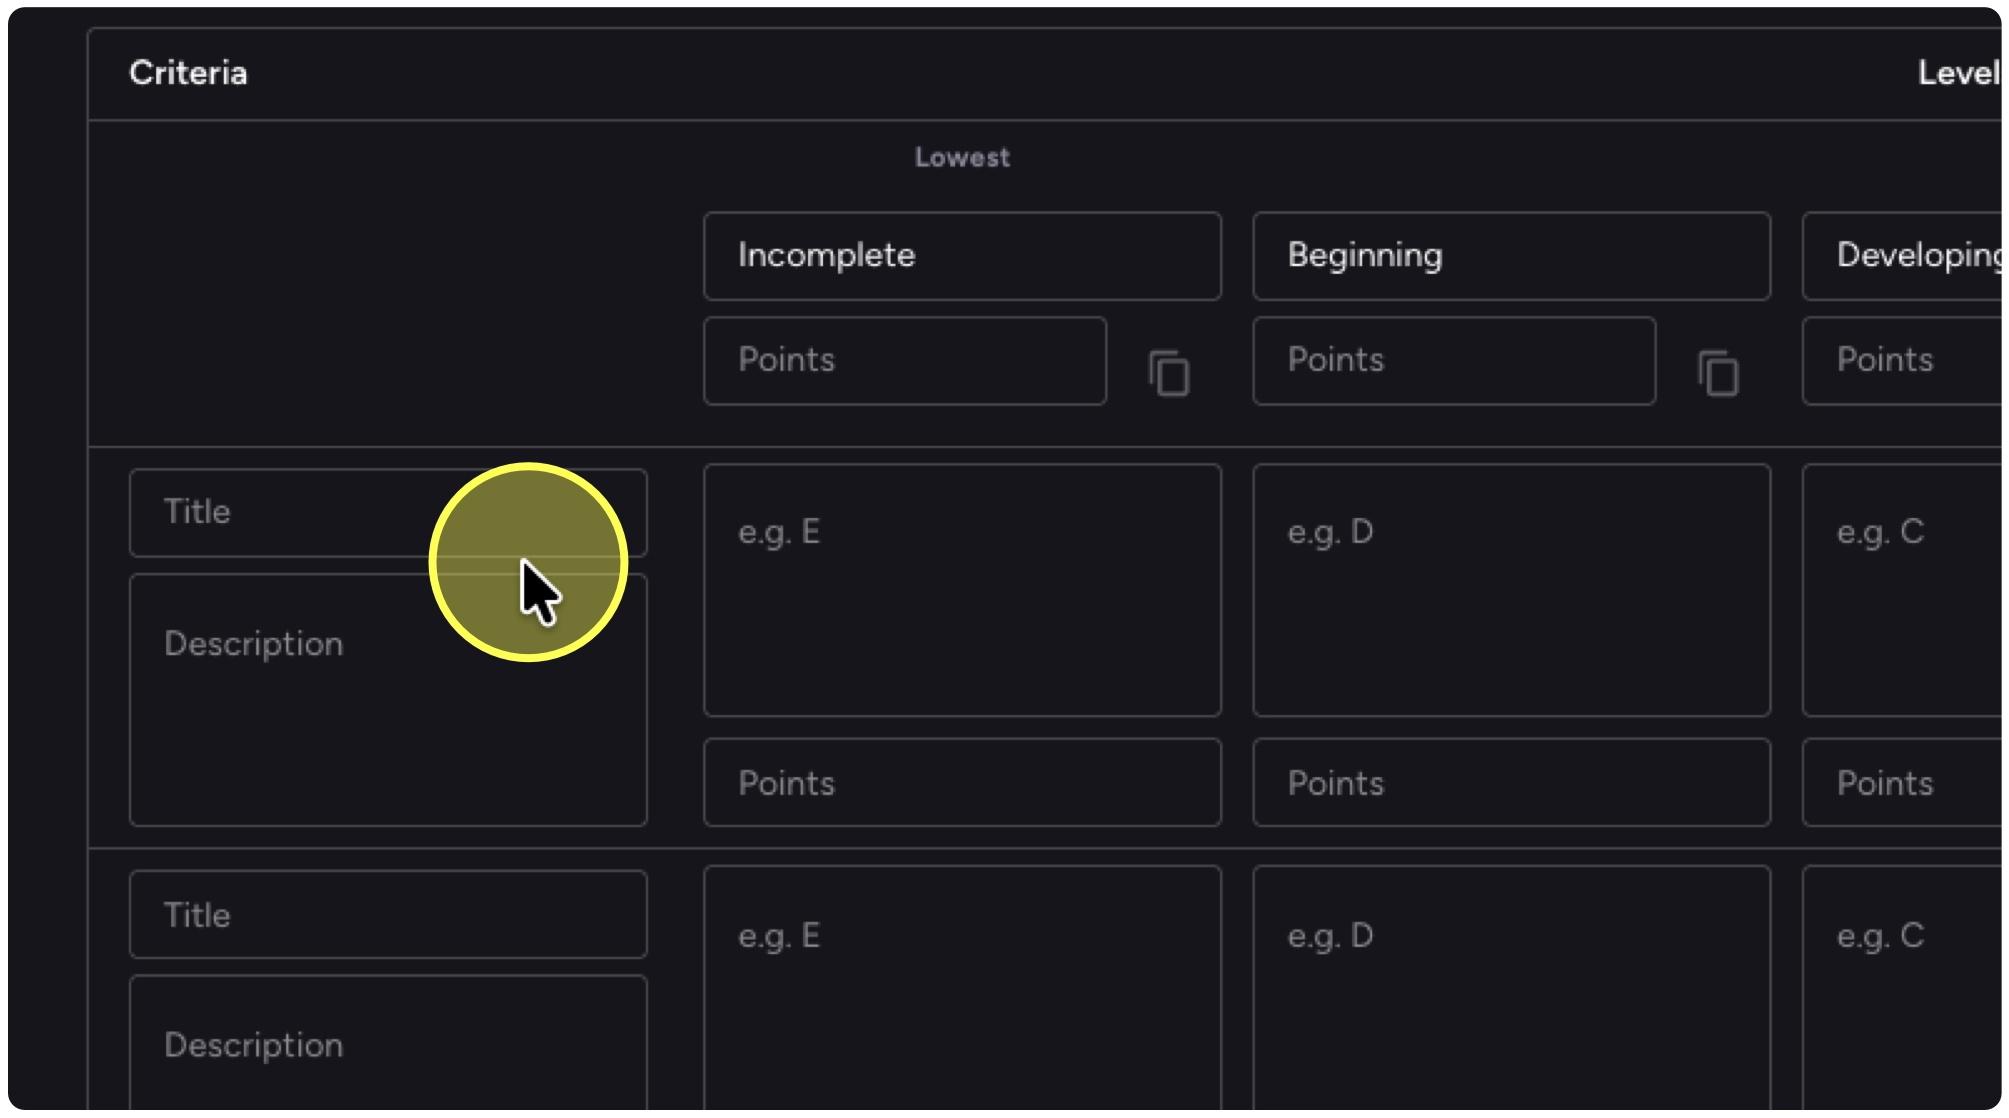
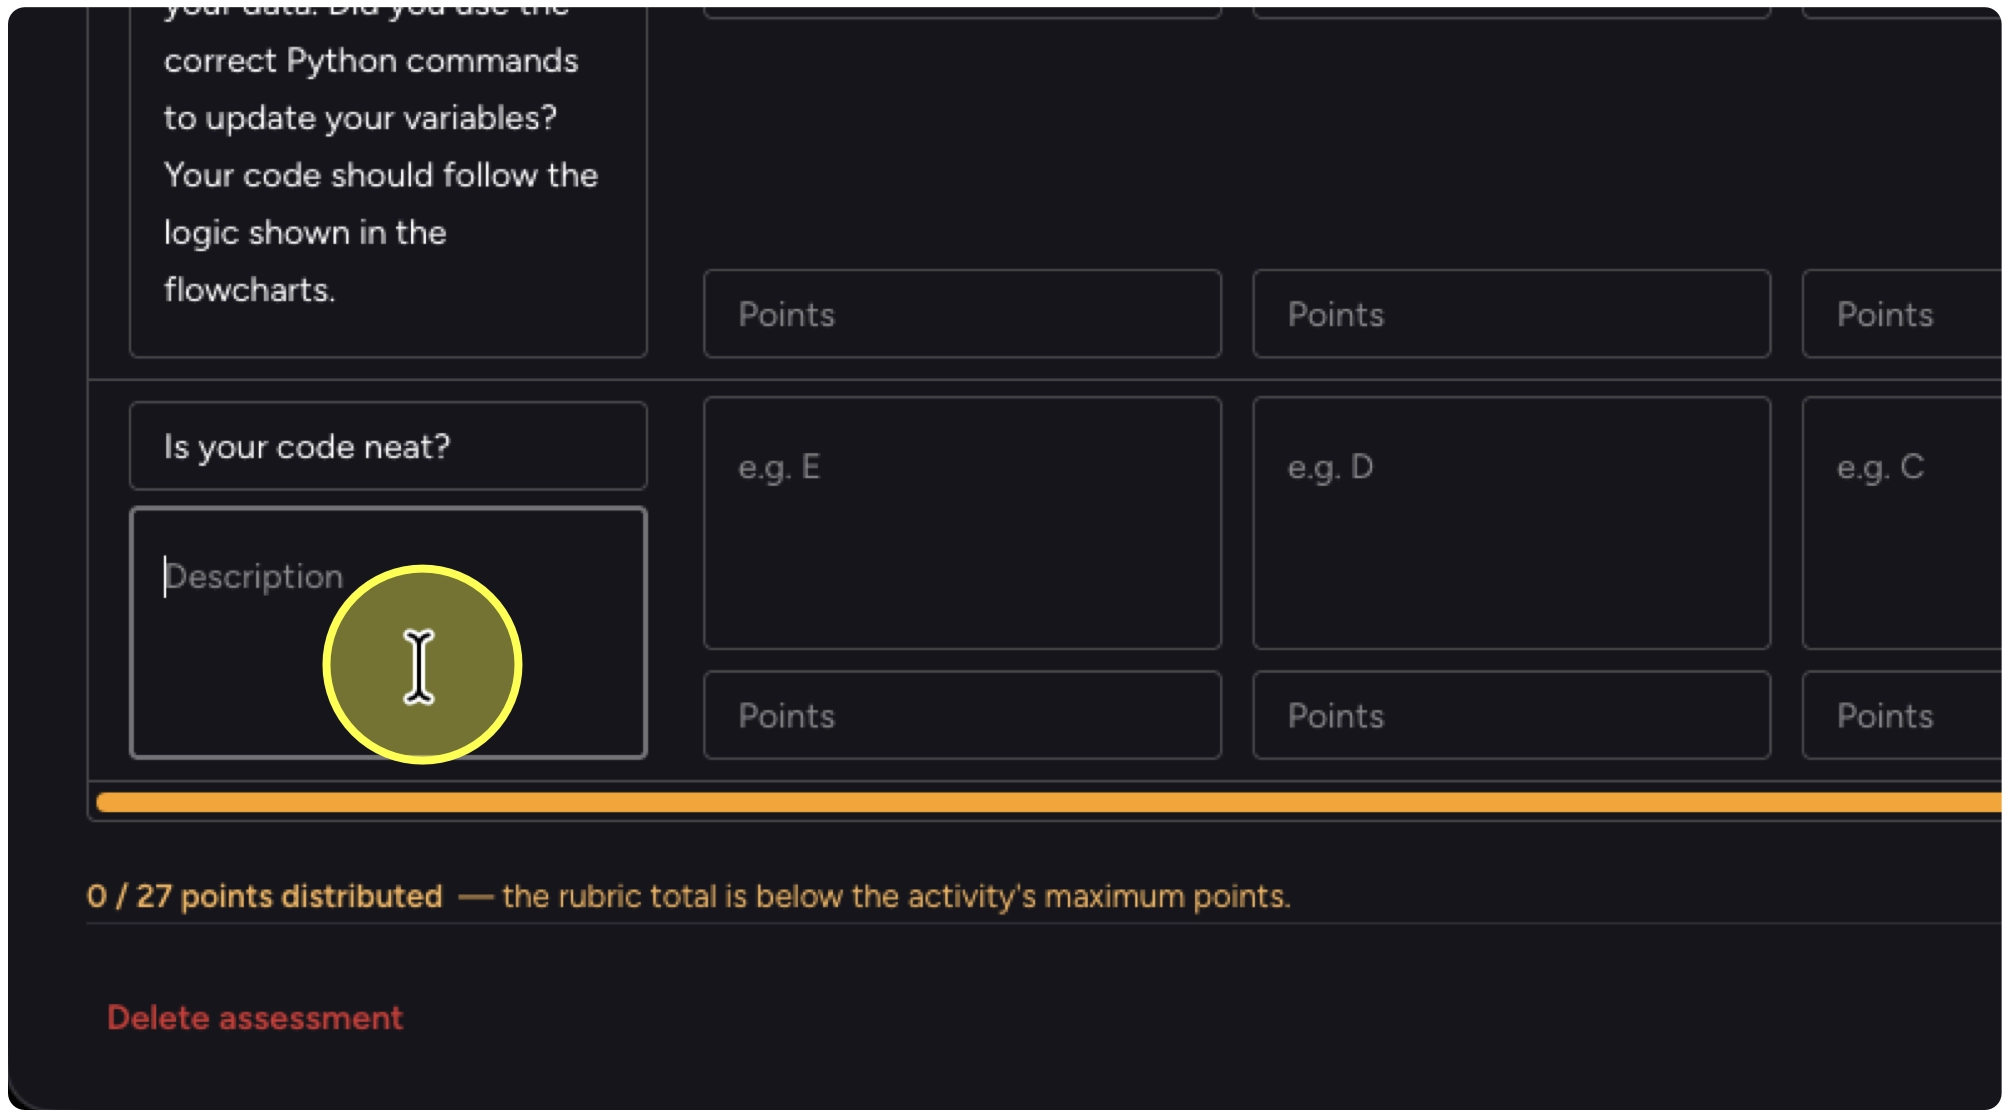
25. I have a title and description for each criterion.
26. Once I’ve added my criteria, observe that I need to add points to my rubric to add up to the total based on my maximum score.
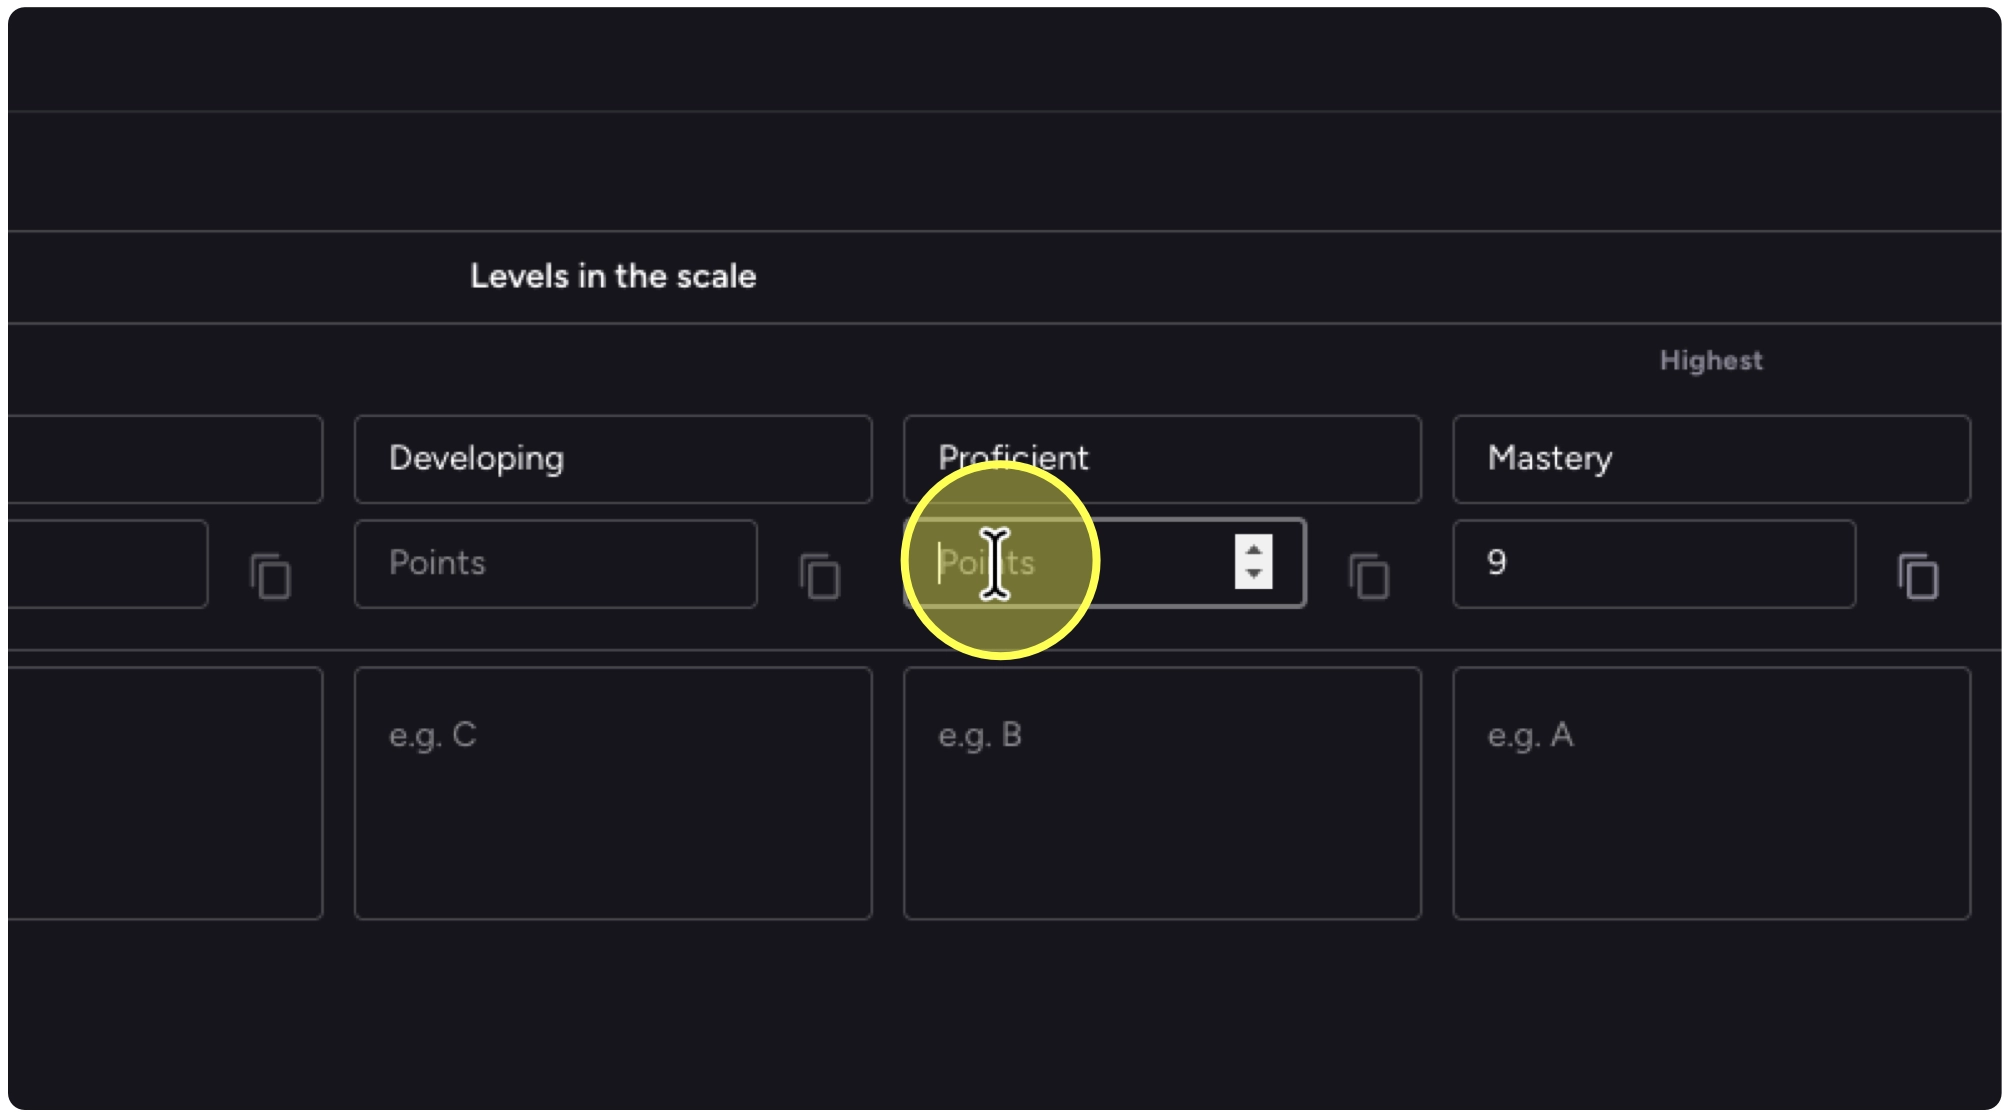
27. Add your points along your points along the top to specific the same points for all criteria. To weight scores, add different points per criterion row.

28. Add in your points, I find it easiest to go from right to left (highest to lowest).
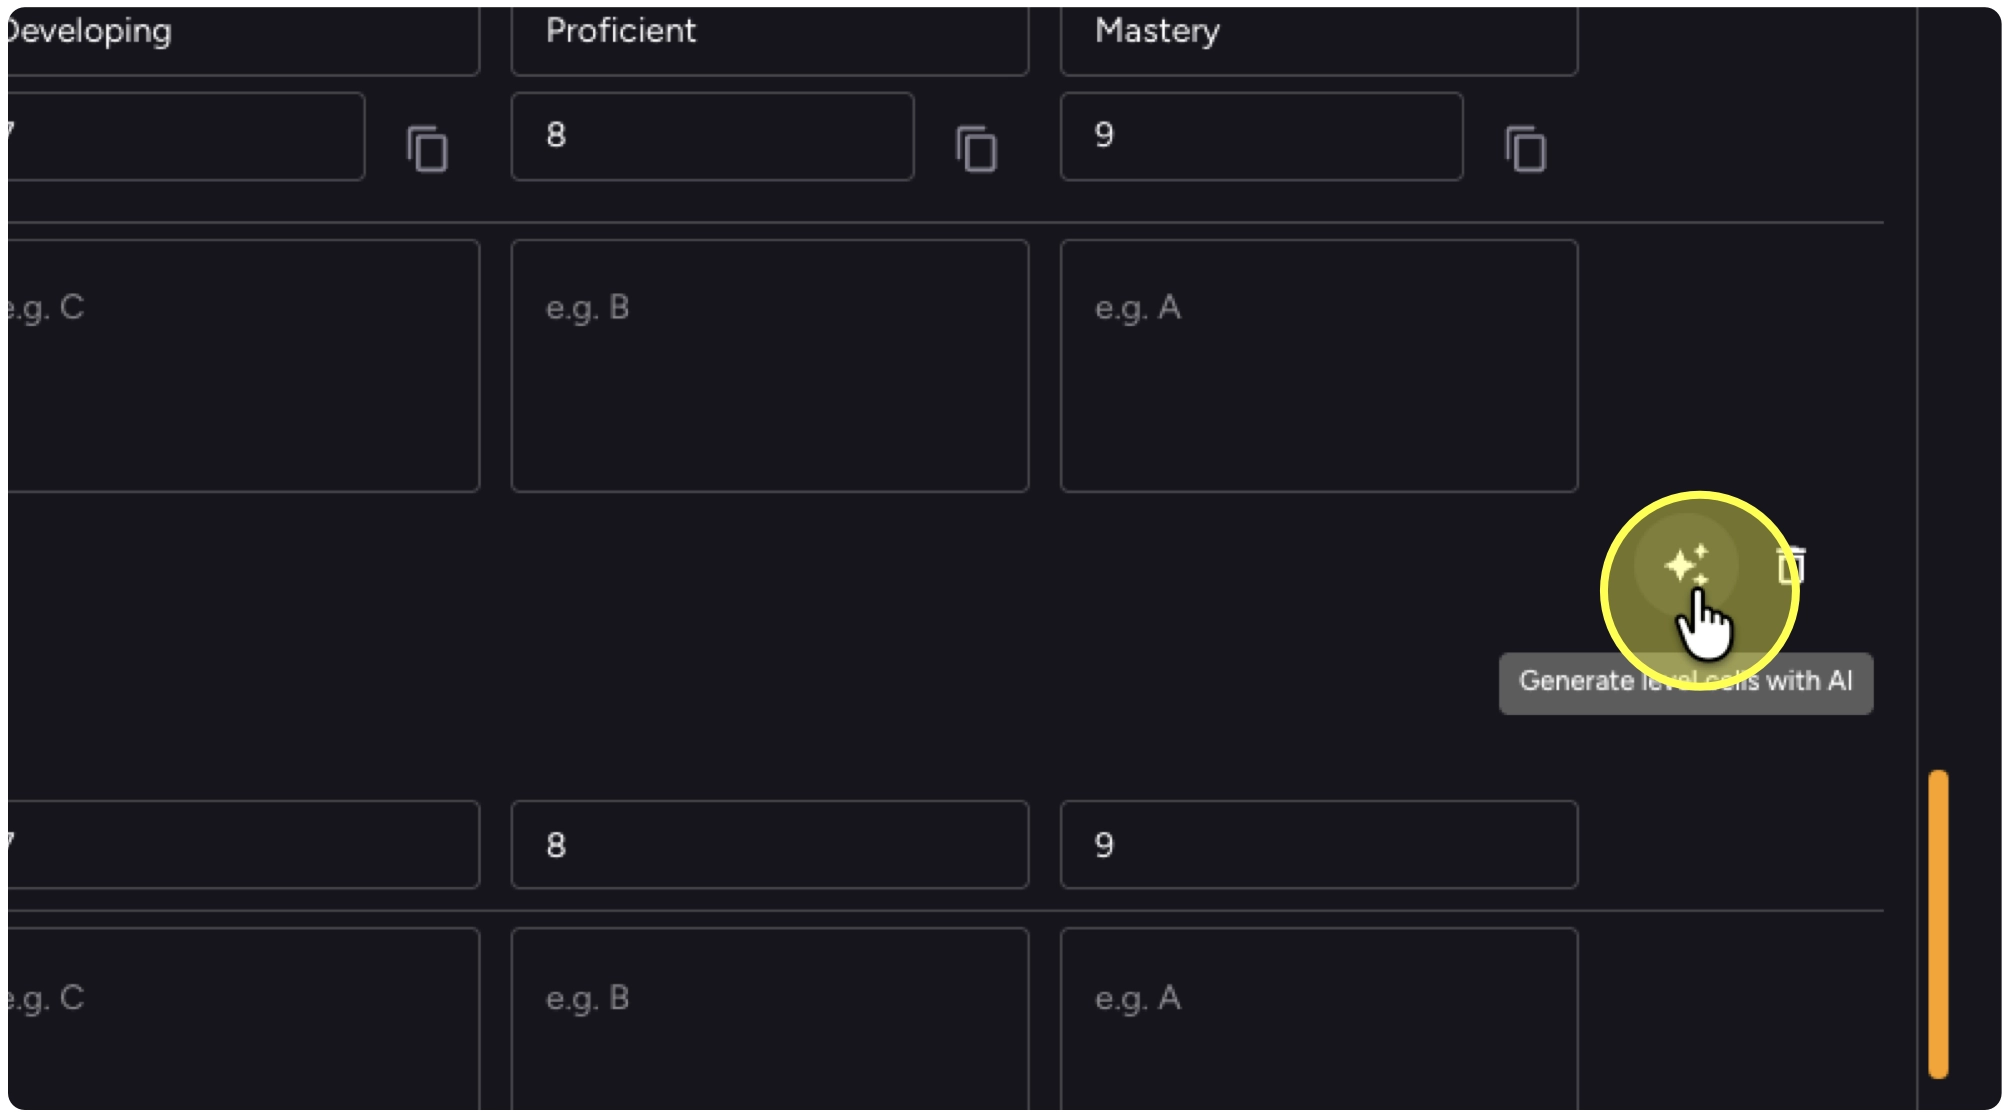
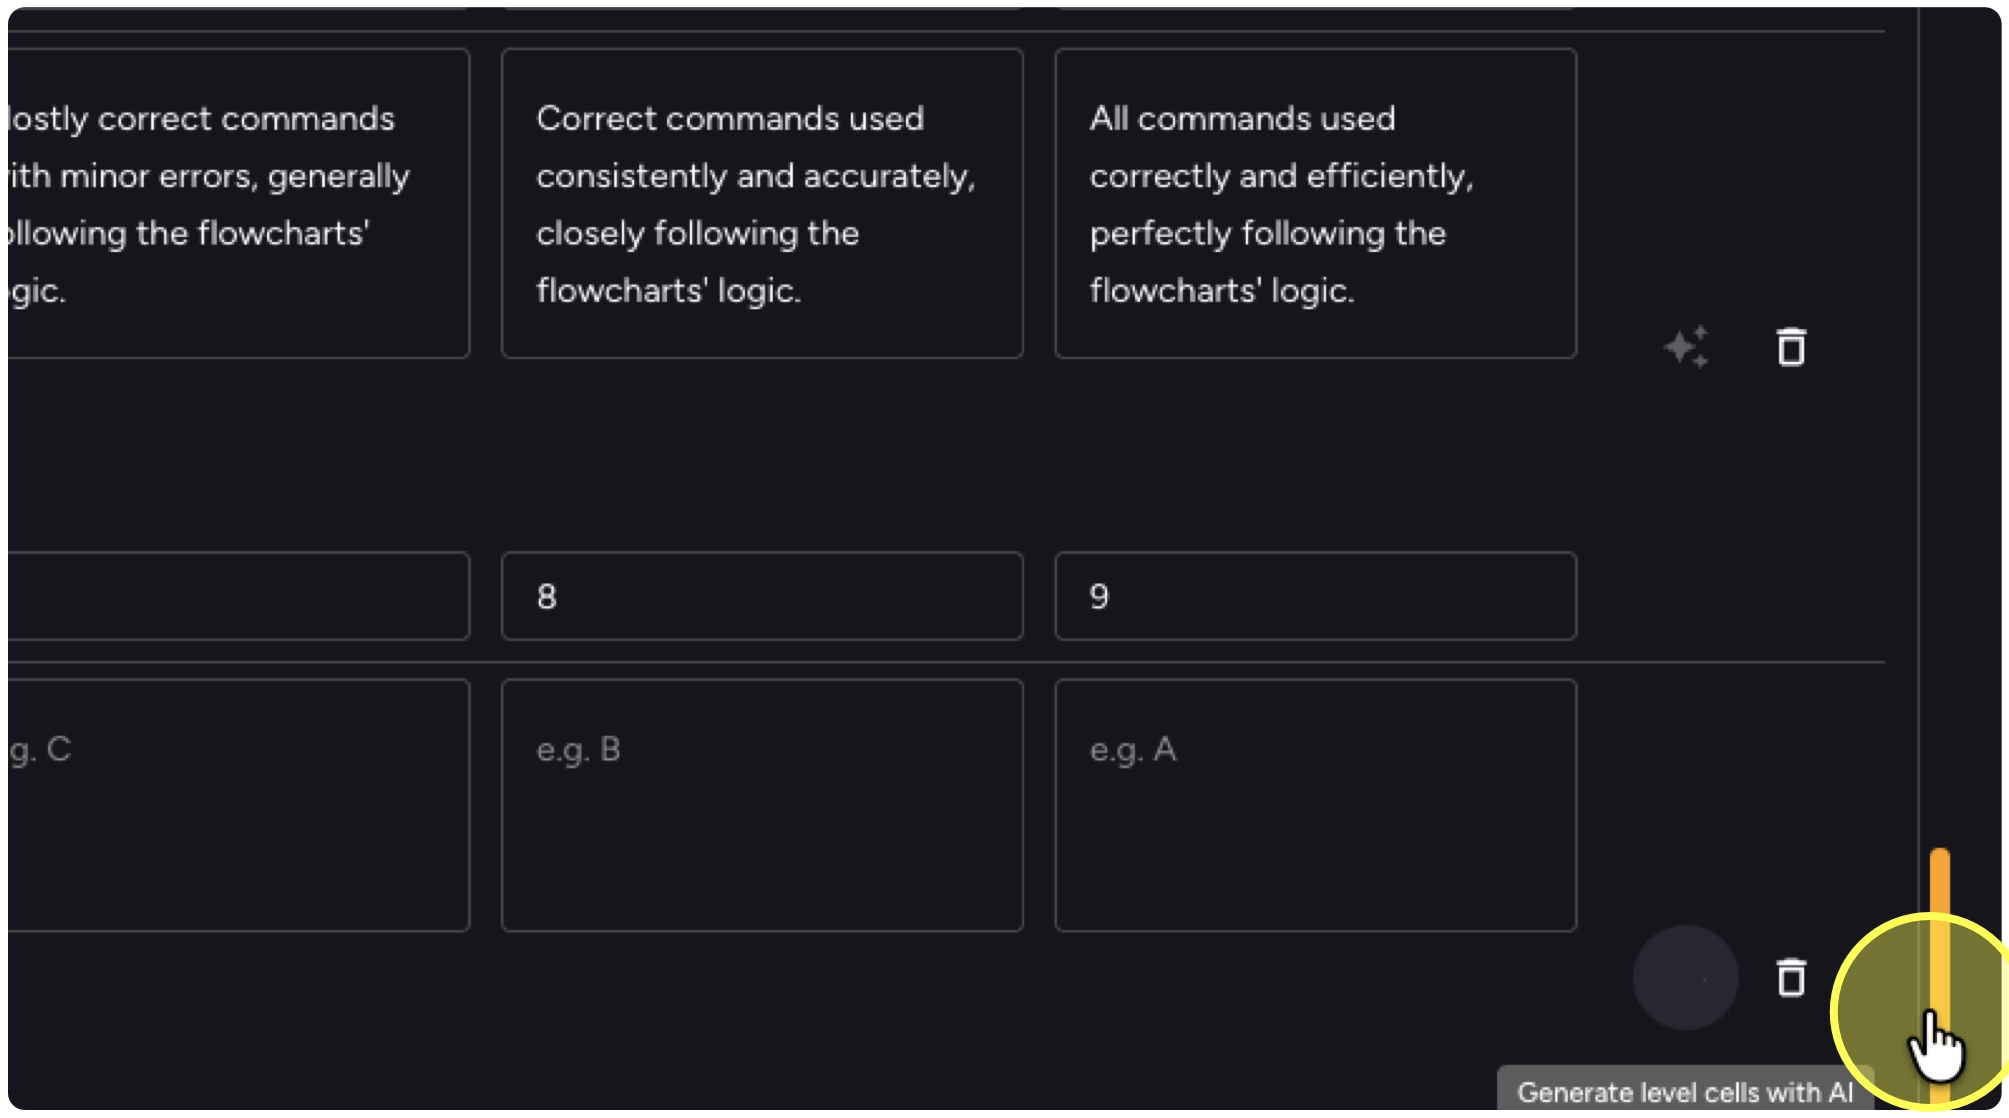
29. Once you have scales and criteria, you can then generate each row of descriptors using AI.
30. Finish generating all your rows and scroll to the bottom of the screen.
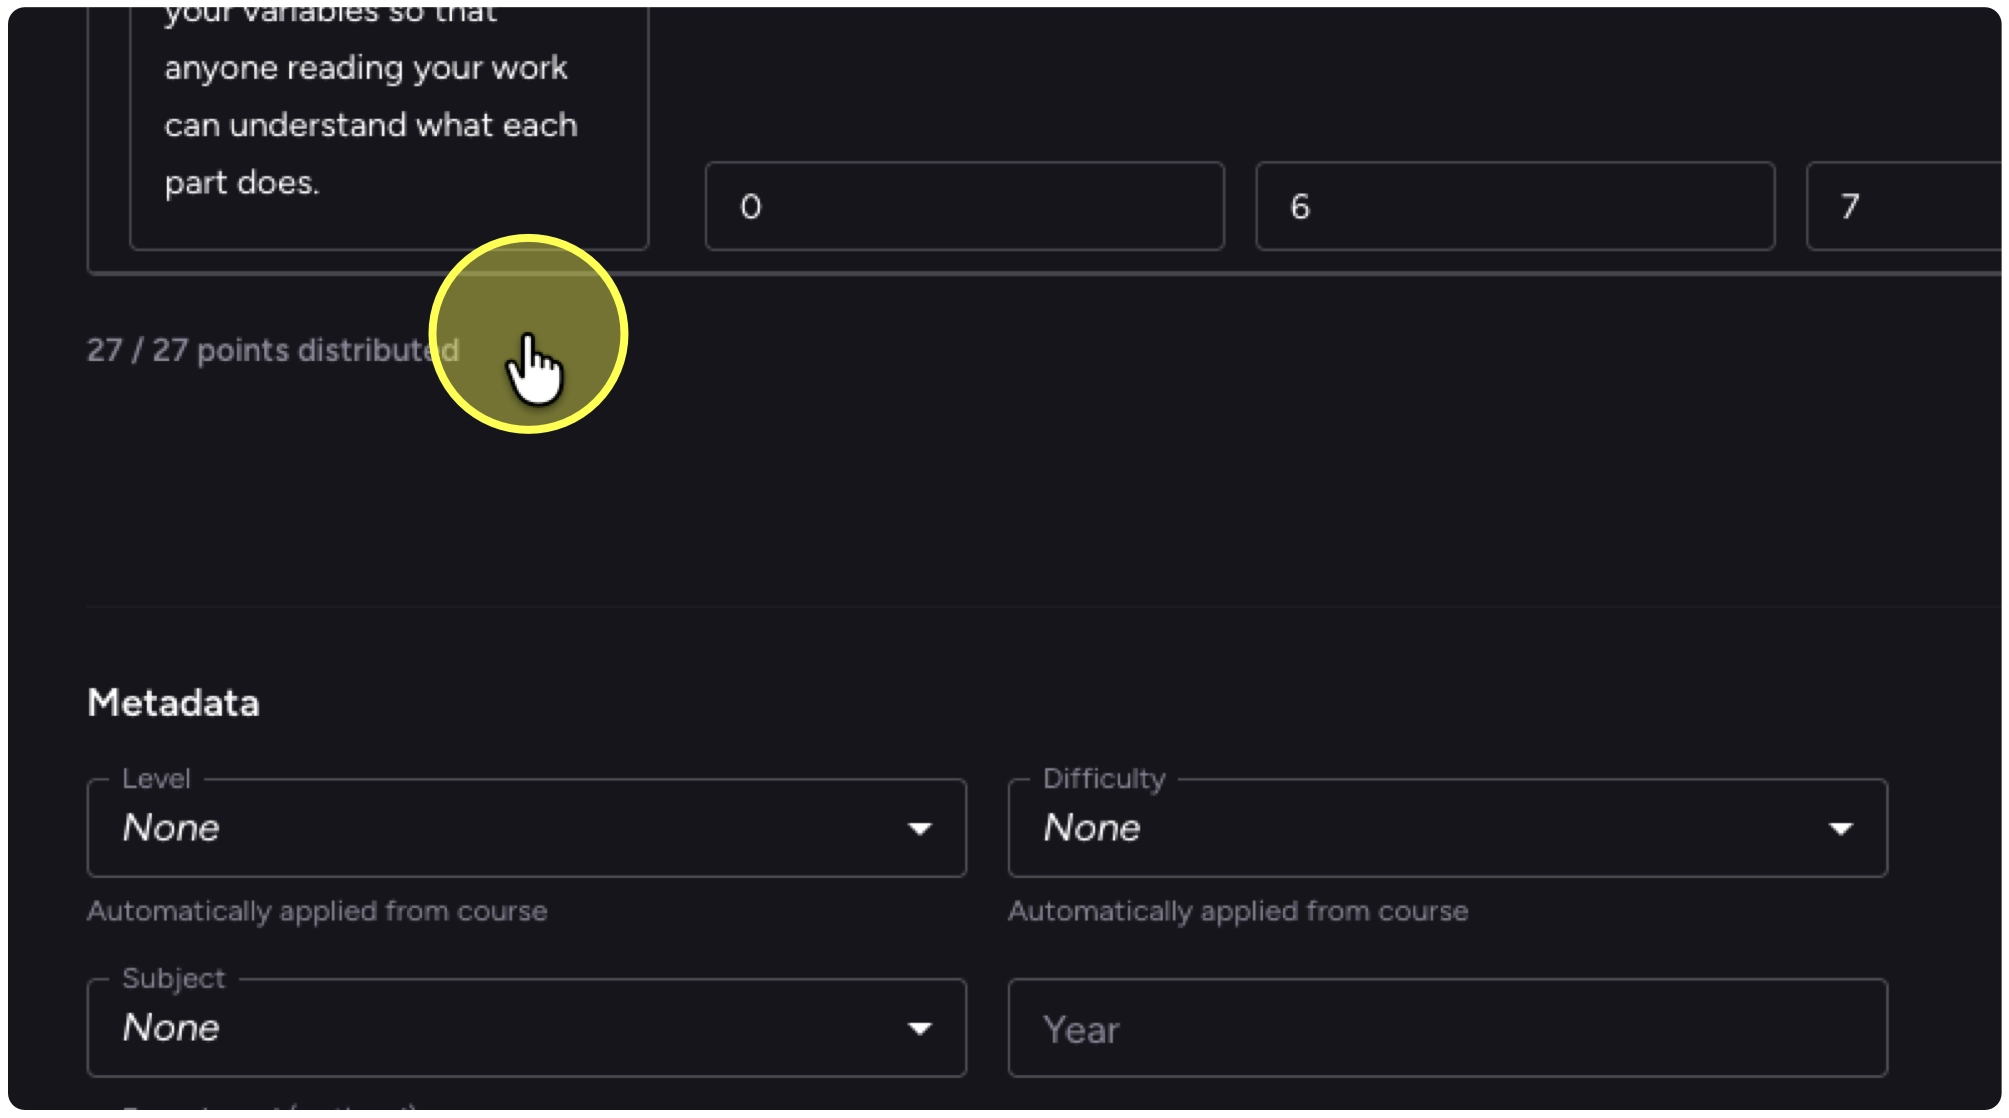
31. Double-check that all the points are distributed.
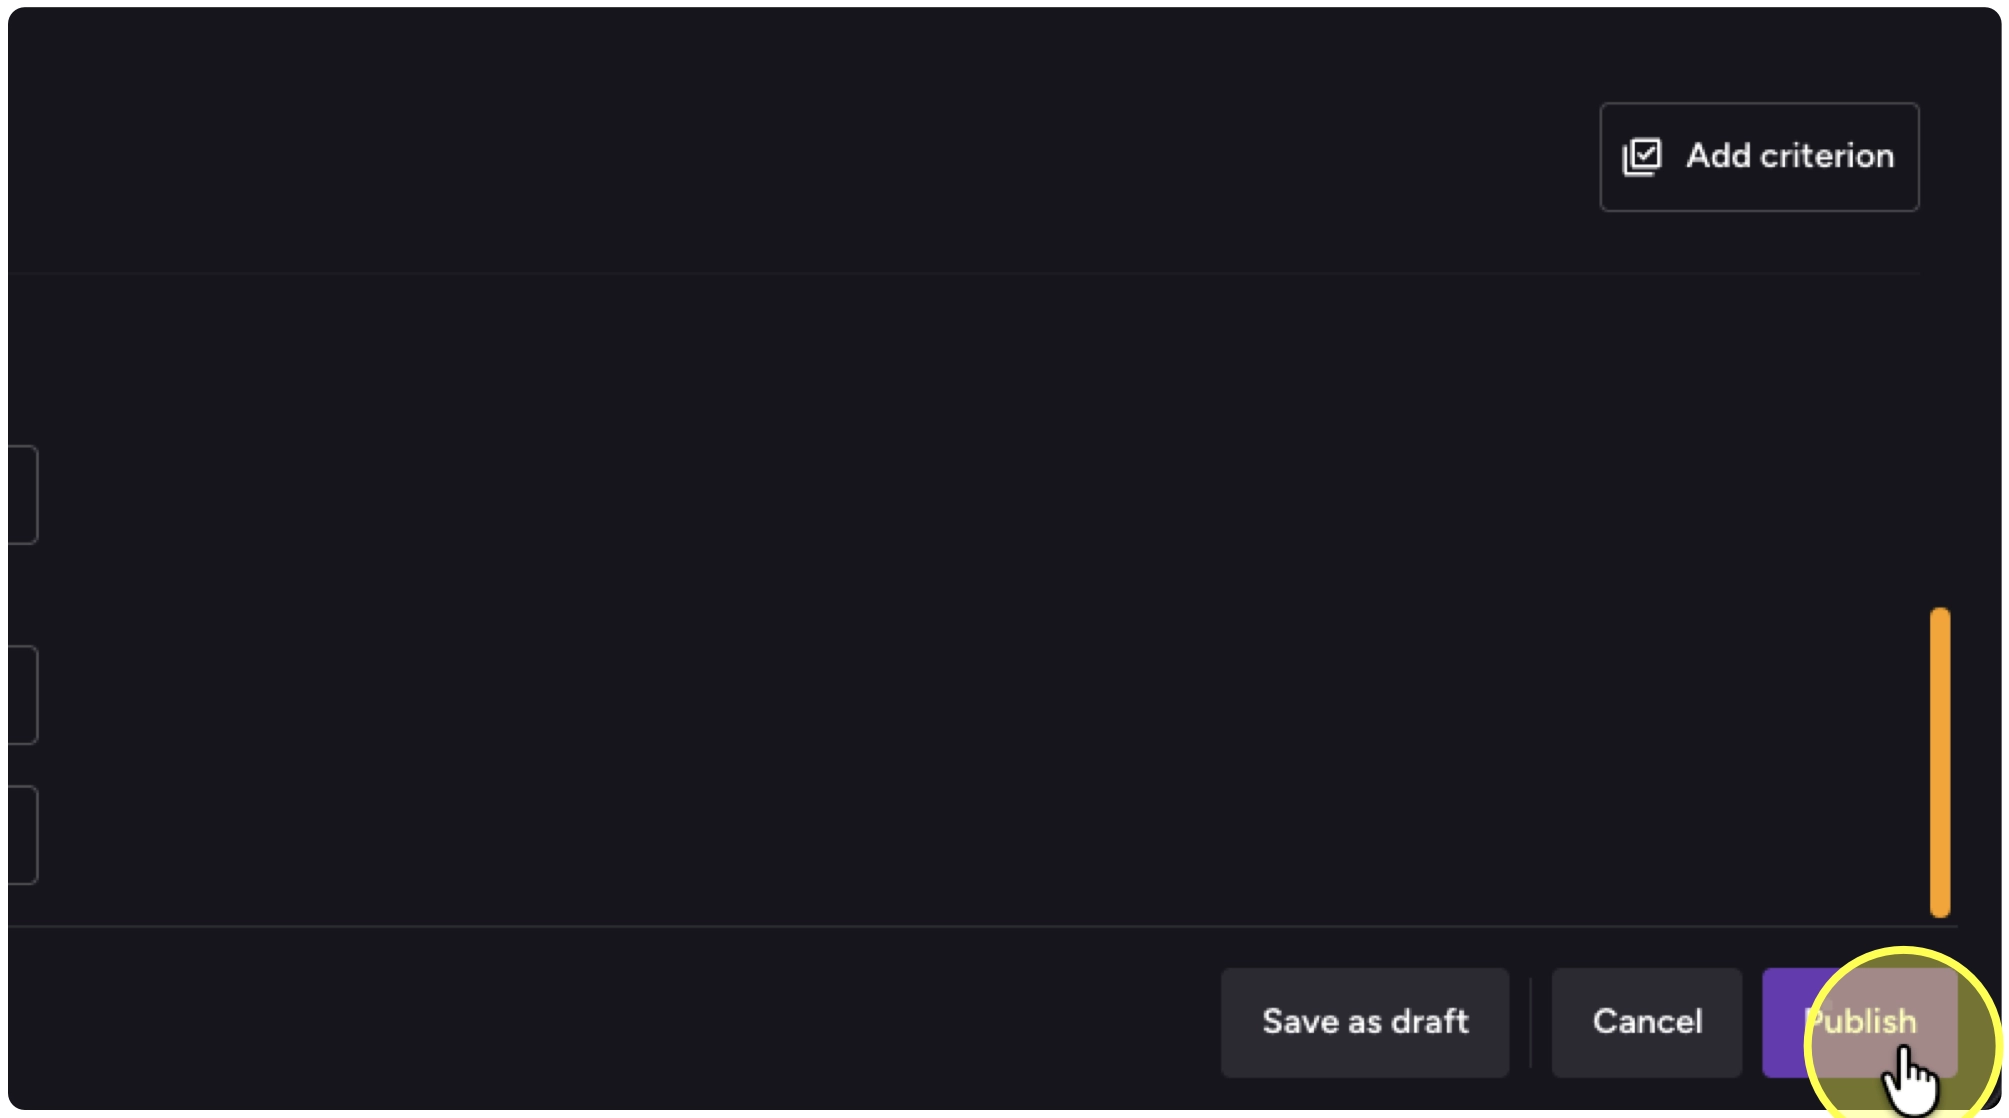
32. If you need to make this assignment ready later, select Save as draft. Otherwise select Publish to make it available to students immediately.
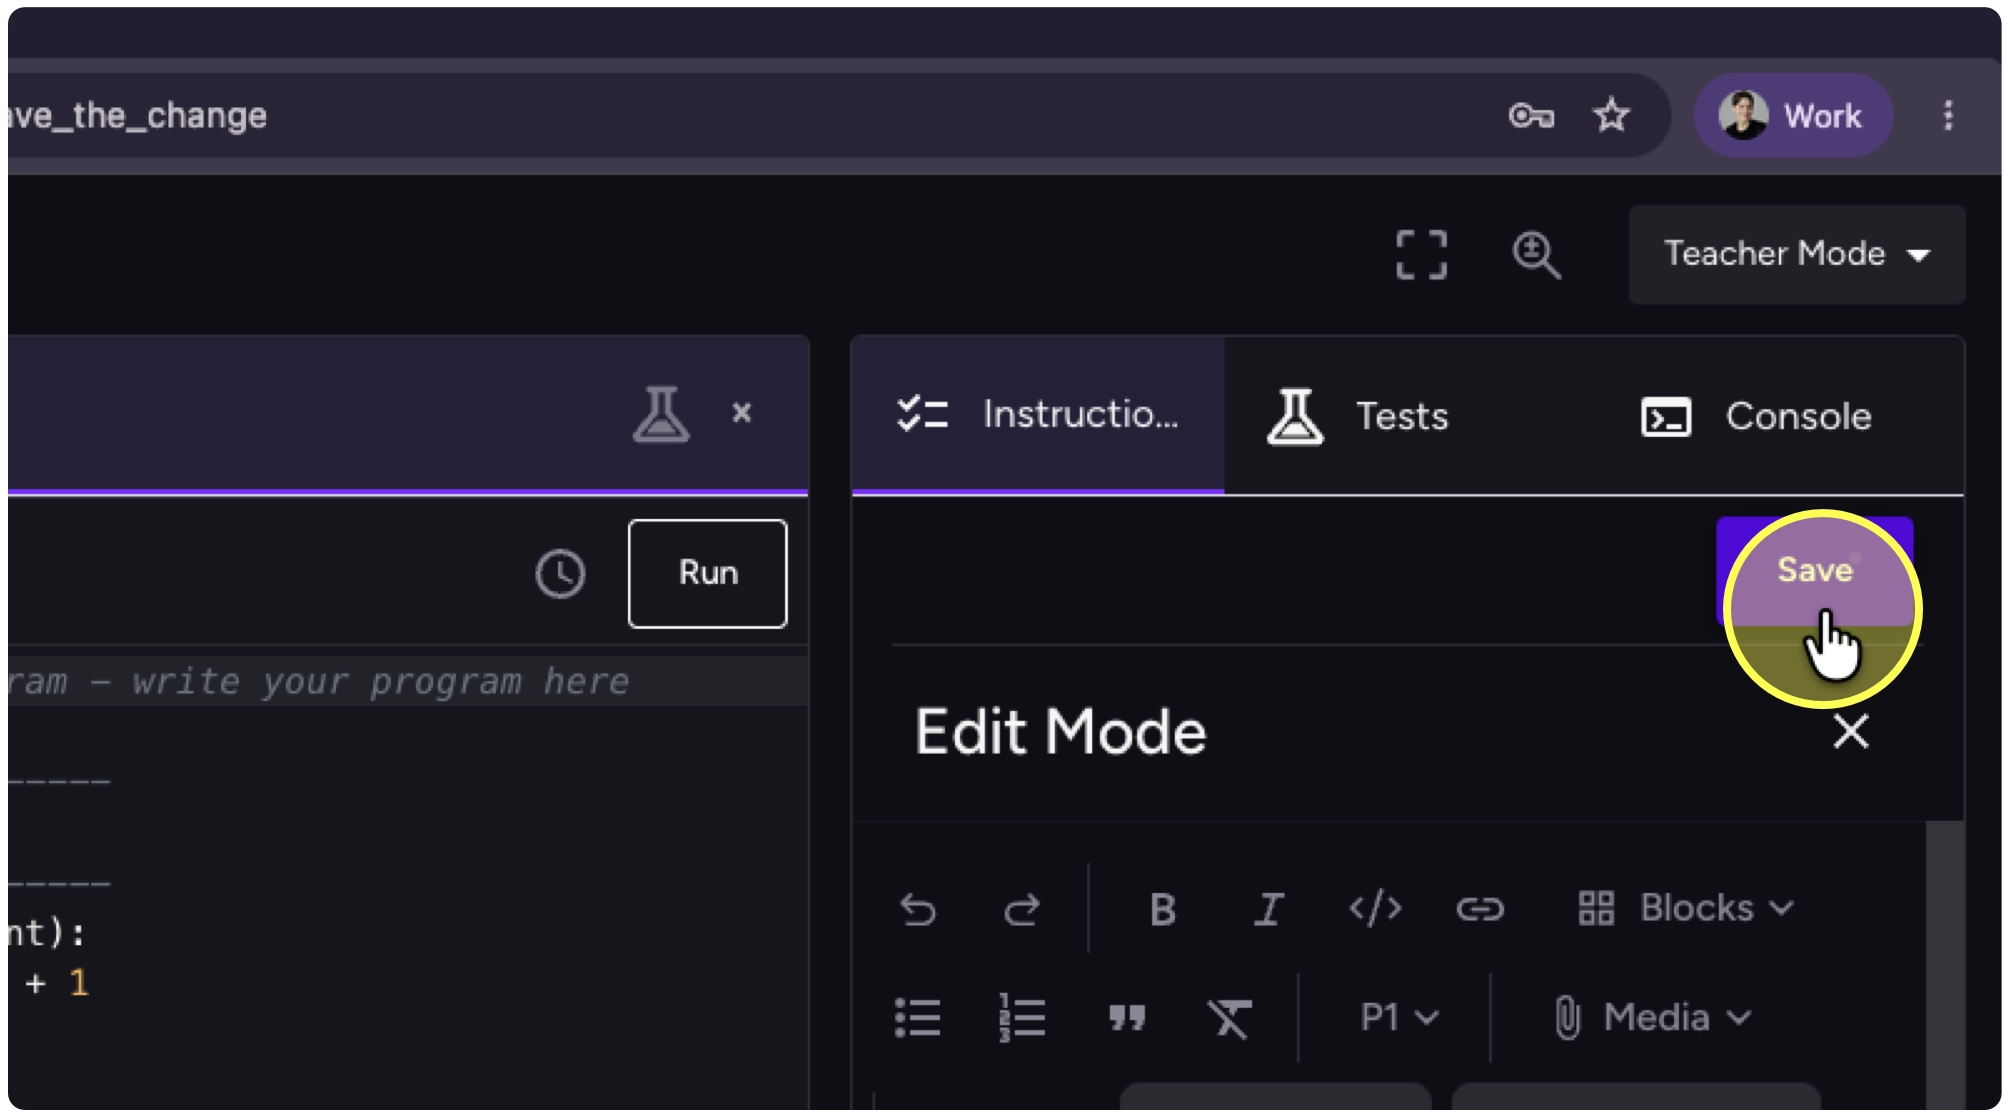
33. Click on Save to save your changes in the editor.
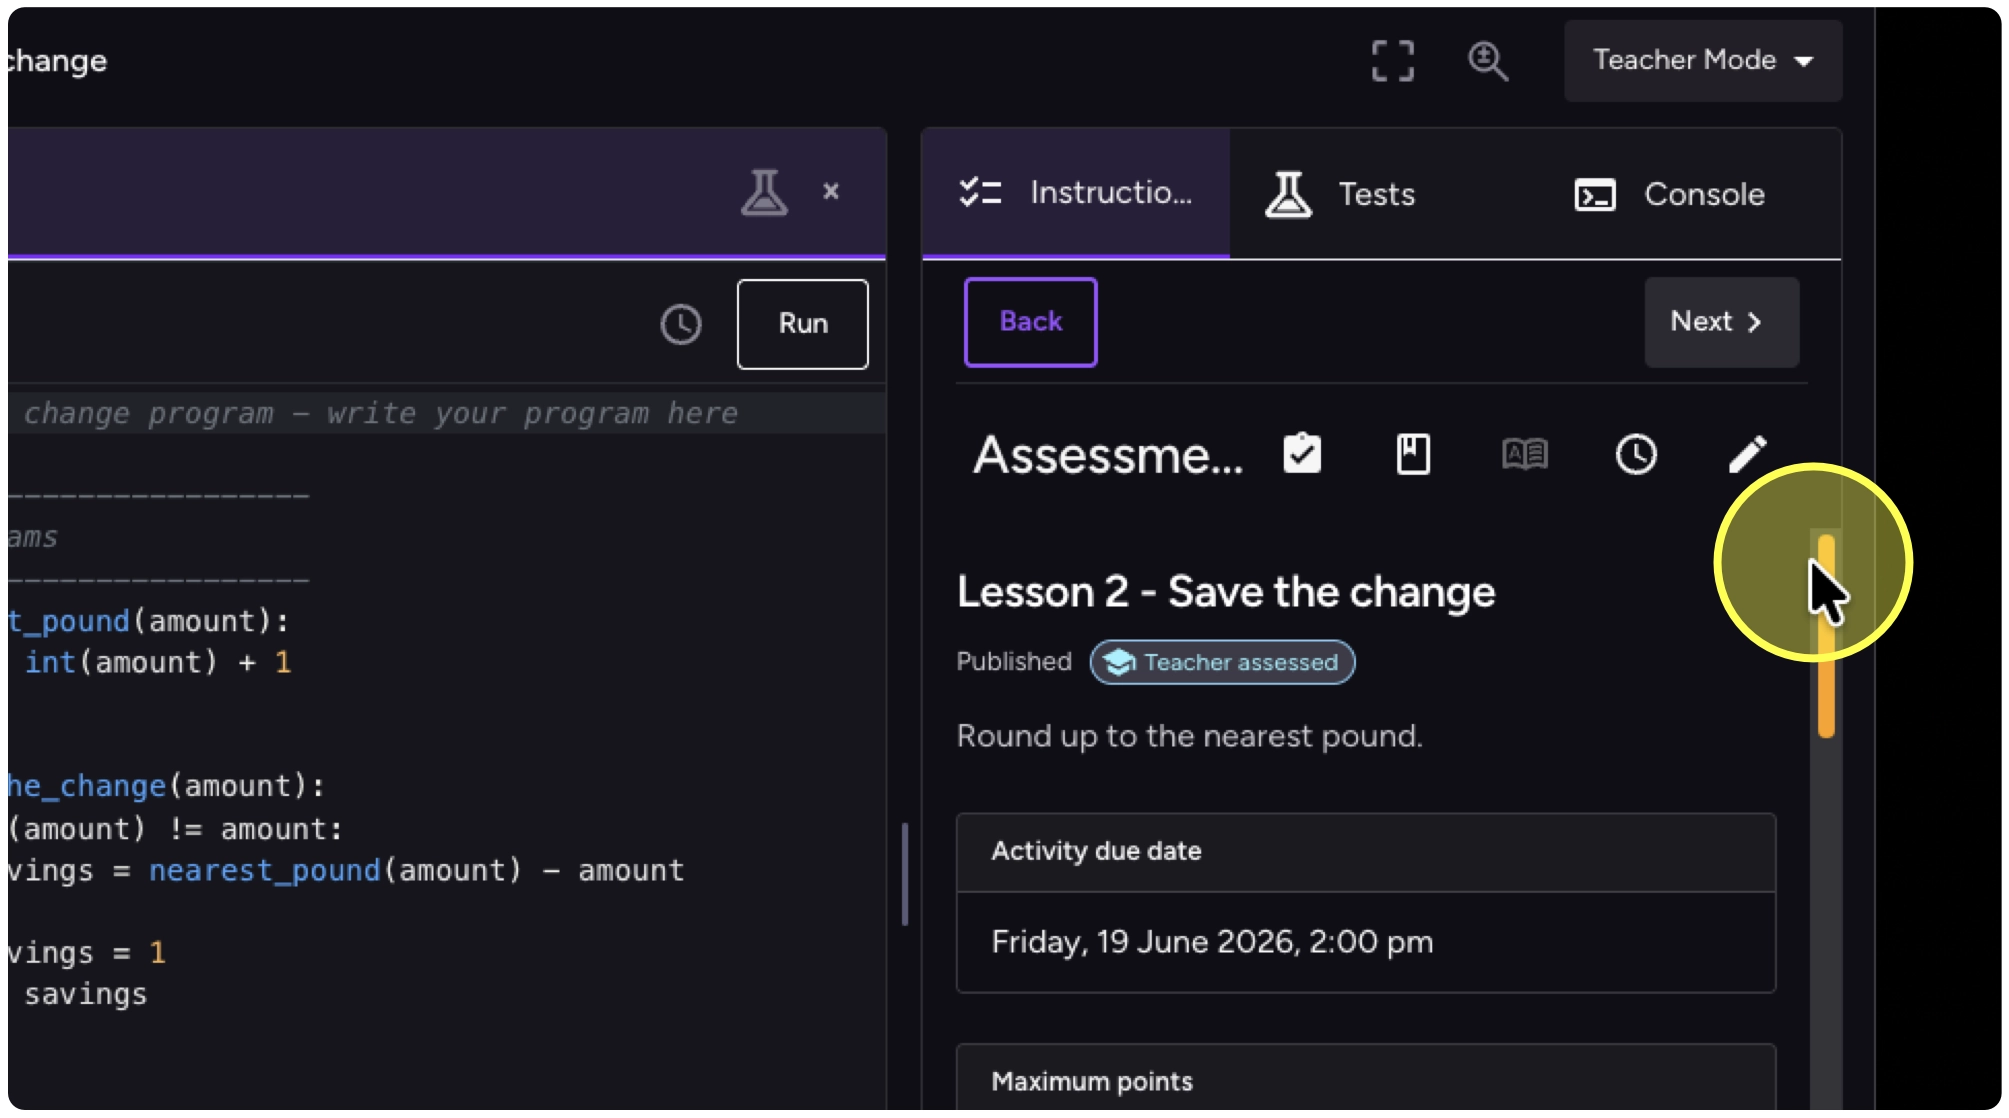
34. Navigate to the Evaluate section to see the assessment information as students see it.
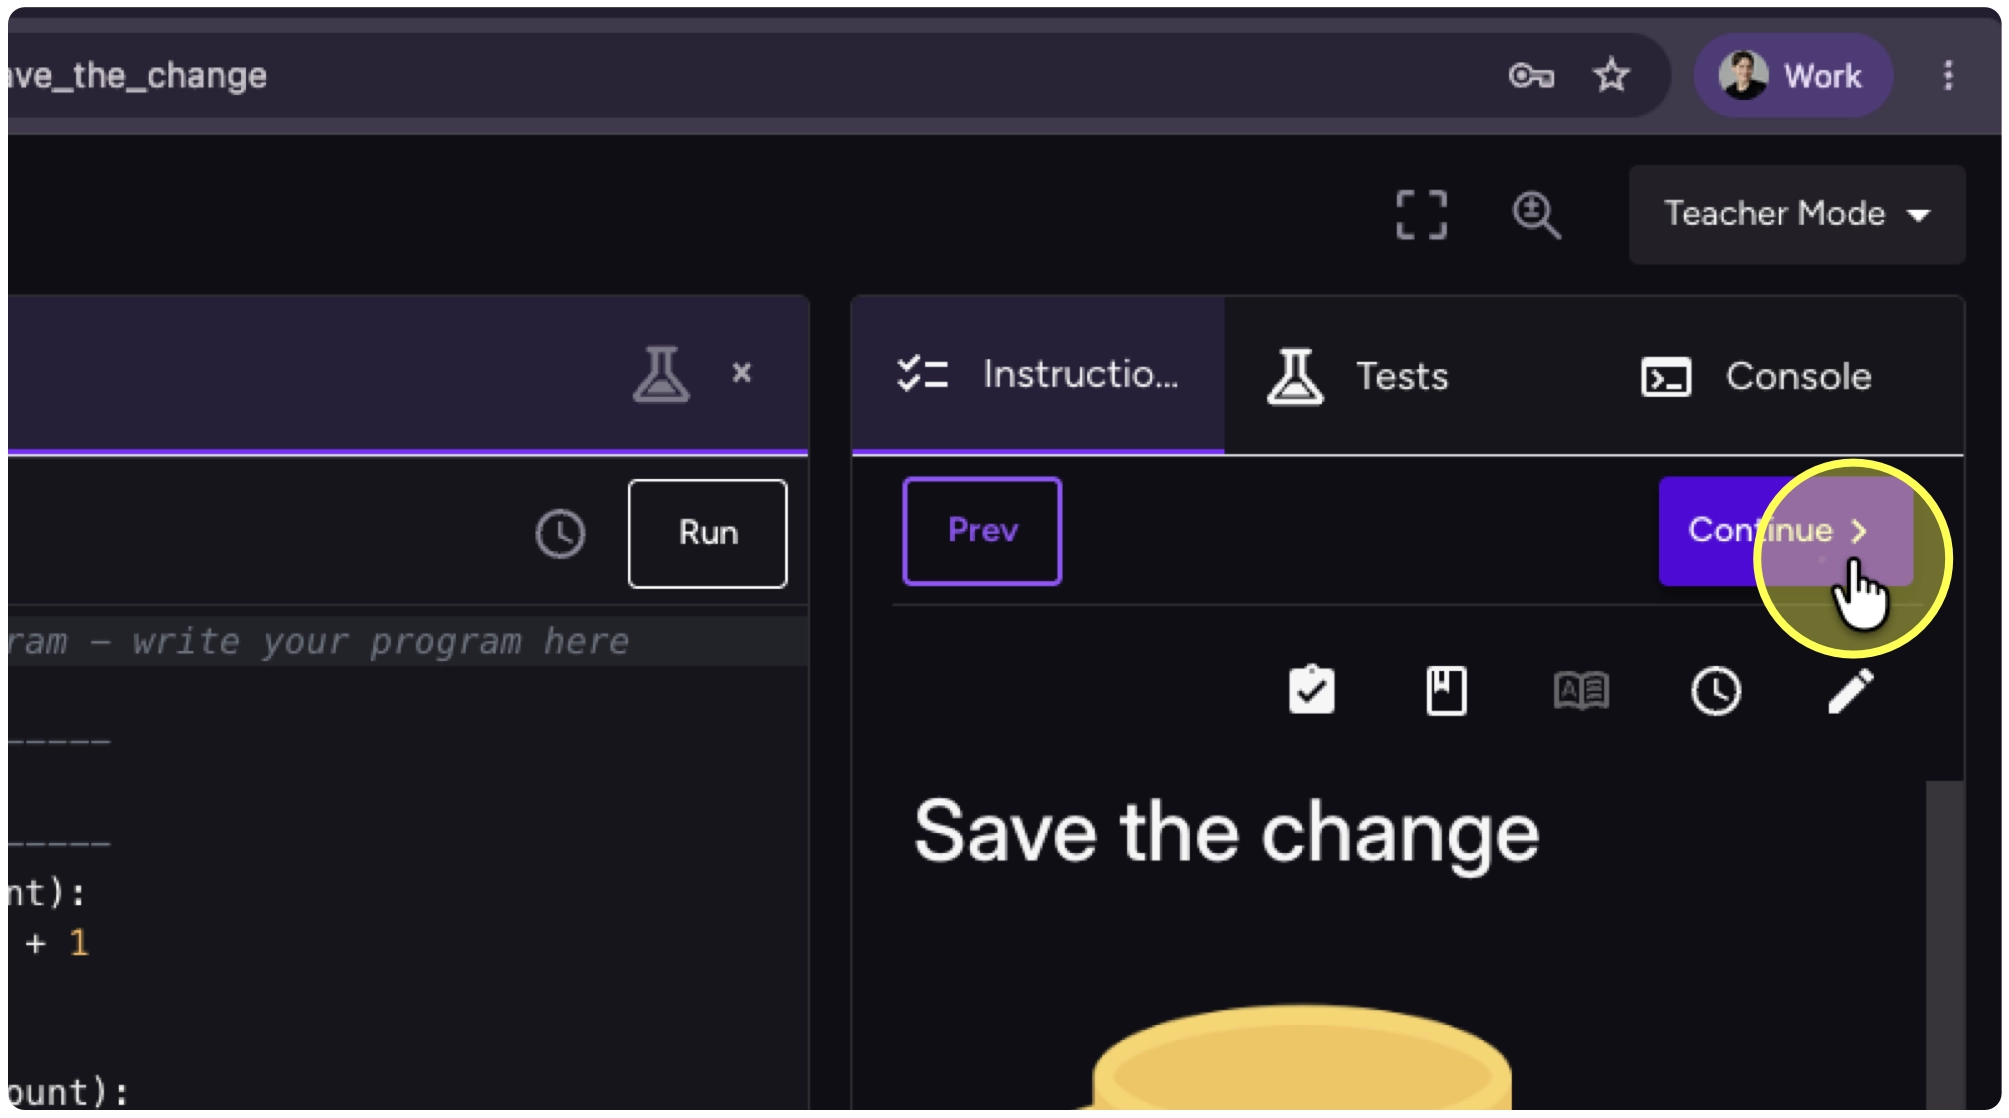
35. Here it is right after Evaluate.
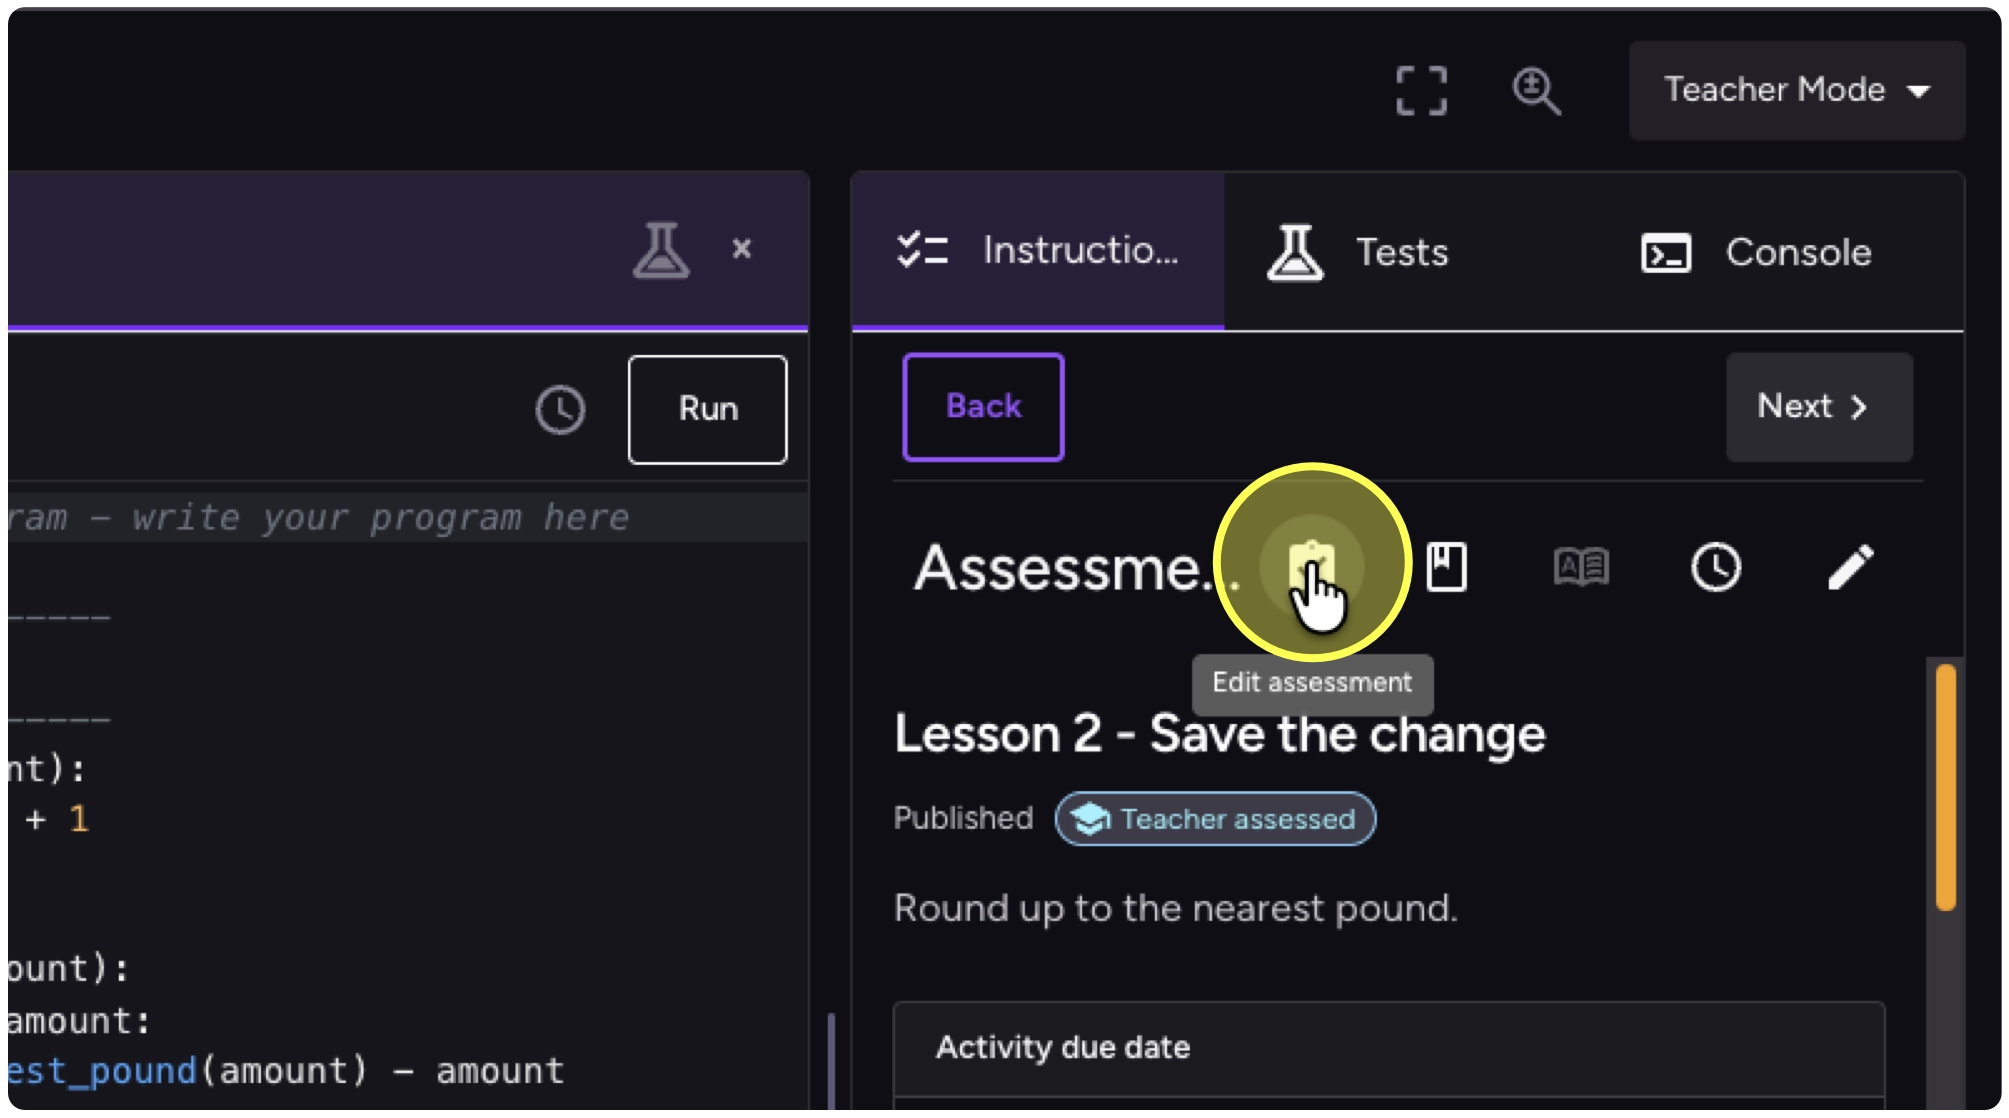
36. Select the Edit assessment button to get back to the settings.